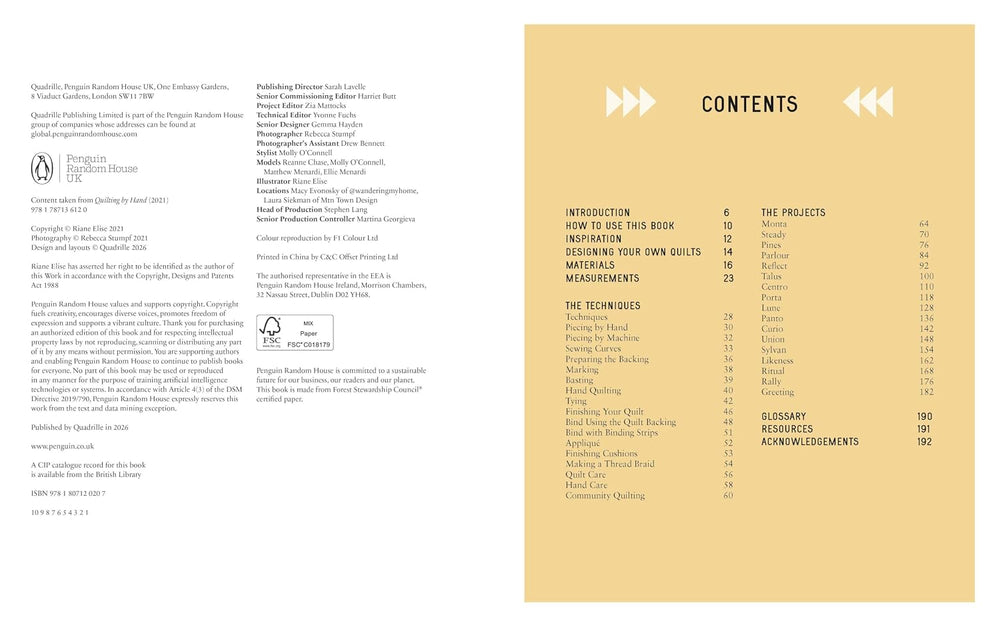
Includes 17 Projects


The Fold Line is an award-winning online sewing pattern shop
We are the home for people who love sewing and making their own clothes. We offer an extensive range of paper and digital PDF sewing patterns plus copy shop printing services, shipping worldwide.
shop by category


Shop our latest patterns








Read our blog


OUR BRANDS



PATTERN EXPERTS
With more than 10 years of experience working with independent designers, we are the sewing pattern experts. With our expert knowledge and award-winning online shop, we are here to help you find the perfect project. Let us inspire your next make with our weekly blogs, vlogs and newsletters, bringing you the latest pattern releases, trends and sewing community news.
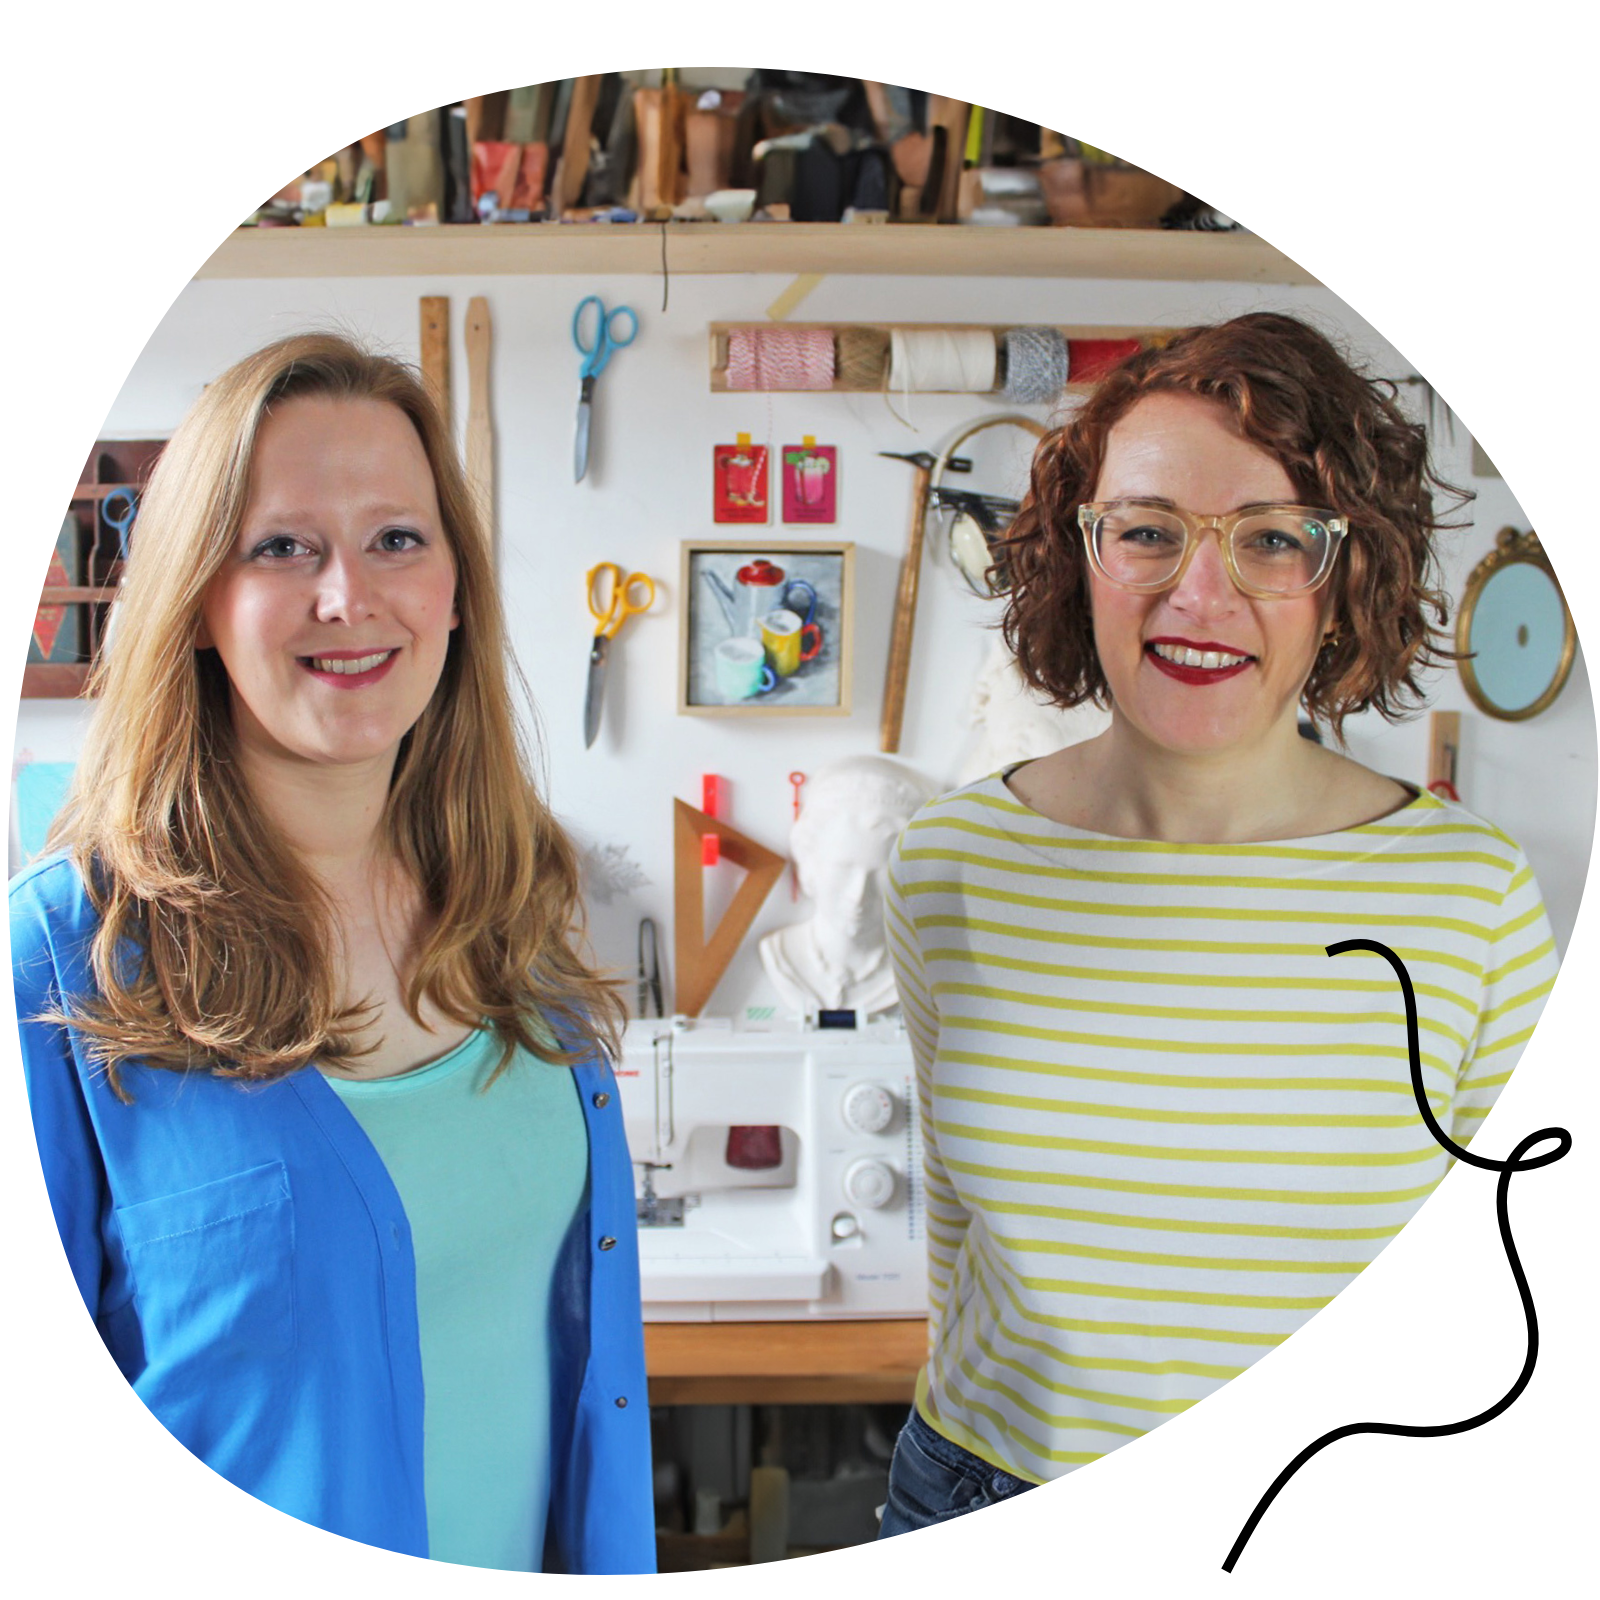
Kate & Rachel
OUR VALUES



customers love our patterns
Let customers speak for us
Milie
Almost lovely shirt but ....
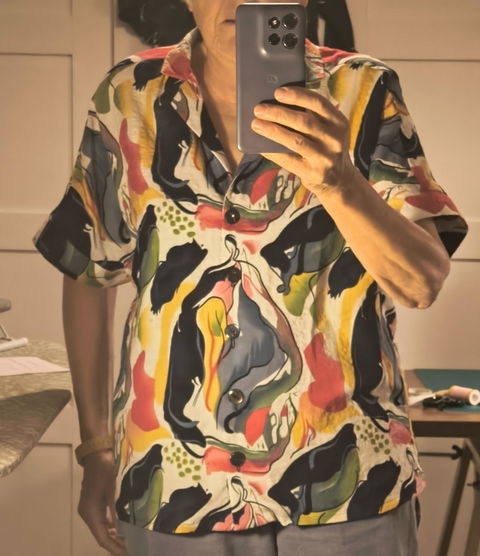
I did revisit the Rosie because I didn't want her to beat me and I feel I achieved a better result than the make I reviewed first. I used a polyester 'coupon' bought at Eurokangas in Helsinki and it was more stable than the linen I used to make this before. I was careful to cut accurately and transfer all the markings.
This time I managed to piece and attach the collar correctly (see pic). Although there are still some small tucks, they are inside so don't show.
I'm pleased with the pattern matching!
I still think it's a lot of work for a casual shirt. I have other patterns that achieve much the same result without the tailoring technique. And also, this time, I did notice that this might not suit wide hips or being worn loose.
Bella has a range of really thoughtful, professional level patterns. I have enjoyed making others.
Clare Denham
Looks professional
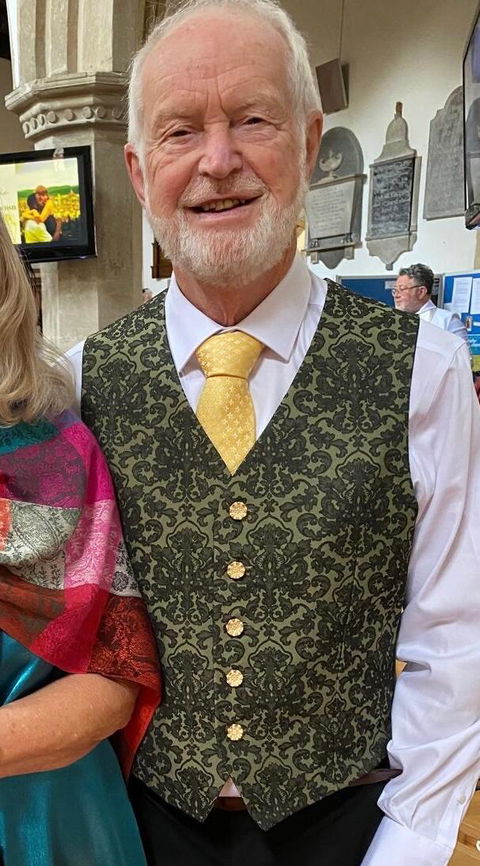
I made this waistcoat for my cousin to wear to his granddaughter’s wedding. I was so pleased with the result, the pattern went together perfectly and the instructions are very comprehensive.
Katie Raine
Perfect Day or Night pattern!
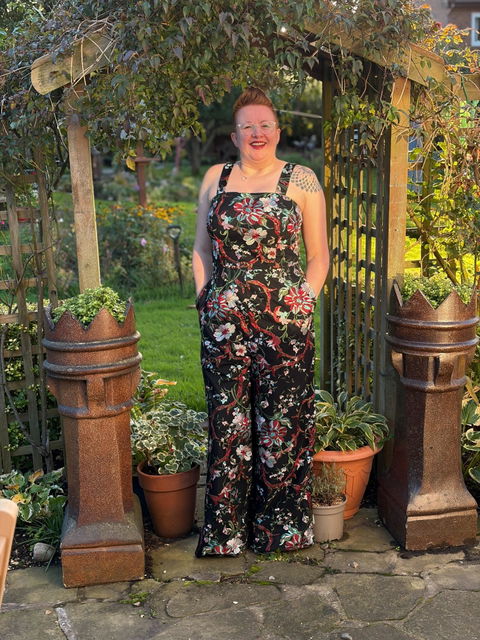
Saw Helen's wedding dress and took inspiration to make an evening party outfit. I got so many compliments!
Instructions are clear and easy to follow.
Heather
Most comfy trousers ever!
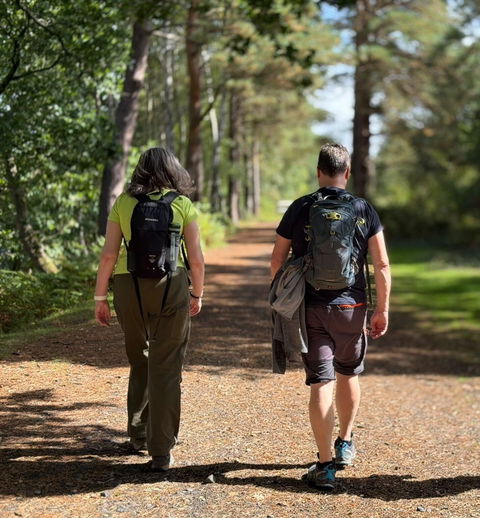
This is a fabulous pattern for workwear/hiking. I loved the gusset and knee darts which made them really comfortable to wear. There are lots of useful design details with the pocket options, the knee facings and facings on the bottom back leg. I made a wearable toile in a stretch cotton twill, and a second pair in cotton drill no stretch. I did find they come up loose fit. To achieve a closer fit as per the pattern picture I will try sizing down. I also plan to make these as jeans. I didn't find any issues with pattern drafting.
Tabs T
Gorgeous pattern!
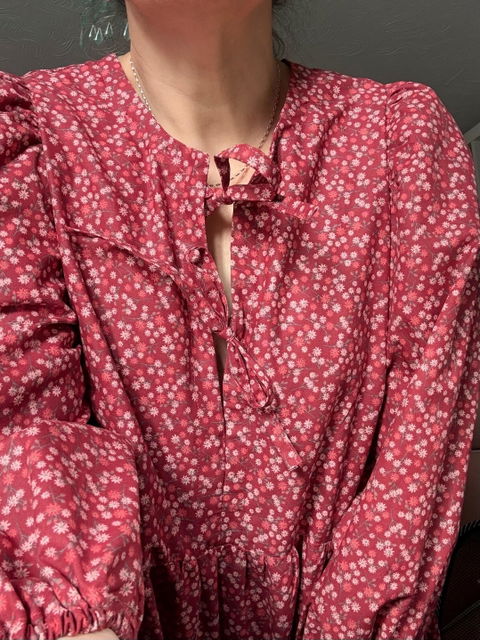
Loved making this....really crystal clear instructions with video tutorials to match ! Love the attention to detail, it gives a really nice clean finish. I can't wait to make more!
Milie
Excellent, comfortable robe
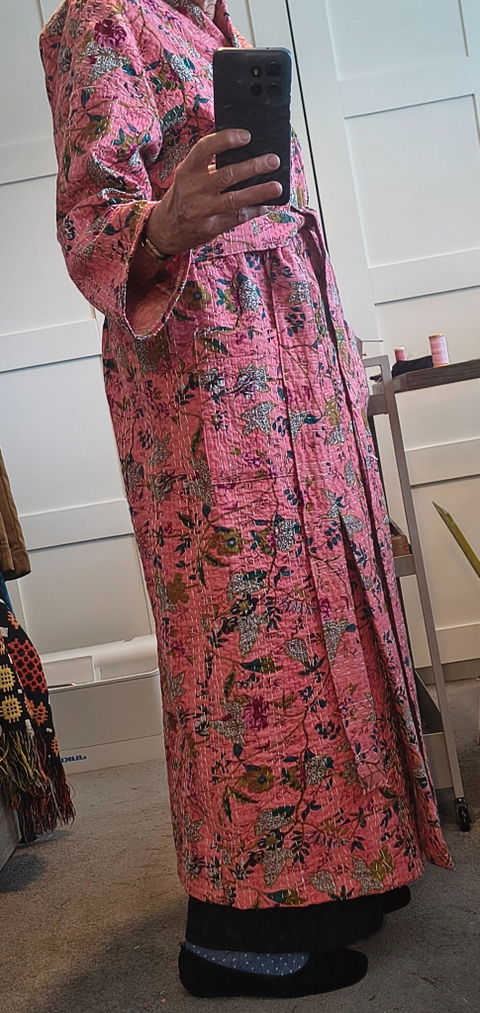
This is a great pattern; very straightforward, just two fronts, back cut on the fold, dropped sleeves with no gathers, side seams, a long band, a sash and carriers with sleeve and bottom hems. It's a clear set of instructions. I did my standard forward round back adjustment which made a snug fit on the neck. It's designed for 5ft 6ins. I added an inch to the length but could still have done with a bit more. I could have added at least an inch to the sleeves. Maybe I haven't shrunk as much as I was thinking.
To decrease weight and bulk, I added the patch pockets before joining the fronts to the other pieces. I suppose that means you lose the option of "best placing" the pockets for yourself but where they were on the pattern was fine for me.
I used a single kantha bedspread bought in India. I had to piece the sash and there was very little left over.
Amanda Randall
Fab pattern
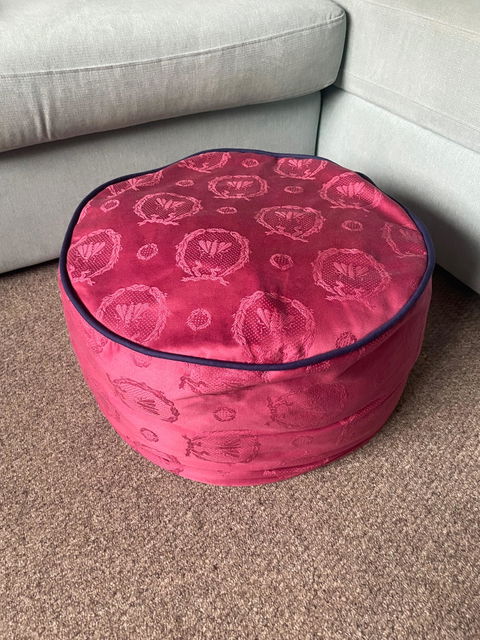
I’ve done one zip before in a class and have never done piping. This pattern was simple and pretty quick to make. It turned out better than I expected and holds so much material so is super practical.
- I used the printing service that The Fold Line offer and it was excellent and really fast delivery
- Rather than use wadding and baste it in place, I used the pattern to cut out a second pouffe that I made from an old fleece blanket (added a zip to that one too but didn’t add piping). Then put the fleece blanket pouffe inside the outer pouffe and stuffed through both zips. Zipped up the inner pouffe and then the outer.
- I didn’t make my piping I already hade some pre-made
- My zip was longer than the pattern said but I wanted to use all the things I already had rather than buying new, the longer zip worked fine.
- The pattern doesn’t explain how to join the piping ends but I found this on loads of YouTube videos
Enjoy
Martha
I should really make another one!
Great pattern.
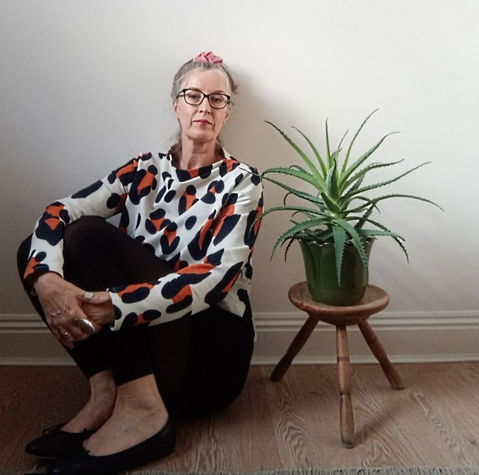
I made this in a funky Fabric Godmother dead stock heavyish jersey a few years ago. It was one of the first things I made in stretch fabrics. I used a regular Pfaff. I've never bothered with an overlocker. I took my machine to a holiday rental in the Peak District and had this cut out & made in a few hours
It's so quick & easy.
I must make another one...I'm terrible at re-using my patterns, I'm always onto the next sew!
Martha
Funnel neck bang in trend right now
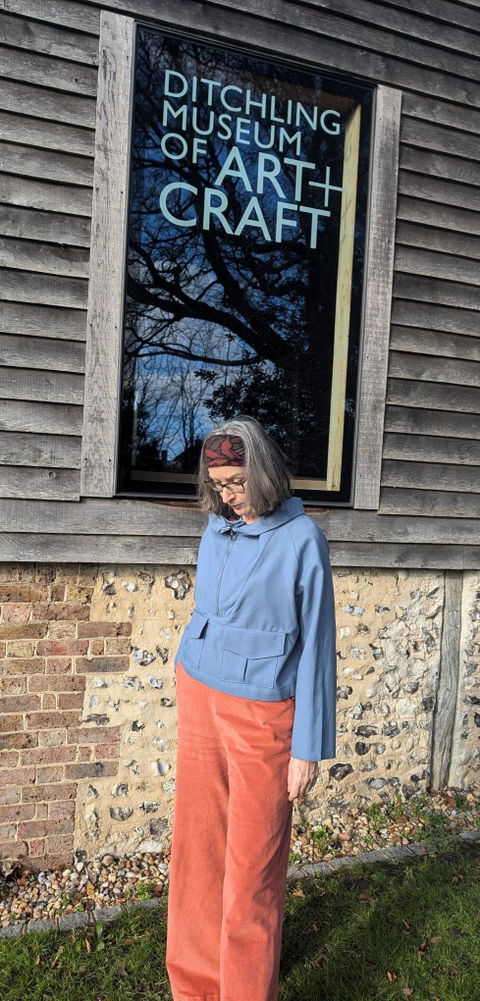
I made this a few years ago but have noted the funnel neck trend for A/W 26-27 so I'll be cracking this pattern out again.
This one is sewn in a gorgeous blue fine wool suiting given to me by a friend of my mother's whose own mother worked in a woollen mill in the North of England. It has 'Made in England, Fine Wool' woven in on the selvedge. It's the best fabric, soft, draping but holds it's shape. It's warm and great for this trans seasonal weather.
I lined mine in the end with a liberty lawn in blue William Morris print. I love a funky lining in a classic piece. Without the lining there are raw edges and because of the quality of my wool, it was hard to get over my head and the fabric stuck. It slips over now easily. I also bound the pocket edges as I didn't like the raw finish.
I've not tried the trousers yet but they look to be a simple but generous elastic back waist, flat front.
I recommend the pattern but don't expect hand holding on the instructions. As with many of the Big 4 they're fairly brief.
I've had so many compliments when wearing this. It's unusual yet quite classic. I like the nod to 1960s yet it hold it's contemporary place.
Martha
Shirring, but not cottage core
I love this pattern.
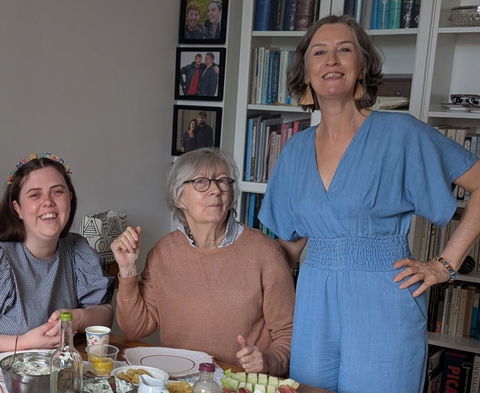
I veered away from the ubiquitous shirred dresses that have dominated the high st and sewing pattern trends, because being an adult woman I didn't want to dress up like a small girl!
However when this pattern came out I thought it might solve the bathroom issues we all face with a jumpsuit. ( It does a bit....as it's pull down with no zips involved that makes things a little easier!)
The shirring was fun especially watching it shrink in the steam. The instructions are very clear .
I get compliments when I wear it and it's comfy and very flattering.
I love the back neck tie
I made this in a gorgeous Merchant and Mills chambray. Excellent fabric always helps! It's got fabulous draped and recovery.
The pattern has generous pockets adding to its comfort and practicality.
I might make another as it would be a great evening or event outfit. The lovely crossover top begs for a gorgeous statement necklace.
I think I may have added a little to the back and front waist rise and lengthened the hems as I'm long in the body and above average height. Otherwise the pattern was a great fit.
I highly recommend this pattern.
Martha
Small things can change your life!
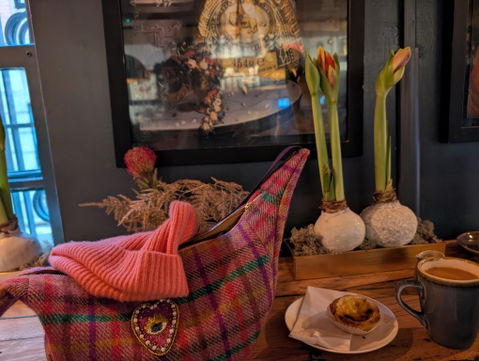
You know when a small change happens and it just shifts something in your life. Not to be overly dramatic but that's what the BF Bestie bag has done for me. I've never been a handbag girlie and have always struggled to find bags that work for me.
Enter the Bestie.
I made 3 matching in each of the different sizes, all in this aubergine twill (Ray stitch) each lined in blancmange pink cotton lawn.
I use the smallest version shown here probably every single day. It carries phone, purse, lipstick, keys with no fuss and you can reach them easily and have hands free for your busy life.
I've had no end of compliments, comments .' oh that's so nice, where did you get it.. '
I made this more fancy one in Harris Tweed because well, why not? If you don't want to splash out hundreds of pounds on Harris Tweed buy .4m and squeeze a bag out of it. This one's lined in gold silk taffeta.
The pattern is so clever and the zips always come out super neat and tidy. It's a dream of a clever concept and the instructions hold your hand.
I love that you can experiment with linings, straps etc
Change your life- make a Bestie!
Martha
I would give this 10 stars!
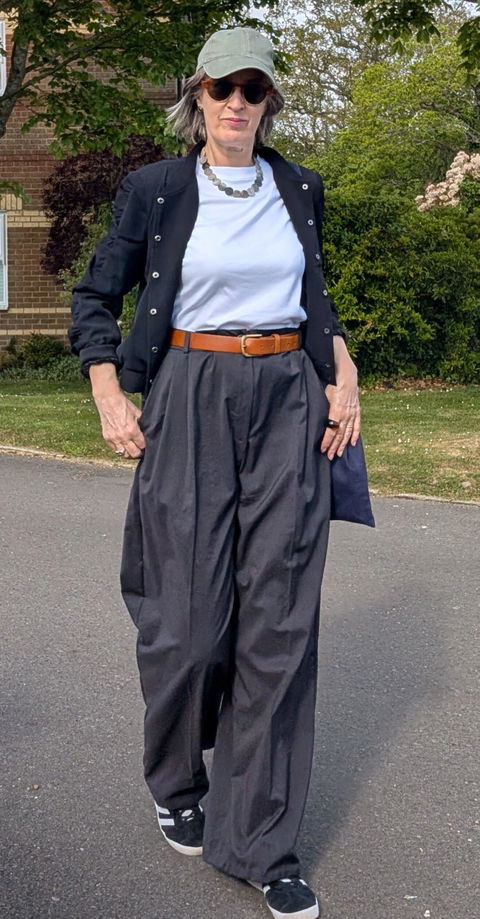
This is far and away my favourite trouser pattern ever. I can't recommend Bella Loves highly enough. Her patterns are so well drafted and the instructions are superb. I've also made the Traveller coat.
I've made 3 pairs of these now, one in a fine grey wool (Ditto, Brighton) one in a cream Viyella wool ( Fabric Fair, Brighton) and one in a brown coating with turquoise weave from a charity shop near Dunfermline.
All 3 are different due to the fabric drape and quality but the fit is amazing.
They're a real classic trouser so you have to adjust to the feel but she combines the roominess and drape with a great fit over hips & bum so you're not swamped. The pockets are generous and they are so comfortable.
I added an inch or so to the bottom hem as I'm above average height.
I took time to bias bind all my pocket edgings, waistband edging and crotch seam so there's no raw edges and finished the leg seams with zigzag as I don't pisses an overlooked and doubt I'd ever bother with one. I might try a flat felled seam in future just for the finish.
I'm looking forward to making another pair this winter!
Martha
Great basic
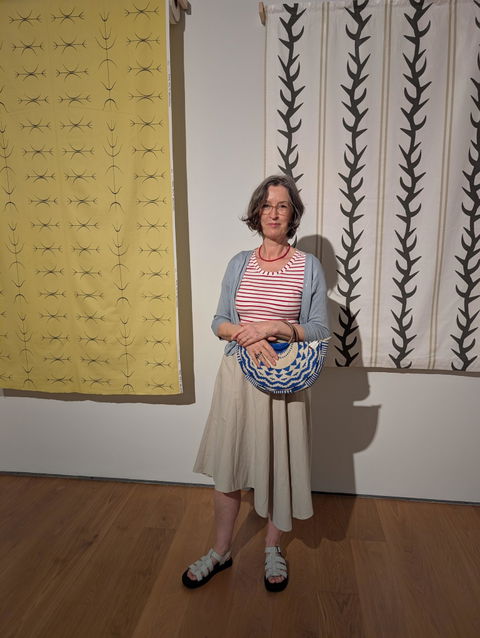
As with all Helen's closet patterns this does what it says on the tin.
Super quick, easy basic sew. Excellent instructions and sizing info.
Variations you can mix & match. I copped this version to wear with higher waisted skirts & trousers.
I'll be coming back to make more!
Martha
Interesting construction
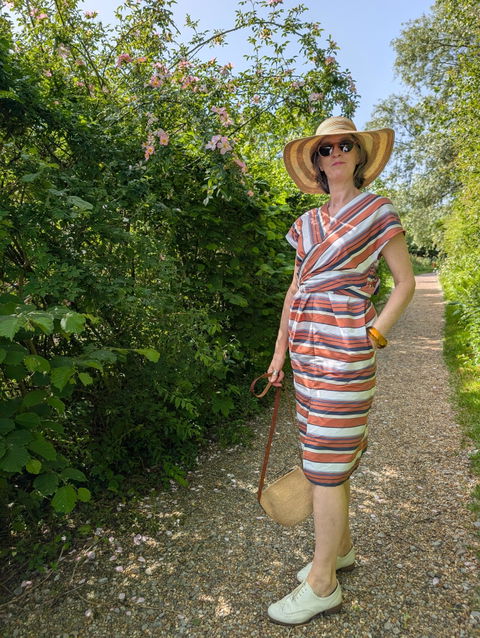
When this pattern came out I was drawn to its interesting construction and I do love a directional stripe.
I found this fabulous striped cotton in Fabric Godmother and it spoke to me of 1920s Riviera, deckchairs and glamour! It was also the moment to try this pattern.
It was a super quick sew with this really innovative construction. I didn't bother with a toile as the ties make it adjustable.
I love how it turned out. I wore it to the Literary Festival at Charleston Farmhouse to lean into all that 20s glamour !
It's flattering and relatively comfortable. I would say the skirt slit is a little high and in a woven there's not much give in the skirt so I had to be careful sitting not to reveal too much leg.
I'd like to try the top. It's a super versatile pattern and I'd highly recommend.
Martha
Fantastic 70s Ossie Clark vibes
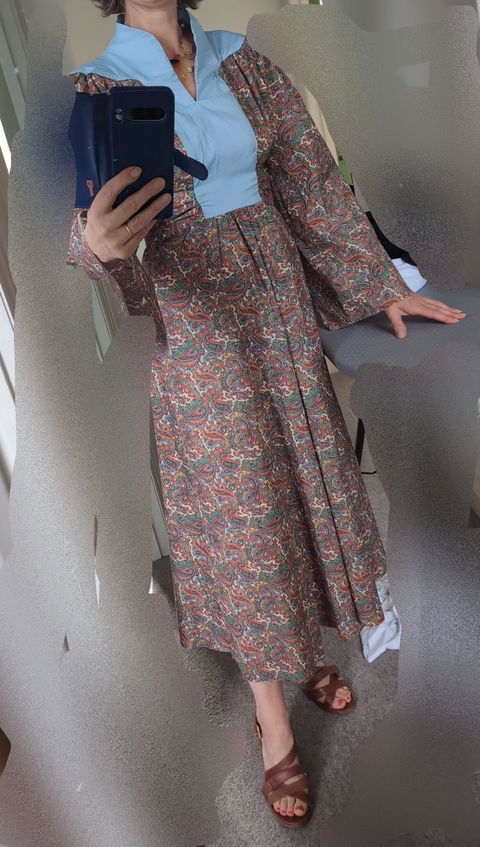
I'm going to see the Ossie Clark exhibition at Fashion Textile Museum this week and wanted to mark the occasion by making a dress with the right vibes. This is a departure from my usual makes. I focus available sewing time on making very wearable family classic makes in the best fabric I can afford.
This was a decadent dress for an occasion!
I found 4m of this fabulous, lovely soft, great quality cotton lawn paisley on Vinted for a bargain price. I decided I wanted the contrast yoke so I wasn't drowned in paisley and visited Liberty London to find this complementary plain cotton tana lawn in a sky blue. It matched do well and I'm a cool colour palette so it was ideal to tone down the paisley party going on!
This pattern is excellent, as you'd expect from Vogue. I didn't make a toile (I know!) but risked it knowing previous Vogue patterns have been spot on.
I wore it out to test the impact and got lots of compliments. It's super comfortable and flattering. I do love a nice length. I added an inch to the hem as I'm 5'7" and I had the luxury with my 4m of fabric.
I took the deep neckline slash up a little for modesty!
There are some great photos of other test garments on the Minerva website where you can see the incredible draper of this pattern when it's made in crepe or silk fabrics. I'd love to make another in silk - what an investment!
In all it's a winner if you want a statement dress!