
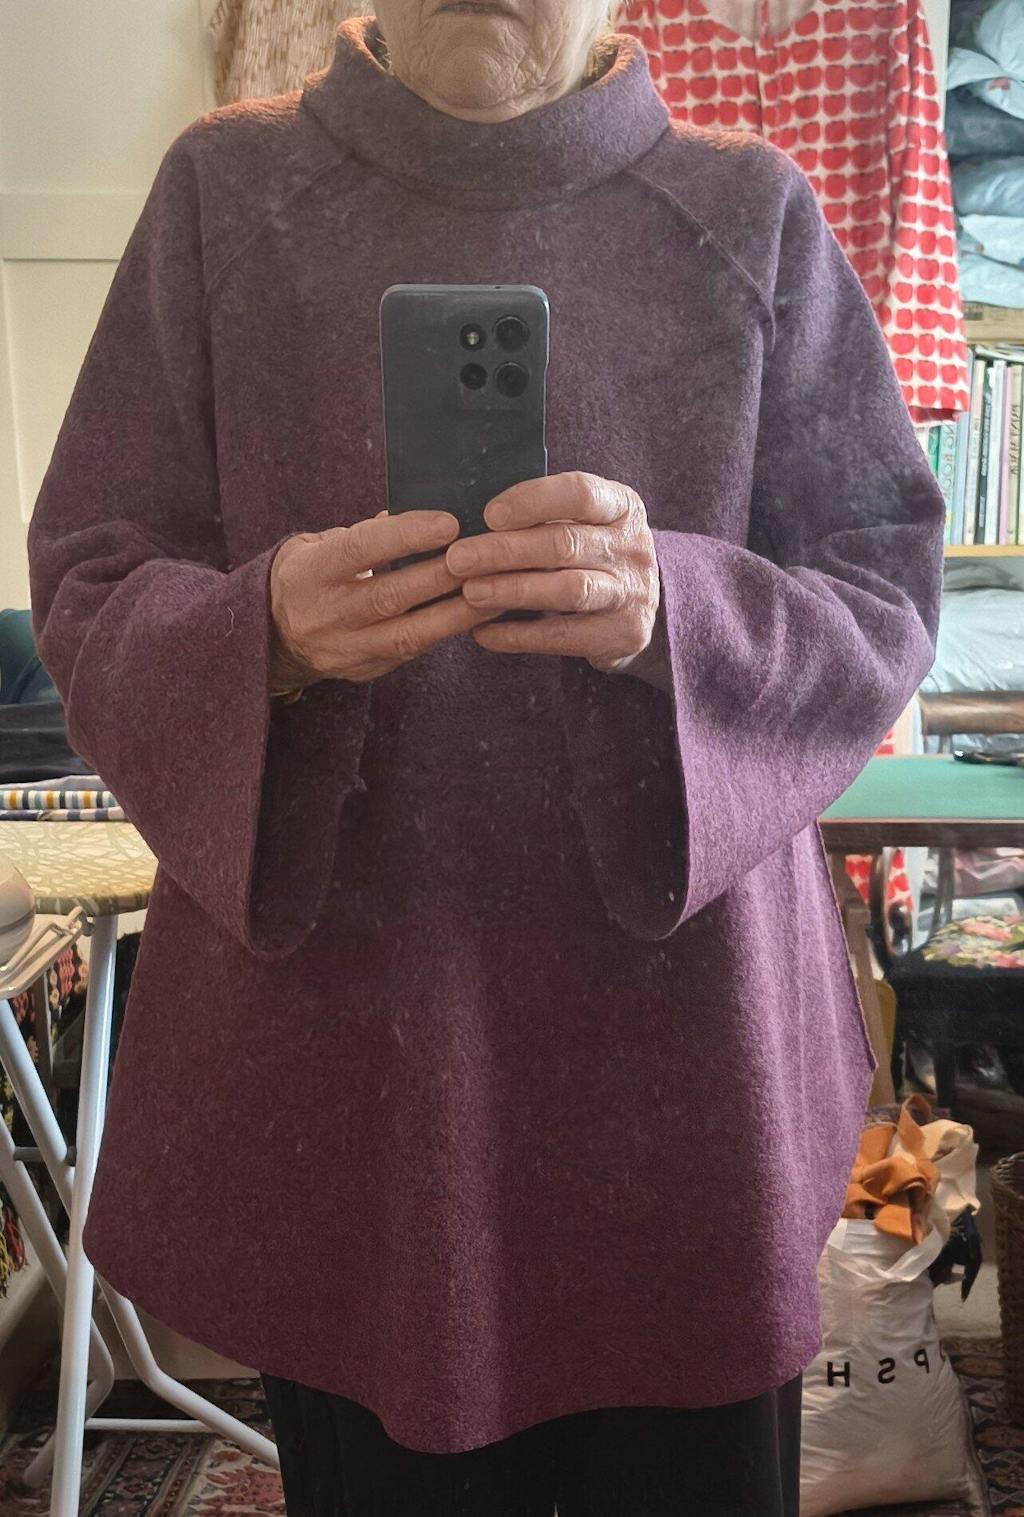
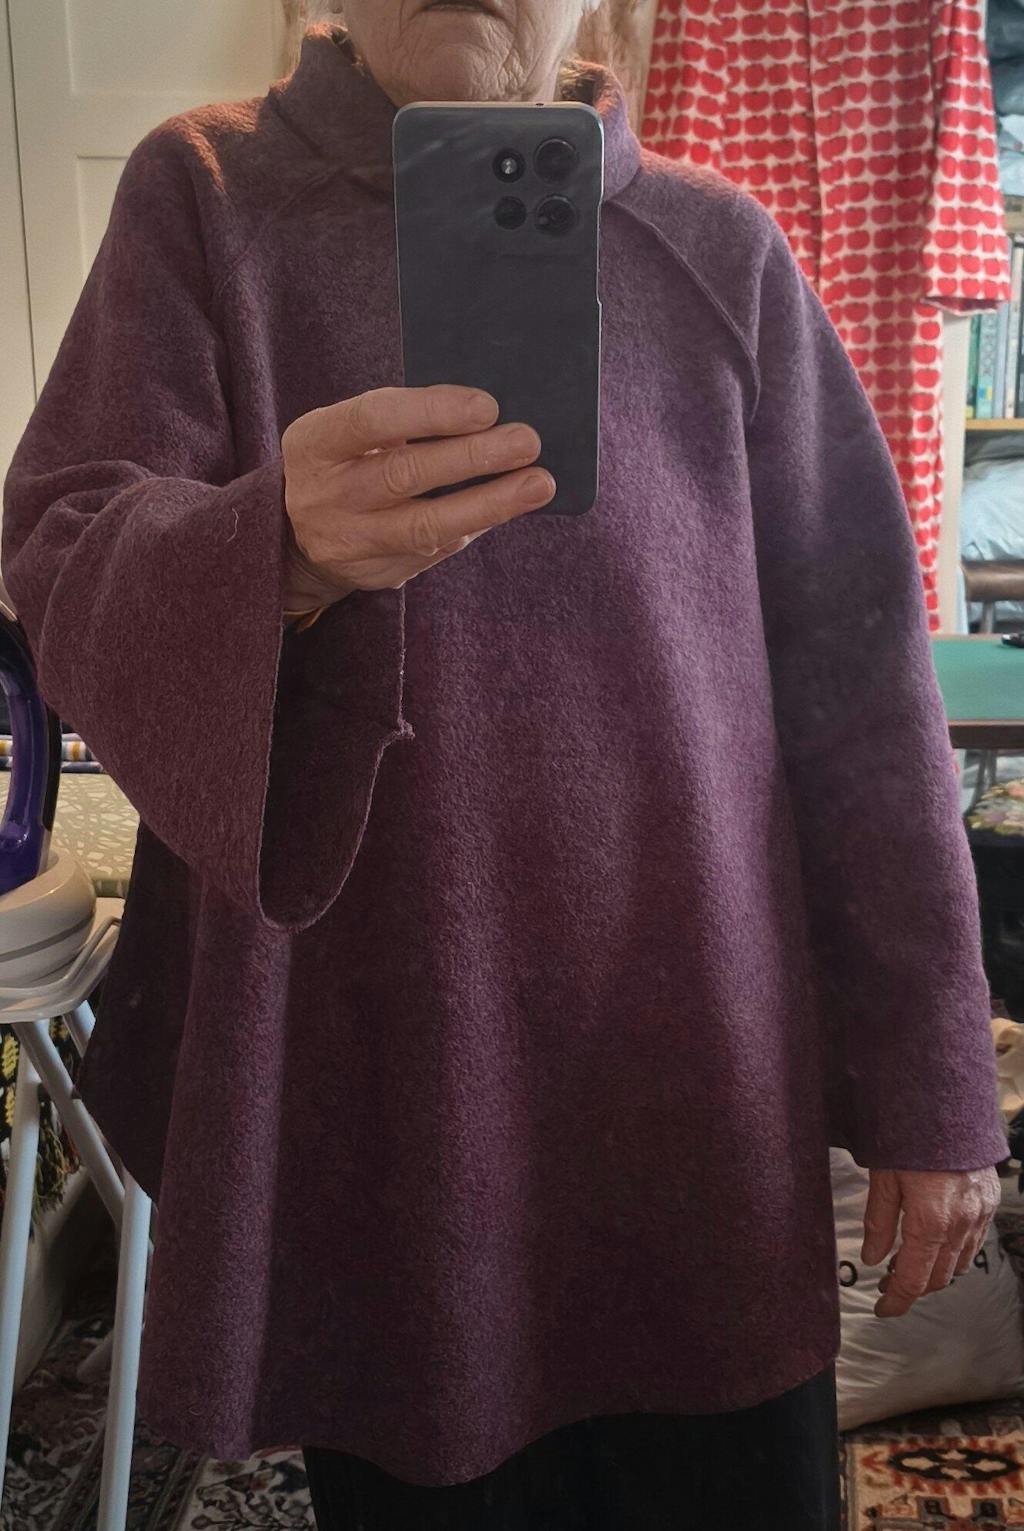
The Makers Atelier flared top, with the curve added and with flared sleeves. I made a size 14 with slight high round back adjustment which I am beginning to need. I used a boiled wool remnant from Fabric Godmother so made it what I think was the right way out and trimmed the seams as recommended and pictured in the instructions and illustrations. No issues with pattern or cutting - which can be on the grain with seams or on the fold. There are lots of other iterations. It took about an hour to adust the pattern and cut the large pieces and two hours to sew it this morning.

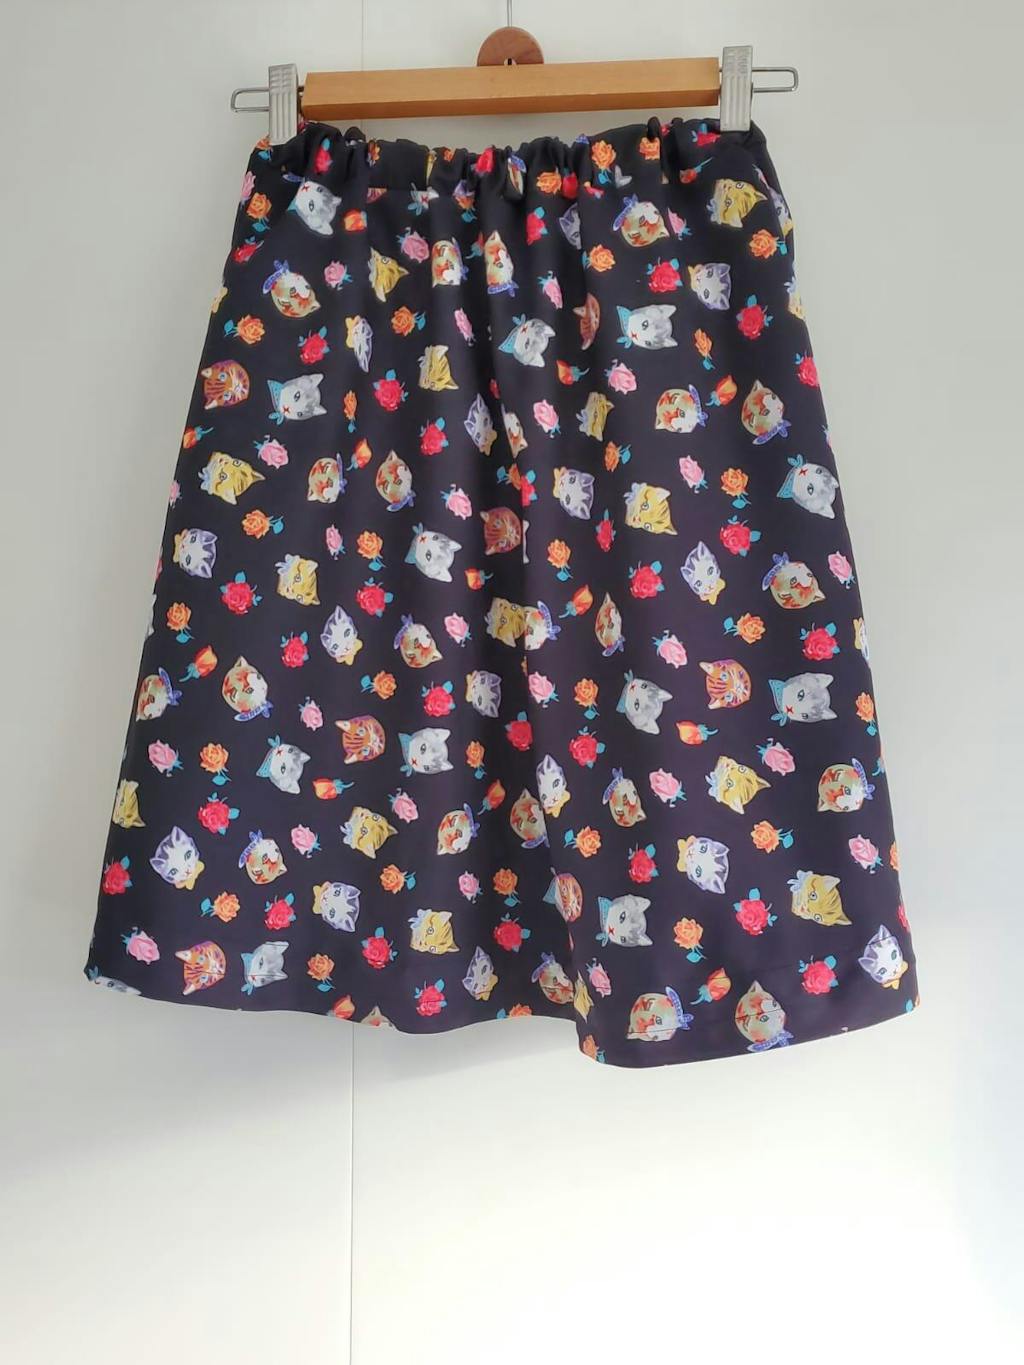
I made this skirt in a size E with a non stretch fabric, but when it came to the waist band, and maybe I cut it wrong though it was definitely the waist band on the E size, it would not fit over my hips >_< . I cut everything on the bias (I think I would consider myself a confident beginner having sewn clothing items for myself for a few years and followed other patterns) and followed the instructions but yeah the waist band did not fit. I cut it to add an extra panel but for some reason I didn't feel like the elastic channel and seam allowance were enough - I messed up attaching it for sure. Giving it 3 stars as I could make some changes and maybe make it work next time but I'm still not sure. For example I'd maybe expect the back panel of a skirt to be slightly bigger to accommodate ... your bum frankly! Even if you don't have much of one, but yeah the pattern pieces look exactly the same. As it already has positive reviews maybe this was my bad! Might try again.
My measurements are 77cm waist and 100cm hips.

I've never seen a collar drafted like this before! It's a very quick sew with good instructions and a great size range. I wanted this for so long and when I finally tried it it didn't disappoint! I love the worker vibes of this dress and I will be making it again for sure.

I have been searching for a barrel style trousers pattern for ages and these are brilliant. I found the instructions easy to follow and the construction very satisfying. I will be making many more pairs!

Always quality. Speedy delivery too.

The tank top version of this pattern is drafted really well and fits beautifully. I've made several and wear them all a lot every summer. Highly recommend!

These shorts are very cute but I found the sizing to run a bit big, might want to start with sizing down once.

I've made a few All Around Crew sweaters and love them all! It's a very quick make, and easy for a beginner too. Love both of the lengths. Great pattern!

This is a great pattern for beginners! Great instructions, not very difficult to end up with a neat, well fitting garment. Easy to customize, love all the different views. It's very popular for a good reason!

I made a bunch of these boxer briefs for my husband and he loves them; the fit is perfect. Great for using up knit scraps!

I have made so many of these as tank tops and bralettes, my fav pattern for that purpose! Beginner friendly and great drafting!

These pants are so comfy as you can make them with no elastic in the waistband. Great for all day comfort!

I love the ribbon tie of this pattern, very fun! Great free pattern

This pattern is wonderful for making christmas gifts! I've made a bunch this past fall for friends and family and everyone loved it.

This is a nice free pattern to have, and easy to modify to straps! I made a few crisscrossing the straps and it's fun being able to change it up.

This is a really good, free, basic skirt pattern! I made a bunch of out of cotton jersey and wear them a lot. Very nice free pattern!

This is a lovely easy pattern to put together, it's an ideal beginner project and there are loads of variations. The sew along video is superb.
It only has eight pieces (although by lining the pieces as my fabric was flimsy, i managed to construct this without the facings) so it only took a couple of hours to sew, and I am very slow.
As the name suggests, all the pieces are rectangles. The note of caution I would sound is to consider whether those rectangles work with your body shape. I wanted to make the elasticated waist version, and I am sure that would have been perfect if your waist is much smaller than your bust. However I found that as I am more of a round shape (size 16/18), there was insufficient ease at the waist to create the billowy silhouette I was hoping for without leaving me swamped at the bust.
Also watch the length, it comes up pretty short; I am 165 cm and I lengthened the bodice by 5 cm but it only just comes to the waist. It would have been shorter if I had had to construct the elastic casing.
I left it straight cut at the waist and it looks good, but it isn't the look I was going for.

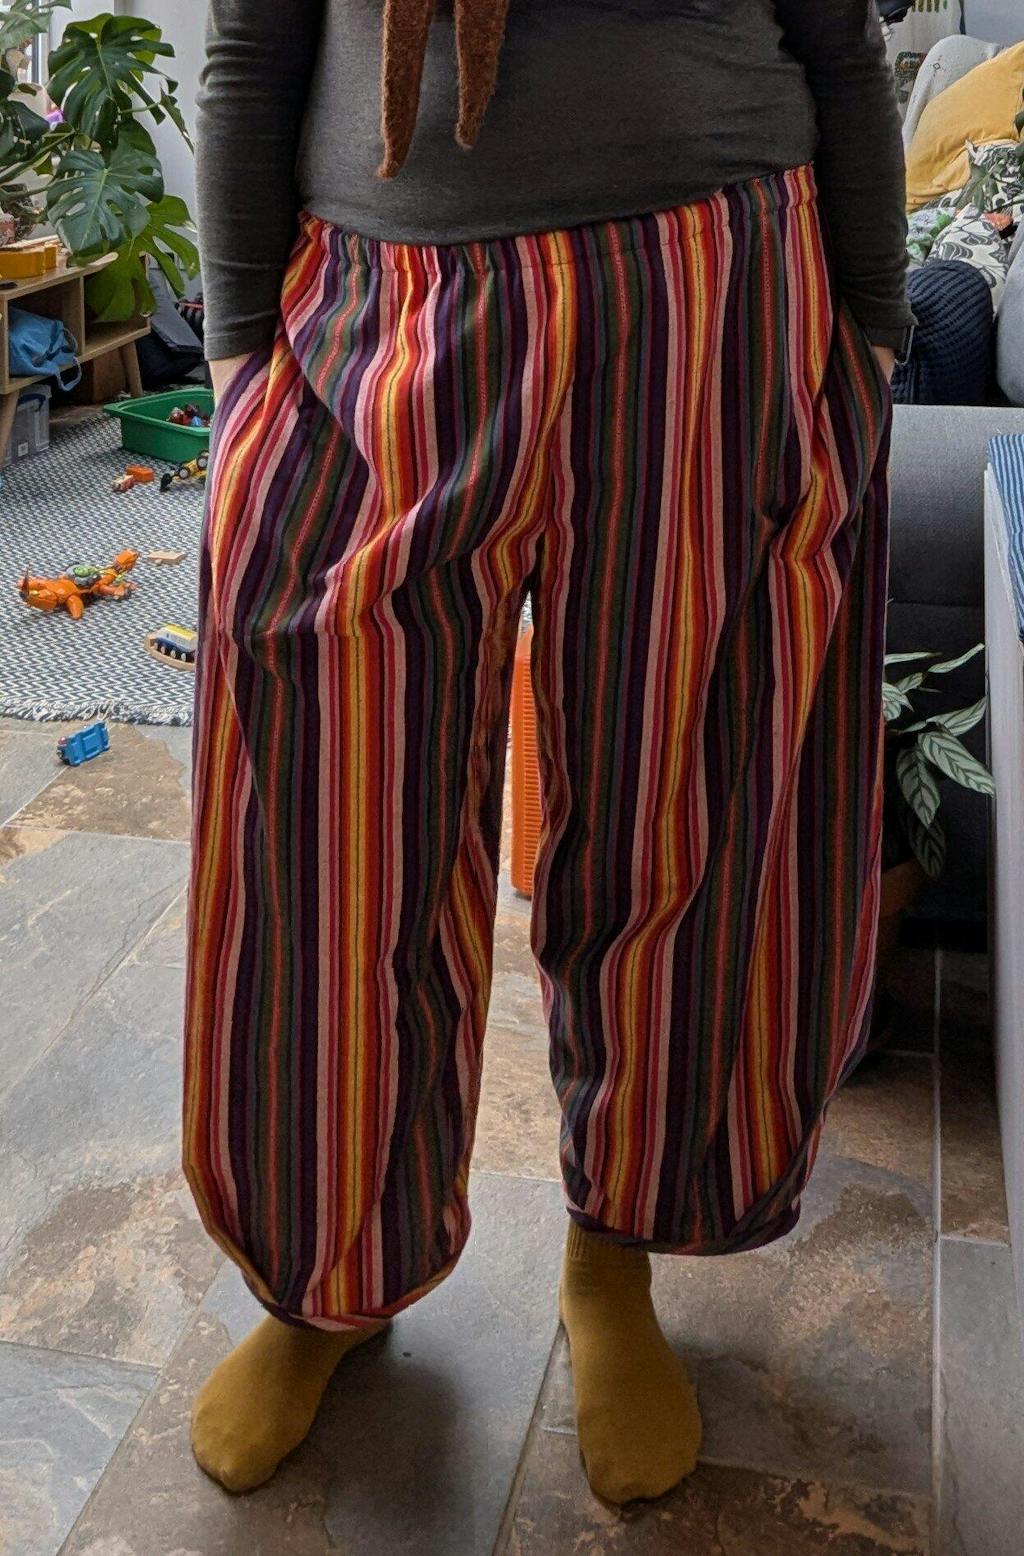
I appreciate that I am late to the free range slacks party, wasn't sure that I was ready to accept the whole elastic waist vibe [despite claiming my state pension ;-) ] but the additional design details wrt the front pockets & side panel finally convinced me to give the pattern a go as I hoped they'd provide a slightly more polished item.
I spent hours poring over sewists' online reviews in a desire to determine what size to plump for (I'm 5'2" on a good day, 36/30/41 ins vital stats), opting for Version 1 with rolled hem. Using the finished measurements as a starting point I made a size 12 toile - it was absolutely enormous!
Some reviewers had mentioned sizing down by x2 after their toile disasters, which I did too once I had checked that I didn't need to adjust the rear crotch curve/shorten crotch to waist measurement (these are a relaxed slack after all).
The size 8 is a great fit & I kept the original seam allowances; there is sufficient ease without the trousers being baggy. The leg length is fine especially given I'll be rolling up the hems. In terms of notches lining up the pieces, incl waistband, these are spot-on. Instructions are also very clear.
I couldn't be bothered to do anything too fancy wrt finishing the seams, rather after straight stitching at the seam allowance, I graded one of the edges, overlocked the other seam edge then pressed the overlooked edge over the graded edge then top-stitched over them - if that makes sense! I made the trousers in a denim chambray polycotton which will be very useful in the summer and tomorrow I'm looking to source a slightly heavier weight cotton to make another pair!
I hope that by including my measurements it helps others to determine what size to plump for - happy sewing!

I downloaded this pattern for free in the 12 Days of Christmas event. I made the blouse with the collar and ties for my daughter out of a Lady McElroy cotton lawn. I checked the measurements and her bust measurement was spot on for a size 3, however looking at the finished garment measurements I decided to size down one size. The finished garment is very large. I could wear it and it still fits loosely. I should be a size 5 according to the chart.
It’s a well drafted pattern. I used interfacing on my facings but I don’t know if I would do that next time since it ends up being more like a sort of bias binding. Also when attaching the facing, if you add the collar, there’s a lot of fabric to work with and with all the corners it can be confusing. I pinned well, went slowly, and it all worked rather magically as the designer intended.
It’s a very cute blouse but check those finished garment measurements closely before deciding which size to make.

I enjoyed making this and it comes together really fast. This is more of a bralette than strongly supportive bra. The fit and support all comes from the large amount of elastic that you use, and if you use a strong powermesh to line the bra, which I did. It's not wired and the sizing categories are broad. I would strongly recommend making this up in a practice powermesh fabric to check the sizing before you make it in the finished fabric. i made one for me and one for a friend. It turns out that we take the same size, despite measurements that put us in different categories. Because it's a stretch lace and powermesh make, I think it's more forgiving than some.. The instructions said to stick the main fabric and the lining together with a spray baste adhesive, and then treat as one fabriuc. I didn't do this because I didn't have the spray and it would also have left me with raw edges on the inside of the cups. I made the lace and the lining cups up separately and then attached them wrong sides together. Which probably made it harder overall but I prefer the finish.
Overall it's really pretty and nice to experiment with stretch lace.

I really enjoyed making this. I like the fitted style and the ease of movement that comes from having the loose cape sleeves rather than a fitted sleeve that you ease in. The pattern was rated as advanced. There were one or two things about it that were more technically challenging, such as welted pockets and lots of button holes. It's also got a pleat in the centre back of the lining fabric, which improves the fit as you get more reach. I've not made this style of garment before and found the method of putting in the cape sleeves different, but actually easier than a set-in sleeve. I had to read the instructions a couple of times before I got the idea- you attach the sleeve by sewing it along the princess seam of the front and back. The pattern needed barely any adjustment to fit me, which I was very pleased by. I moved the pocket up 2 inches because I have a high waist. I normally have to move the shoulders inwards but didn't even need to do that because the cape sleeve just drapes over the shoulder. The thing I found most challenging was probably my own fault. I was using a pretty heavy fabric, and my machine (which is just a basic janome, nothing fancy) was struggling with the thickness of the layers and the weight. You are putting lots of layers through the machine at once, so I would recommend using a lighter wool or something similar unless you have something that can manage heavy fabrics. It was hard to squeeze all the layers under the sewing foot.
Overall I was really pleased, the cape looks very tailored and fancy. I will make more..

First thing to note, the only pattern pieces included are the bases for the tote and backpack. All other pieces are cut directly from your fabric and you will need a gridded ruler to ensure accuracy. Also, definitely label all your pieces so you don’t get confused when constructing.
The instructions are comprehensive and include good, clear diagrams. I used the recommended foam, interfacing, and notions. I didn’t like sewing with the soft and stable foam it was very bulky in areas, but it does work a treat in the finished bag. I am really pleased with the rucksack and will definitely go on and make the tote next.


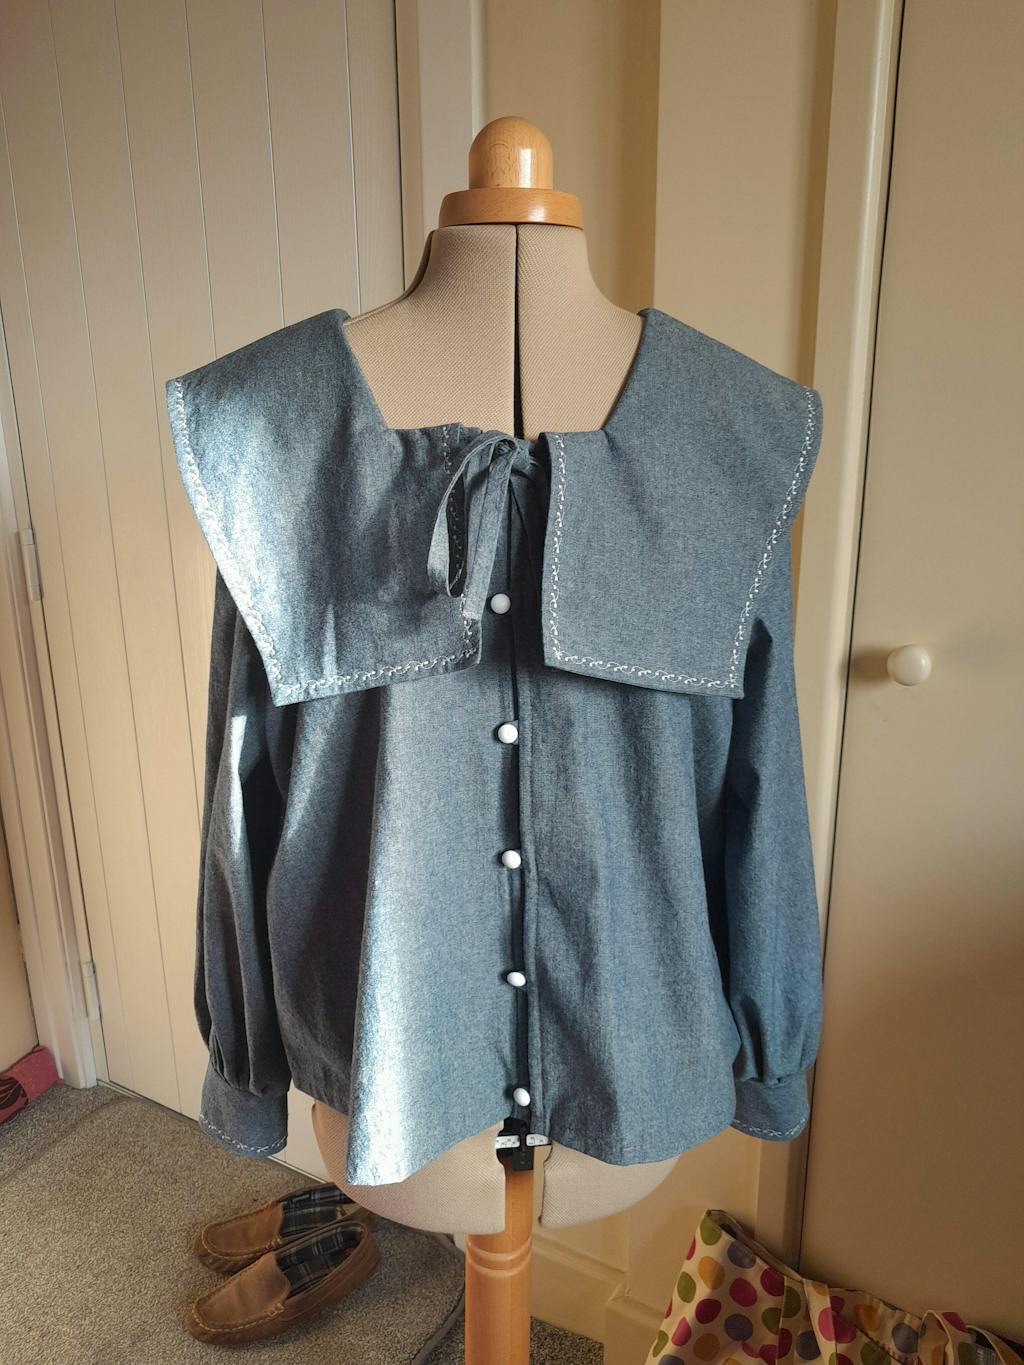
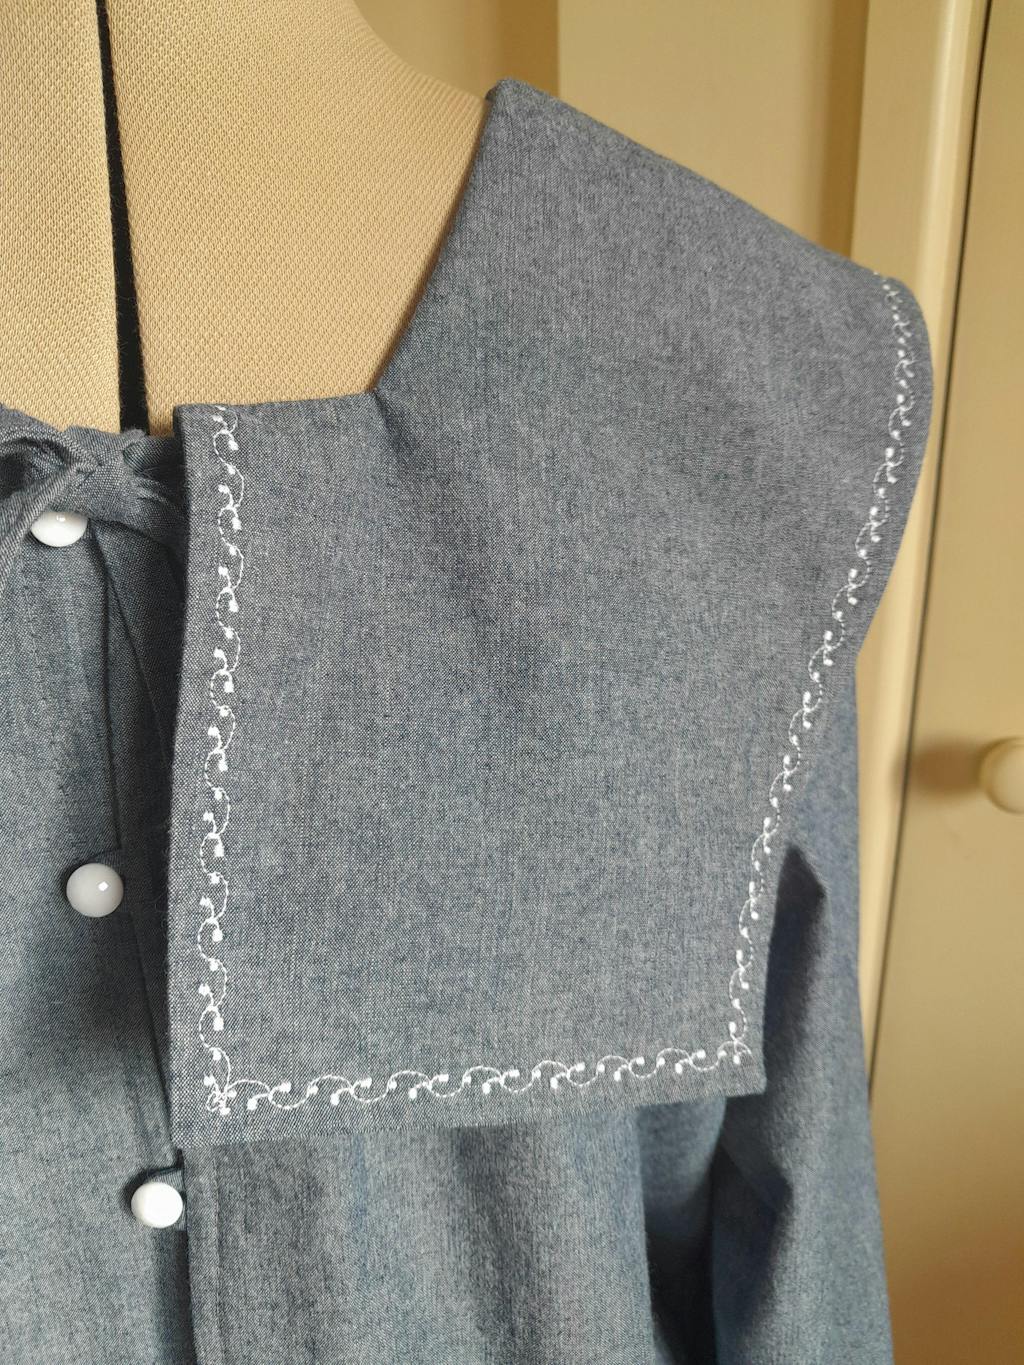
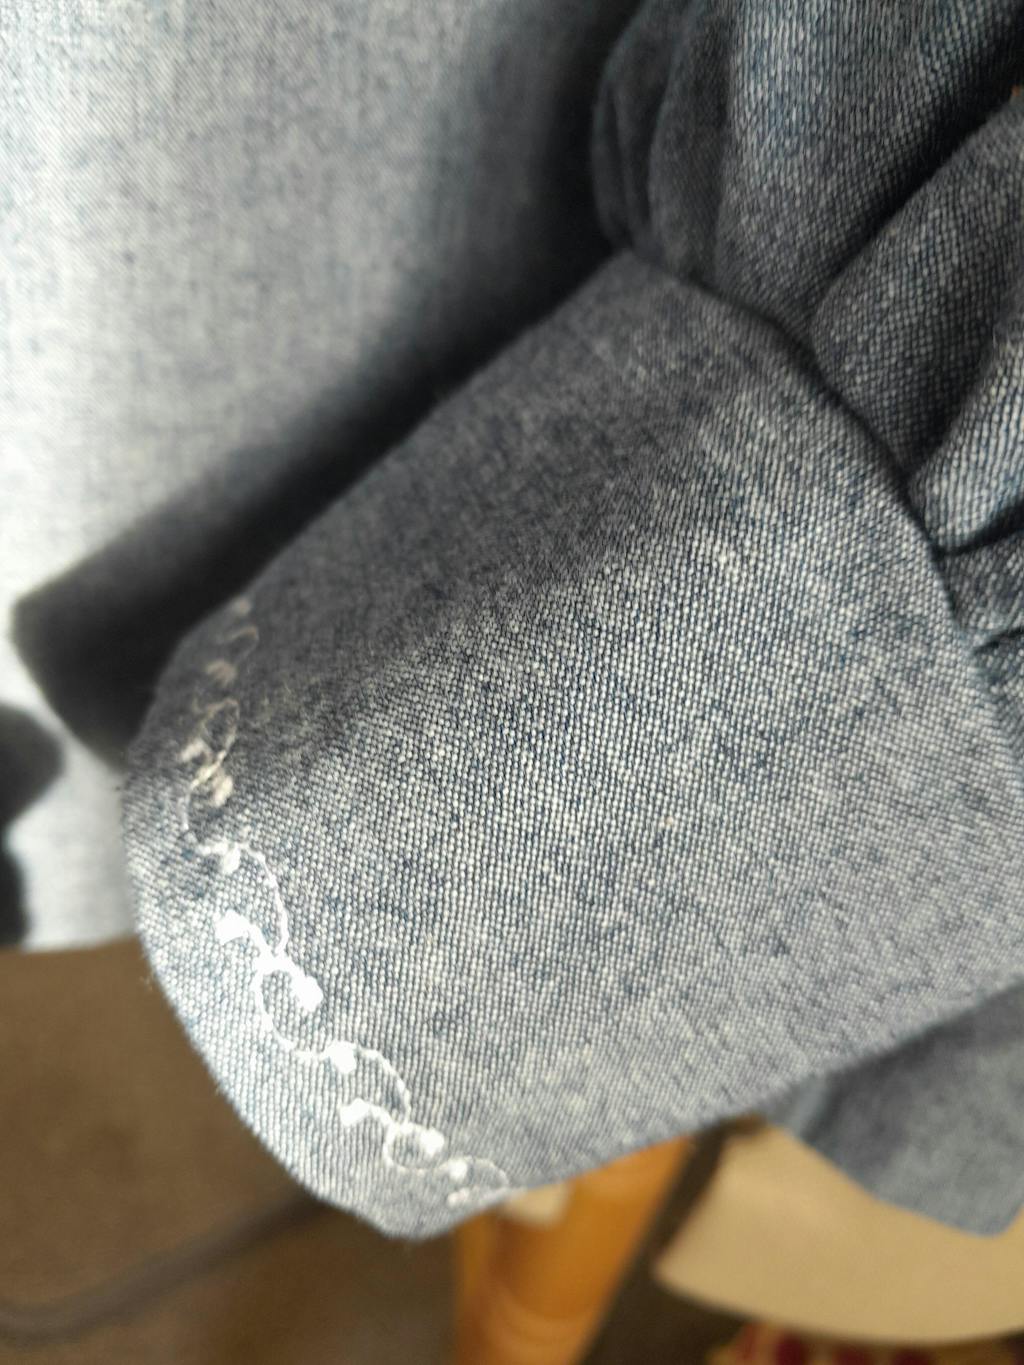
I received this lovely pattern through The Foldline's 12 Days of Christmas!
I've made it in a chambray from Guthrie and Ghani. I decided to embellish the sailor collar and the cuffs using an embroidery stitch on my Juki sewing machine.
I am delighted with the finished blouse.
These pants are well drafted and super comfortable. They're very popular for a good reason. Great for beginners looking to make their first garments as well.

These pants are very comfortable and stylish. Barrel shape pants are very popular these days and these pants are one of the best patterns I've tried for that shape. Good instructions as well. Will make a bunch more!
