Selected lines


The Fold Line is an award-winning online sewing pattern shop
We are the home for people who love sewing and making their own clothes. We offer an extensive range of paper and digital PDF sewing patterns plus copy shop printing services, shipping worldwide.
Shop our latest patterns
-
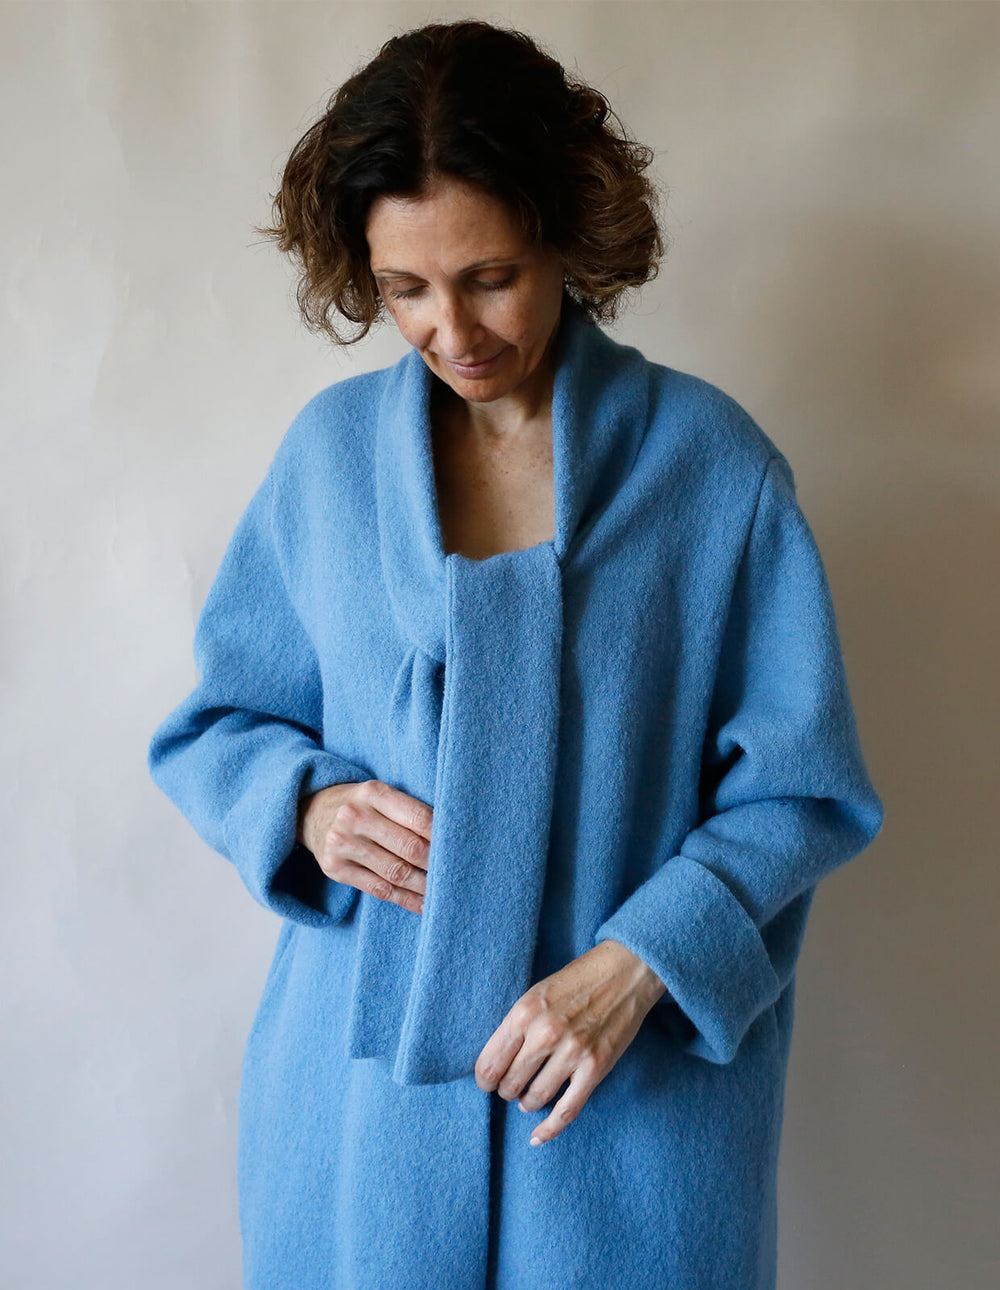
The Makers Atelier The Maker's Atelier Tie Front Cardigan CoatRegular price £14.00 GBPSale price £14.00 GBP Regular price
£14.00 -
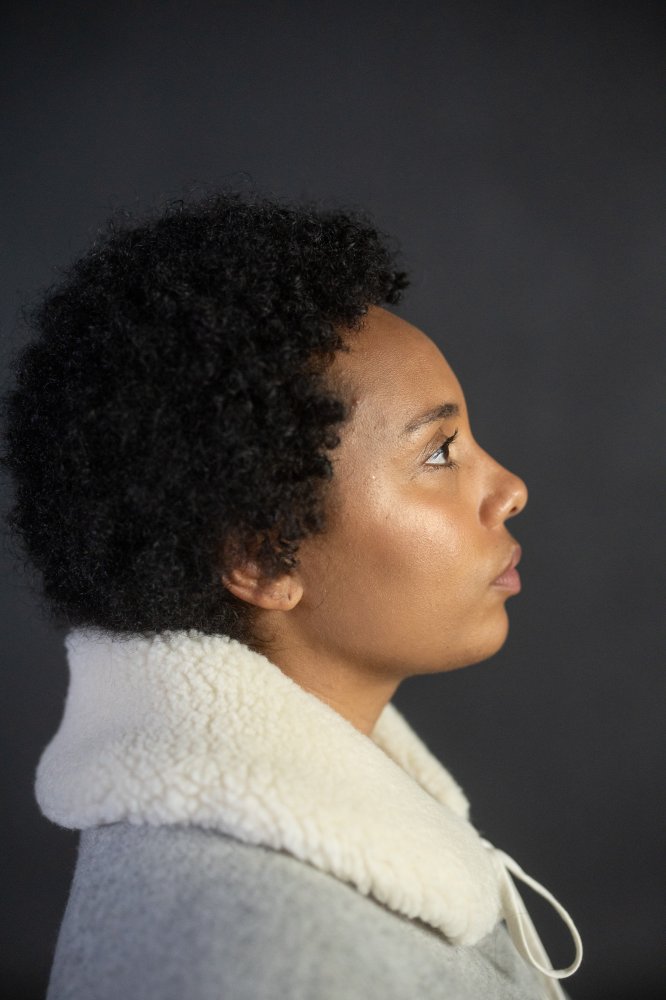
Merchant and Mills Merchant & Mills Willamina Collar PDFRegular price £6.50 GBPSale price £6.50 GBP Regular price
£6.50 -
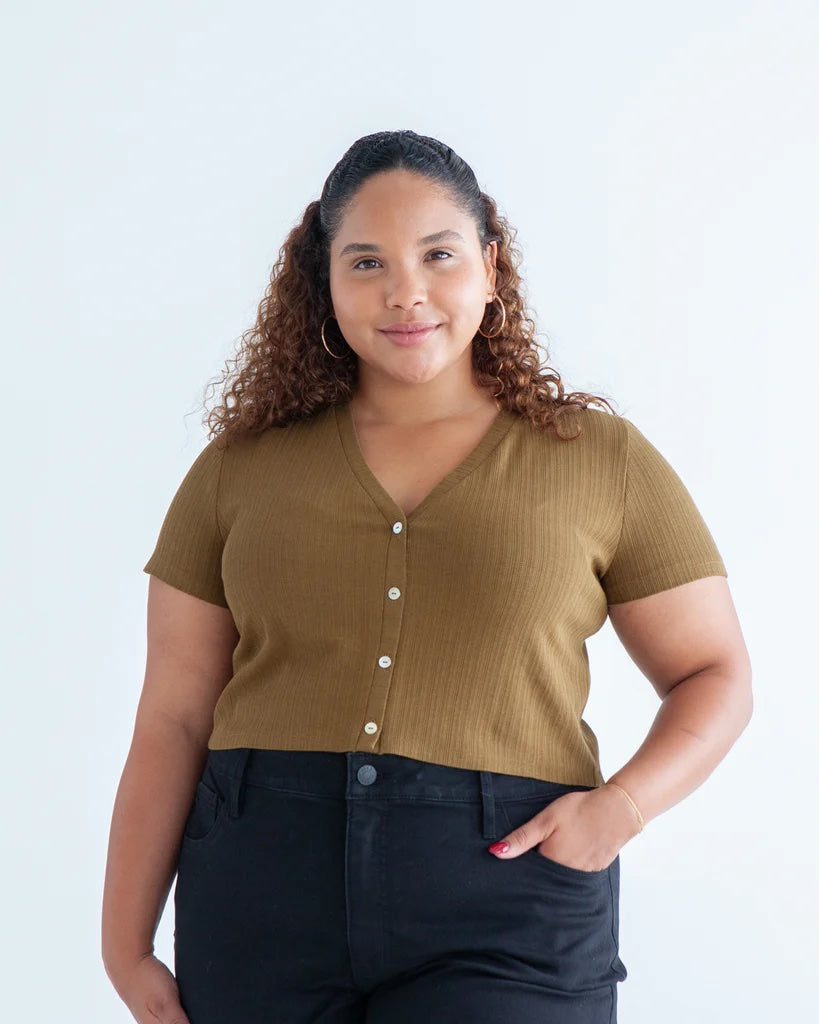
True Bias True Bias Brynn CardiganRegular price £13.00 GBPSale price £13.00 GBP Regular price
£13.00 -
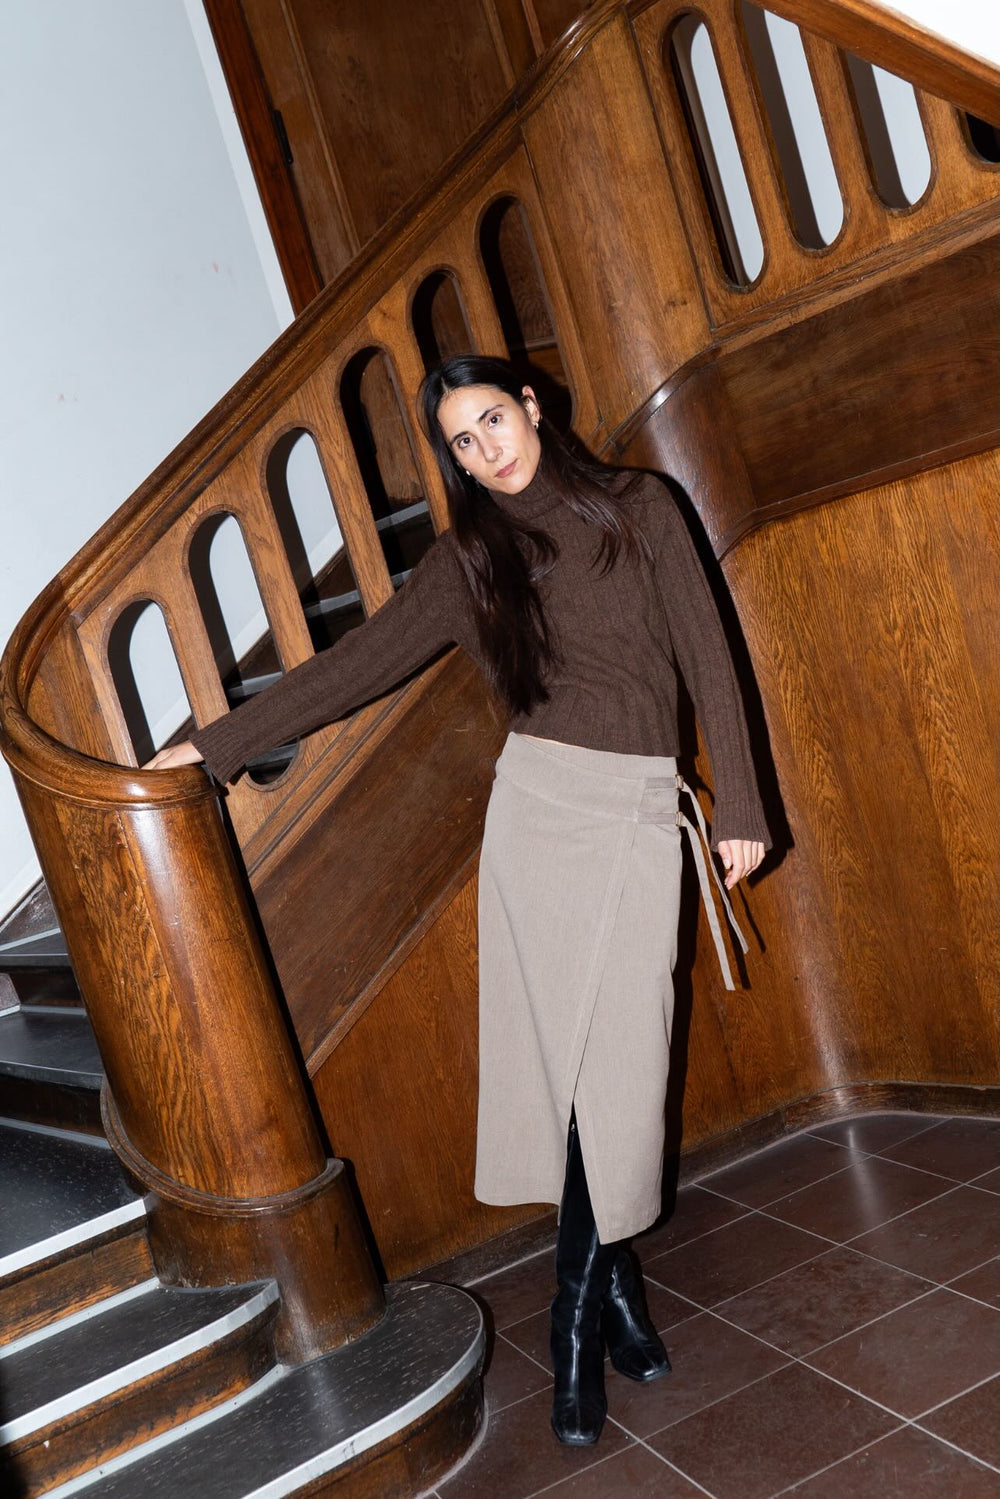
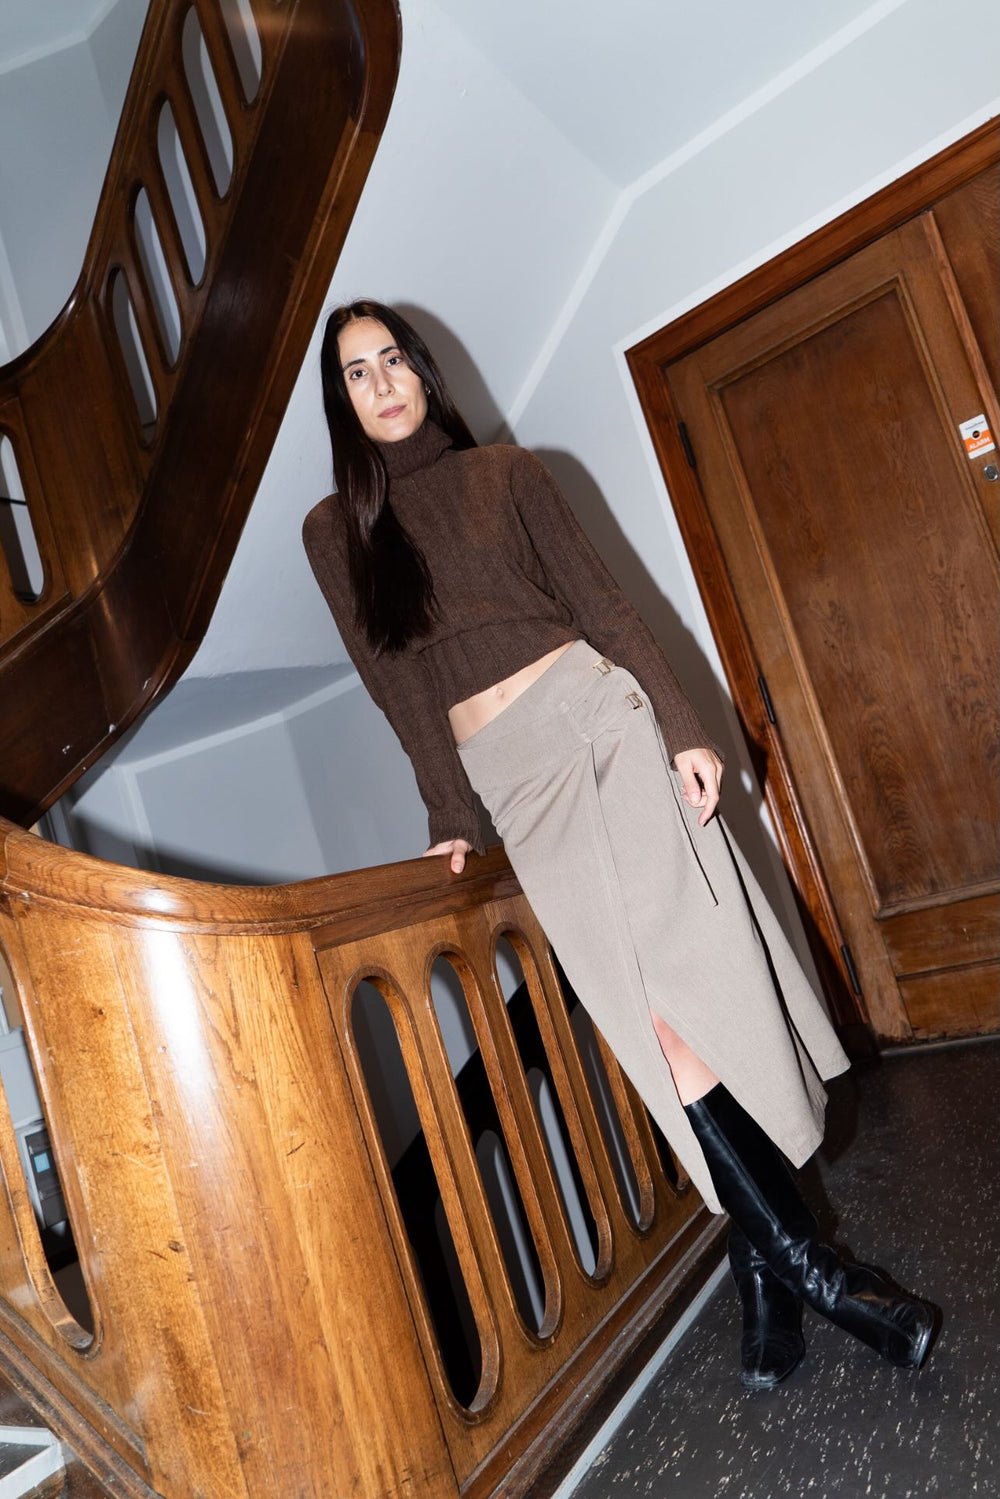
Puff and Pencil Puff and Pencil Buckle SkirtRegular price £11.00 GBPSale price £11.00 GBP Regular price
£11.00 -
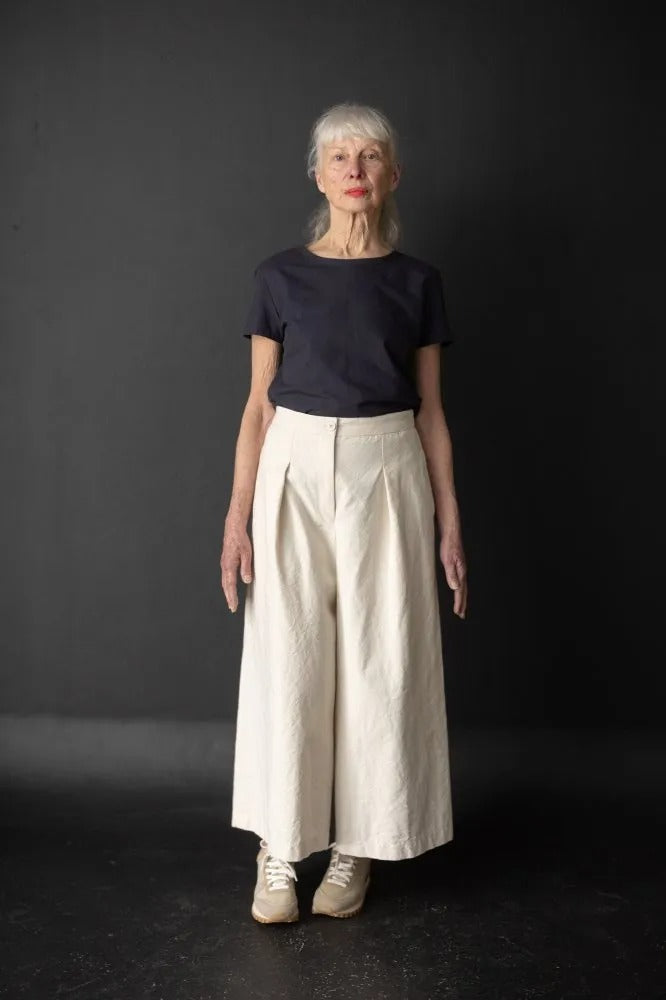
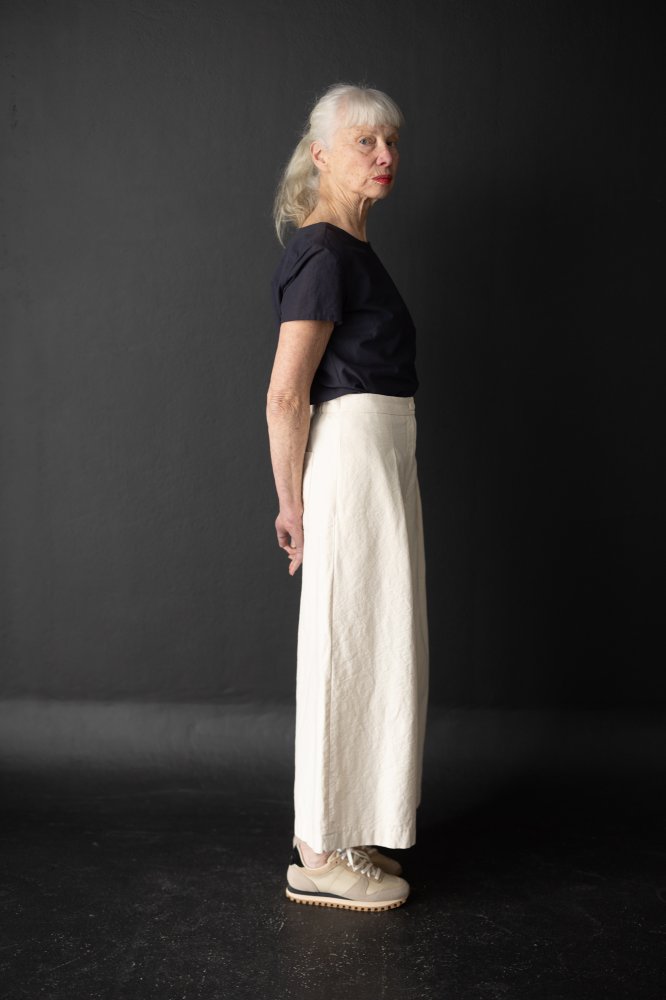
Merchant and Mills Merchant & Mills Juno CulottesRegular price £12.50 GBPSale price £12.50 GBP Regular price
£12.50 -
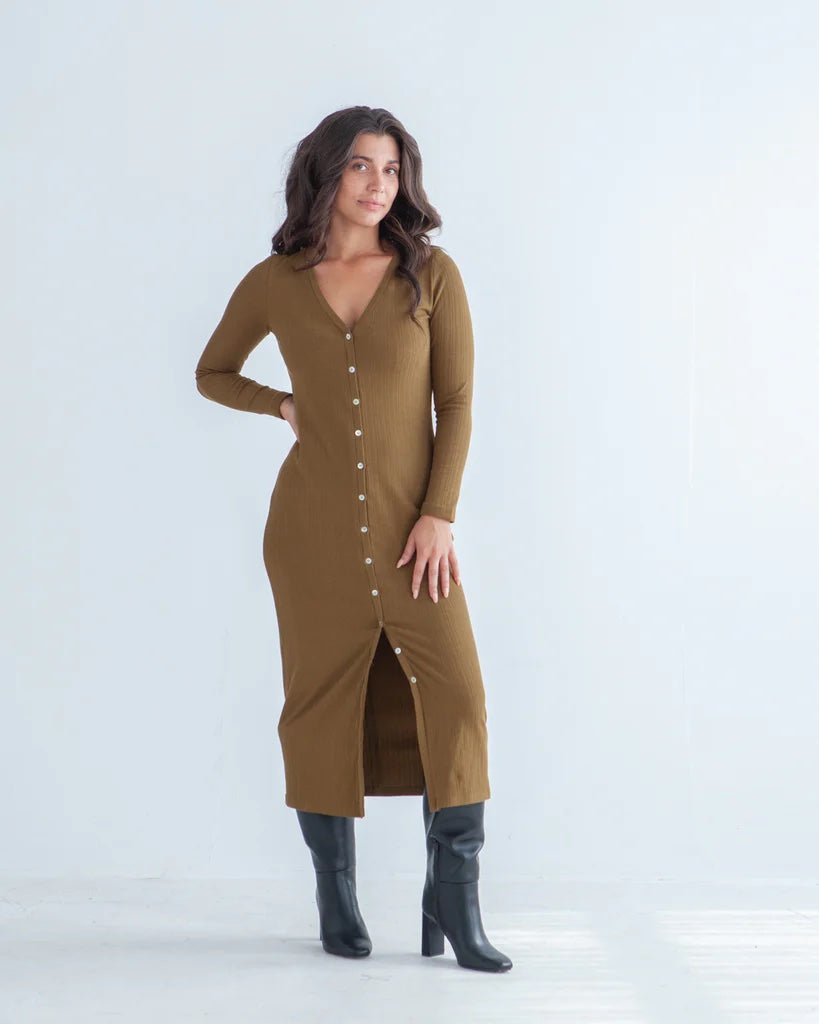
Itch to Stitch Itch to Stitch Teifi CardiganRegular price £11.00 GBPSale price £11.00 GBP Regular price
£11.00 -
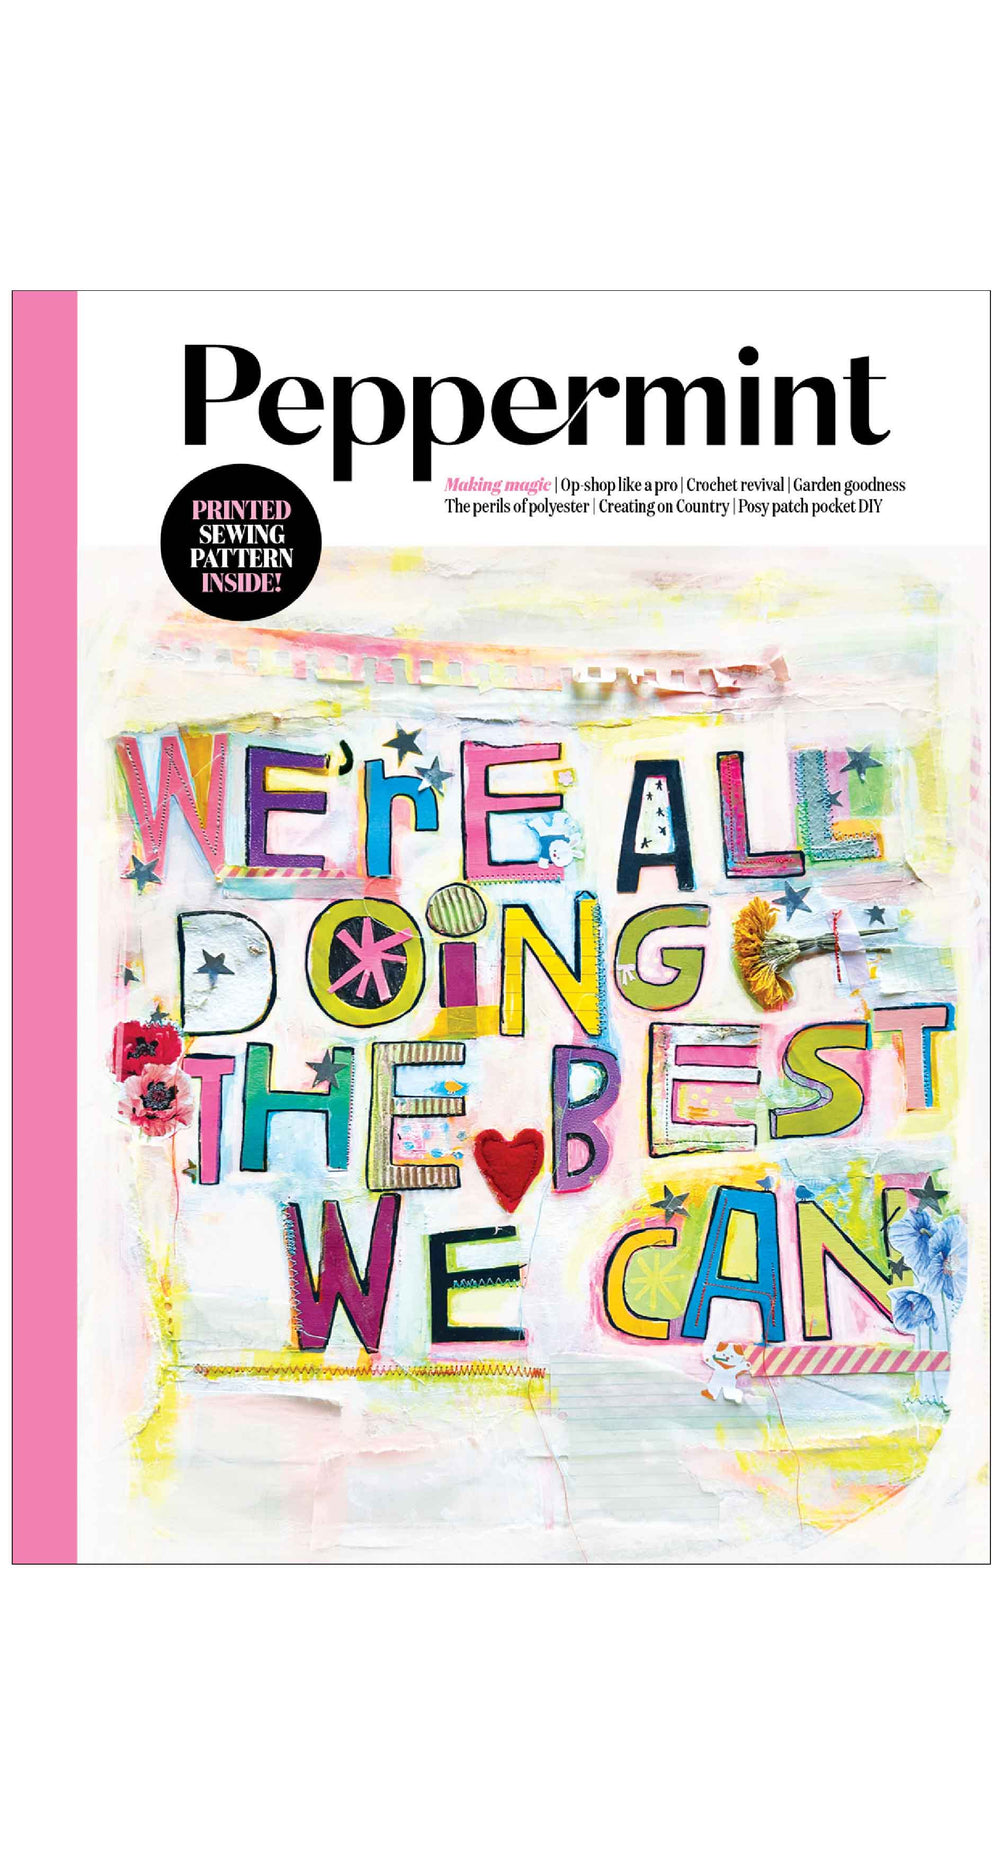
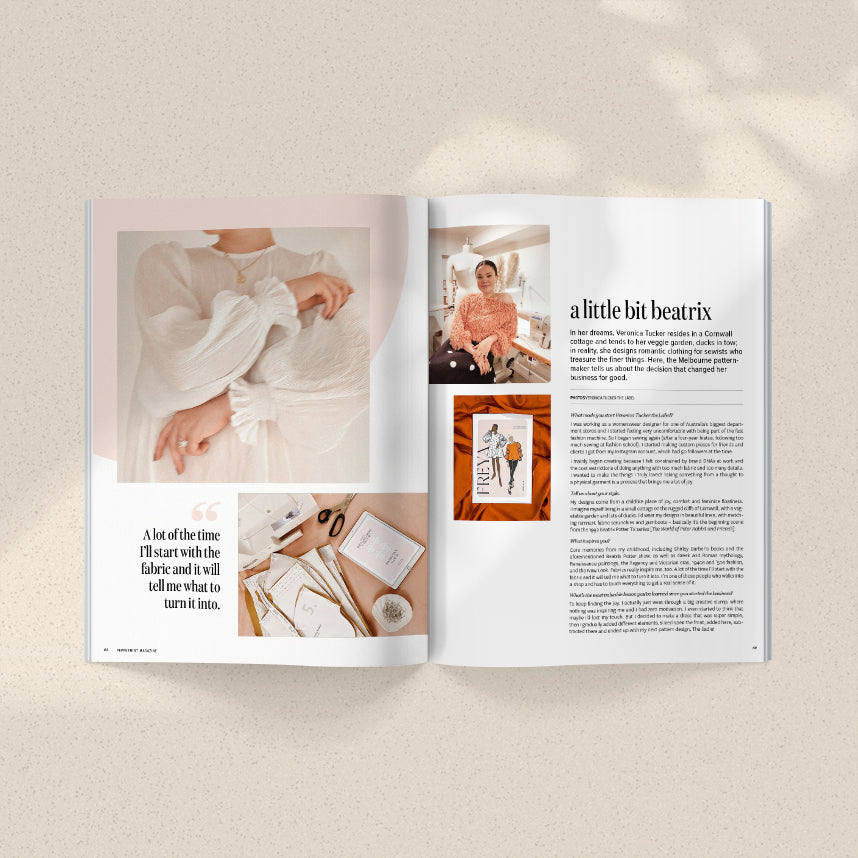
Peppermint Peppermint Magazine Issue 62Regular price £18.00 GBPSale price £18.00 GBP Regular price
£18.00 -
OUR BRANDS
PATTERN EXPERTS
With more than 10 years of experience working with independent designers, we are the sewing pattern experts. With our expert knowledge and award-winning online shop, we are here to help you find the perfect project. Let us inspire your next make with our weekly blogs, vlogs and newsletters, bringing you the latest pattern releases, trends and sewing community news.
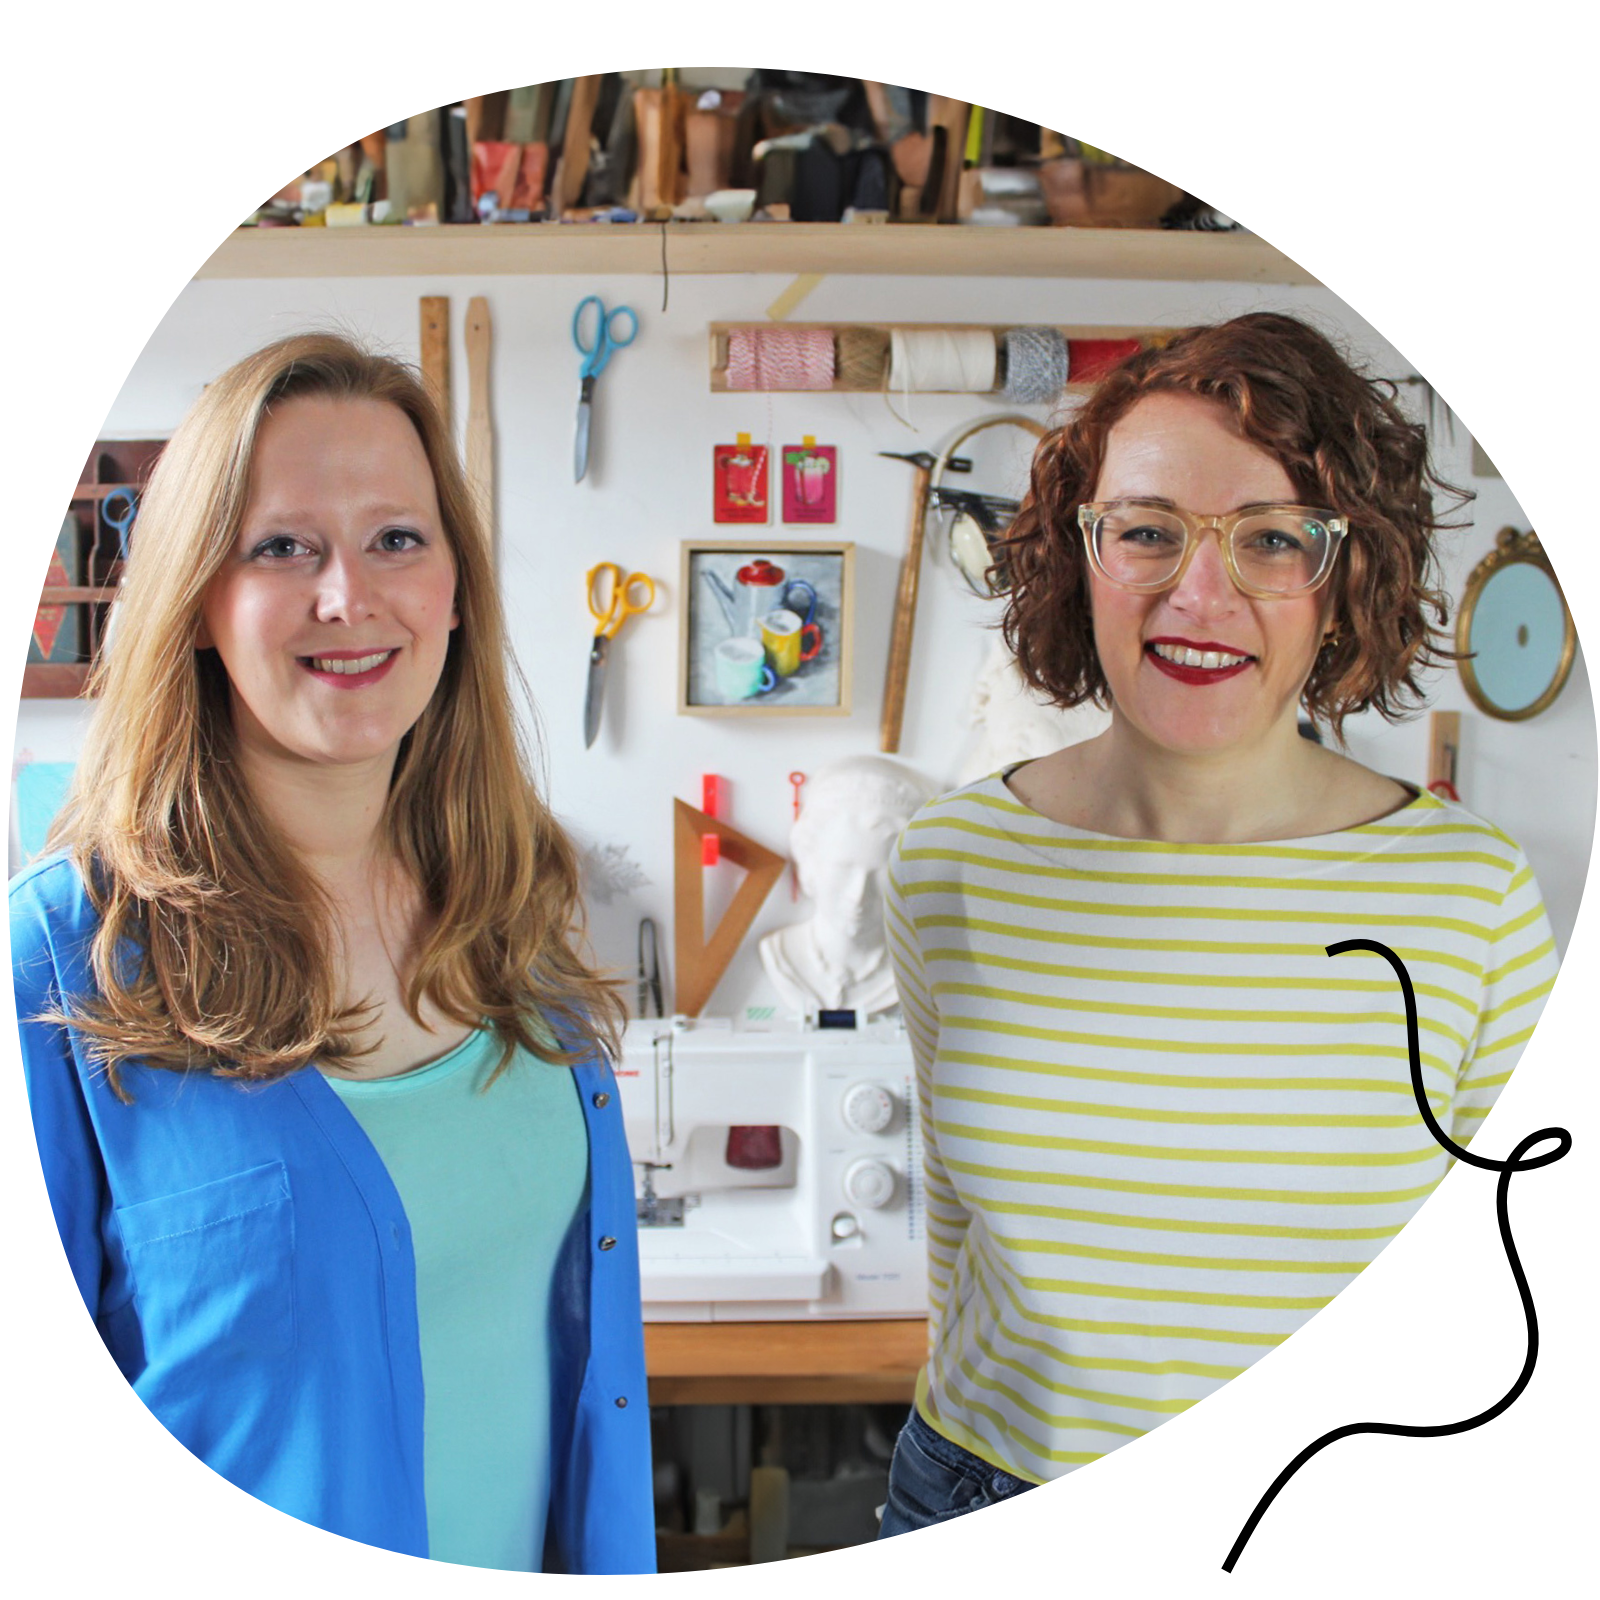
Kate & Rachel
OUR VALUES
-

We're a small female founded business
-

We champion indie designers
-

Let us help you find the perfect pattern
-
We donate to a different charity each month
Read our blog
-
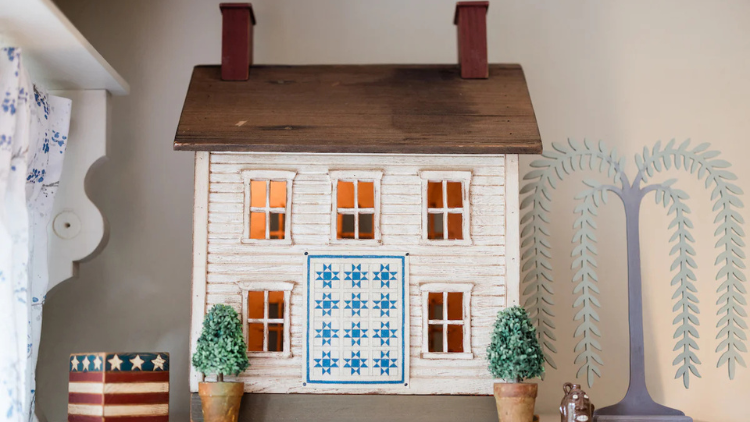
THE EDIT: NEW SEWING PATTERN RELEASES - 17 NOVEMBER
If you love sewing trousers (and wearing them), you will enjoy this update, as I have three top-notch patterns to walk you through. There are also some cosy new additions that you can curl up in or with.. Whether you are a novice or experienced sewist, we have a project for you! -
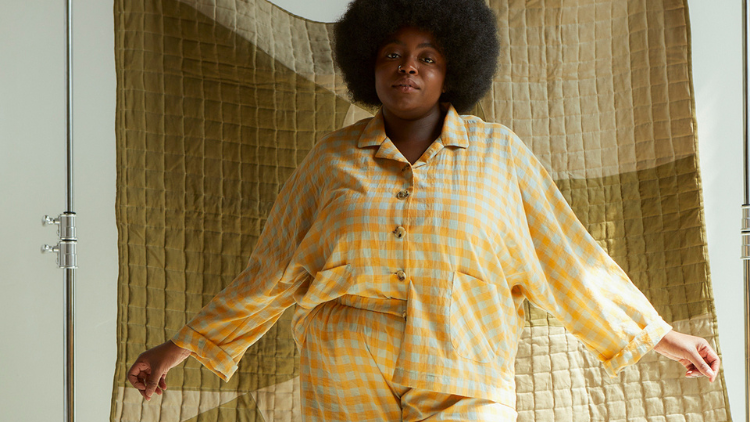
TOP 10 PYJAMA SEWING PATTERNS
Are you planning to sew a pair of pyjamas to wear over the festive season? To save you time searching for the perfect pyjama sewing pattern, I've edited them down to 10 great designs. There are styles for advanced sewers and beginner dressmakers alike. -

THE EDIT: NEW SEWING PATTERN RELEASES - 10 NOVEMBER
Are you ready for this week's Edit? We are welcoming our latest pattern designer crush - aka our new bestie, the most delightful woven labels and I'll share a great pattern dupe for the coveted Sézane collared cardi.
customers love our patterns
Let customers speak for us
from 3204 reviewsI printed this at home and made for my daughter as a pyjama top. I made a size 34. Modifications being taking 2 inches off the bottom, omitting the collar for a satin trim facing and omitting the cuffs for elastic instead. It goes perfectly with Atelier Brunette Le Pyjama bottoms and using end of the line cotton sateen from Fabworks. Overall a great make.

I loved making this dress it went together like a dream. I actually hacked it following a post I saw using the Eva dress as a pinafore for a warmer outfit. The blog was WINTER EVA TUNIC DRESS IN NERO KUREPU and changed the shape of the armholes and neck. I don’t usually have the skills to hack patterns but this one was very simple. I had read a review that said the bodice was a little on the small so I did a mock up and it fitted perfectly but ever doubtful I did then enlarge it a tiny bit in case I wanted a thicker jumper underneath.
The only other alterations I did was to abandon cutting out bias binding as I decided to line the bodice. That worked really well and I think improved the dress. I also used French seams. I bought bias binding for the hem as my fabric, lambswool flannel frayed like mad.
I really like the way the dress is fitted but so comfortable to wear, the shape is great. I’ve made so many baggy, oversized dresses lately that I like on others but have decided really don’t suit me. I can see this been used for summer dresses and thinking about making one in denim.
I totally recommend this pattern

What a great service. I bought a pattern, made an absolute howler of downloading it. They sent me another link to order the AO size. When I managed to send that, they emailed to check I had ordered the right size ( which I had not) . Fab products. Fab system. Top quality customer service.

I love this shirt pattern. It's so useful and a very stylish shape. I've made three and have one under construction. I lengthened the body by 8cm and the sleeves by 2cm as I prefer a slightly longer shirt. The on-line sew-along video from Friday Pattern Company was very useful to confirm I was doing the right thing. There are only a couple of tricky moments during the sew. I have found it difficult to ensure the very end of the collar is sewn in properly. It is also difficult to ensure the stitching on the interfacing is symmetric when you are sewing from the wrong side. This may not be a problem if you are precise and the facing is lined up nicely, but on the solid colour Donny I made, I was way off. I finally decide to unpick it and, rather than sew down the facing, I just tacked it to the front seam on the inside. It works extremely well and the shirt looks more formal without the stitching. I'll use that technique for the next solid Donny! Slight asymmetry is not really noticeable on the prints.

This is my second pair of Belleville jeans, made in a heavy gabardine twill from Fabric Godmother. It was brilliant to work with and I will get a lot of wear from these trousers. I had to do a bit of grading between sizes to fit the waist and the hips and this pair is smaller than the first which needed a belt!
The pattern is clear and straightforward. I had to do a bit of trimming at the front opening to reduce the bulk of folded interfacing.
Weirdly, the pattern also called for an overlong zip and then gave instructions for shortening it at the top end. I bought a seven instead of eight inch zip which fitted without the faff.
If I were going to shorten a zip, I would do so at the bottom end.

Tessuti were already one of my favourite pattern brands before this, and I am so over the moon with this pattern. It is so stylish. I love the turned back cuffs and the collar shape. It will certainly be a nice warm winter coat.
I used a 95% wool/5% cashmere mix in dark red with pink and navy check and lined the pockets in contrasting pink fleece for warmth. The satin binding on the inside is pink as well.
The instructions were easy to follow. I like that there are photos rather than line drawings. I find Tessuti are a loose style so I made an S. I would buy a UK12 to 14 if I was buying ready made.

Like everyone says it's all about the sleeves! This is a simple dress that can easily styled up or down. I used a polyester viscose check which is really cosy and warm. The pattern as usual from M & M is well designed and instructions easy to follow. I added patch pockets and a tie belt as it felt a bit too wide on its own plus a tuck halfway down the sleeves which helps with the weight of the voluminous sleeves especially in a thicker fabric. Can't recommend it enough as a great transitional dress to wear with boots.

This was the first time I made a Tilly and the Buttons pattern. I had bought some teal cotton drill fabric from my local recycle shop which I was going to use for myself but my daughter wanted something for herself. She is a very tall, slim figured 10 year old.
I made a UK6 and only had to take the outside leg in slightly and add darts at the back above the pockets and a small tuck at the front.
I was really pleased with how they turned out and more importantly she is too.
I think it is a great pattern and the instructions were easy to follow.

Seeing this pattern in an email about the most popular Oct patterns, reminded me that I have already made it, using canvas purchased at the Knitting and Stitching show. All the French Navy patterns I have made have been good. This one has a few typos: 'gaurd' for guard and 'basing' for basting for example. You need to be aware of differences in seam allowances. Also, next time (and there will definitely be one) I will finish the waist band and insert the elastic through one of the ends. It was difficult not to catch the 2" elastic when catching down the inside hem.
Although I was worried that the trousers seemed small, they came up true to size and needed no adjustments on me. They are definite for a forthcoming rugged holiday!
This being the first make, I included all the "work pants" bells and whistles. They are just for decoration though as, generally, I carry my tools in a box.

I fell in love with the pattern after it was sold out on Foldline so splashed out on having it posted from France. I’ve made this to wear at Christmas. My first time doing a cuff, two part sleeves and invisible zip (and also my first time using a slippery crepe back satin 😬). I found the instructions sometimes a little vague and unclear but also used the video tutorial on Maison Fauve’s YouTube channel (it’s in French, but was really helpful to see how things were done). I’m delighted with how it’s turned out, it’s everything I hoped it would be and I've learned a lot. I plan to wear this at Christmas. I’ve splashed out and ordered some of their Reflet fabric to make myself another.

I liked the look of this pattern so much that I bought it straight from the maker but now glad to see it on The Foldline. I managed to get the last of the beautiful striped linen from Ditto so my skirt is as on the model.
I made the loose pleated version and it all went together well. I noted that I should have finished the top edges of the pleats before sewing them. (The pattern does say to do this.) Also that, if making the loose version, there is no need to baste the whole long edge of the pleats.
The skirt is cut so there is no bulking at the waist and so you get a line of stitches on the outside above each pleat and an edge inside. Another time I might consider the thinnest of thin short linings so as to cover the edges and the pockets.
I shall wear this garment a lot along with the Vetiver top I managed to cut from the left over edges of this fabric.
Makers Atelier are great patterns. Have a look if you don't know them.

The Merchant and Mills September Coat has easily reached "favourite coat of the season" status for me - and the best part is, September can be a hit anytime of year ;)
This was my first time trying a Merchant and Mills pattern after admiring their aesthetic for a long time, and I found a lot to love about this design. The coat has both inseam and patch pockets, and I like that the raglan sleeves are both comfy and straightforward to sew. The pattern's design lines also really let the fabric be the star of the show - I love how it shows off a bold print here, and would be equally lovely with a solid colour (which would really make the pockets pop too!)
The pattern has a lot of ease, so I sized down following advice from sewists who had already made the pattern - my measurements put me between 8/10, and I made a 6. I’m really happy with the fit - there’s still plenty of room for some cozy layers! For mods - I took 3” off the length and skipped the cuffs since the wrong side of this fabric is quite noticeable. I also shortened the sleeves by 3” too. I also ended up cutting the back on the fold – partly to preserve the design of this fabric, but also to make the best of my yardage which was significantly under the recommendation!!
I debated adding a lining, but ended up leaving it off - realistically, I’ll get more wear unlined given autumn/winter is pretty warm where I live. The pattern helpfully includes instructions to both add a lining, as well as finish unlined. To keep things pretty inside though, I bias-bound all of the internal seams which adds for a nice pop of colour when its opened!
Fabric is a leopard print cotton drill - I was inspired by Carolyn Bessette-Kennedy's iconic leopard print coat. I like that it has enough structure to hold the design lines, but doesn't feel heavy when worn, since I had planned for this to be an autumn coat for a warmer climate. I've seen some gorgeous versions on IG in oilskin and wool as well though if you're after something warmer!
Shreya | junolovesthread

Used even less fabric than I did before for this change of season construction. It's a Fabric Godmother light cord pinwale and can you tell that the main pieces are cut crosswise and the gusset and pockets are longways? It means that the gusset runs up one leg and down the other. I don't notice any of that!
For those who don't know, there are pointed pockets, large on the front, smaller on the back. You make some tucks at the knees and ankles, the gusset runs round the inseam and then you join the side seams. Clever!
There is an elasticated waist and that's it. I've seen nothing like these trousers and I love them!

I made these from linen bought in Lithuania. It's quite light but holds the all important shape.
The pattern is straightforward with clear instructions for the flat fell and French seams which obviate the need for any overlocking.
I bound the raw edges of the fly and fly extension, taking care that it finished the right way out. Also finished the ankle hems that way.
I did find, maybe because I also bound the front crotch, before joining it with a conventional seam that there was no need to clip to the seams below the zip assembly. I've added a photo showing that and am sorry to have cut the seams.
Last time, I made a note that, at 4c, on the extension, I should make the seam wide enough to match the width of the crotch seam. I must have done that this time as didn't experience an issue.
The sides are joined with French seams. It is then suggested that you top stitch for the look of a "faux" flat fell seam. To avoid wrinkles, this is better done from the right side.

Fleece, make it in fleece. You can keep your regular size and make it baggy, I went to the largest size and have made it super wintery. Use woven for the interfacing and interface the collar in woven as well. When you make the pocket you line it in woven and then bag it out. You can nix the slit if you choose. I've made it plenty of times now and what I do is use basting thread and get that front and neck facing tacked down, it's one you do in front of the telly and I promise you will get it perfect every time. This is 100% a beginner pattern, don't believe a single soul if they say facings are hard, installing your collar so it's enclosed is so much easier than any other method. What you'll find is people get hung up on facings, basting and zips because they were told it's hard or boring, and will go to incredible lengths to avoid them, and then a few years in when they've discovered ladies like lifting pins and needles on the youtubes they'll baste all the things all the time.

Action for ME
This November


