Unmissable Sewing Projects + Goodies
The Fold Line is an award-winning online sewing pattern shop
We are the home for people who love sewing and making their own clothes. We offer an extensive range of paper and digital PDF sewing patterns plus copy shop printing services, shipping worldwide.
shop by category
Shop our latest patterns
-
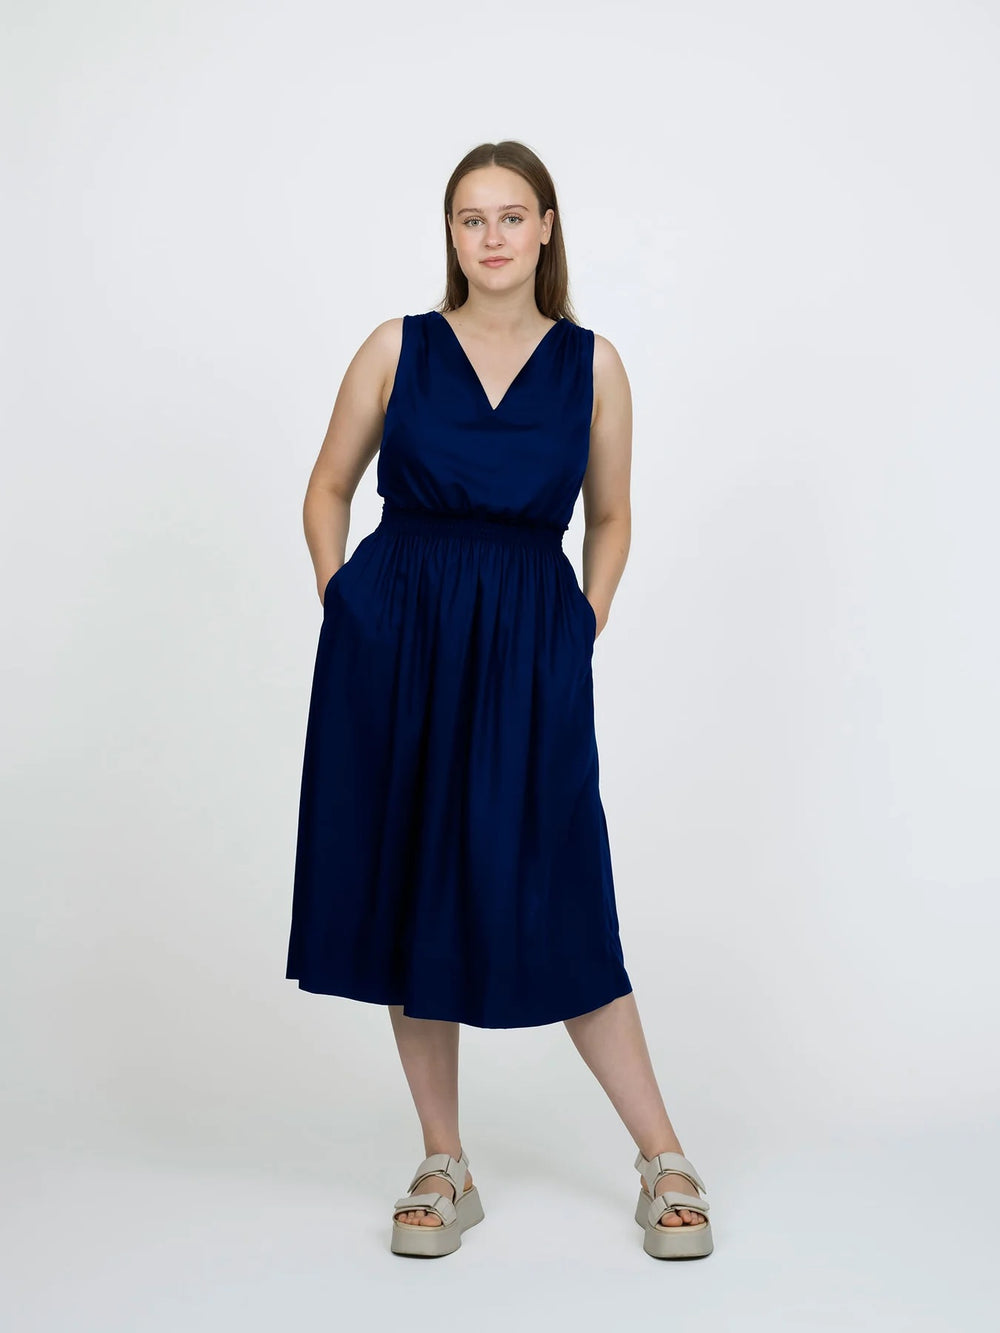
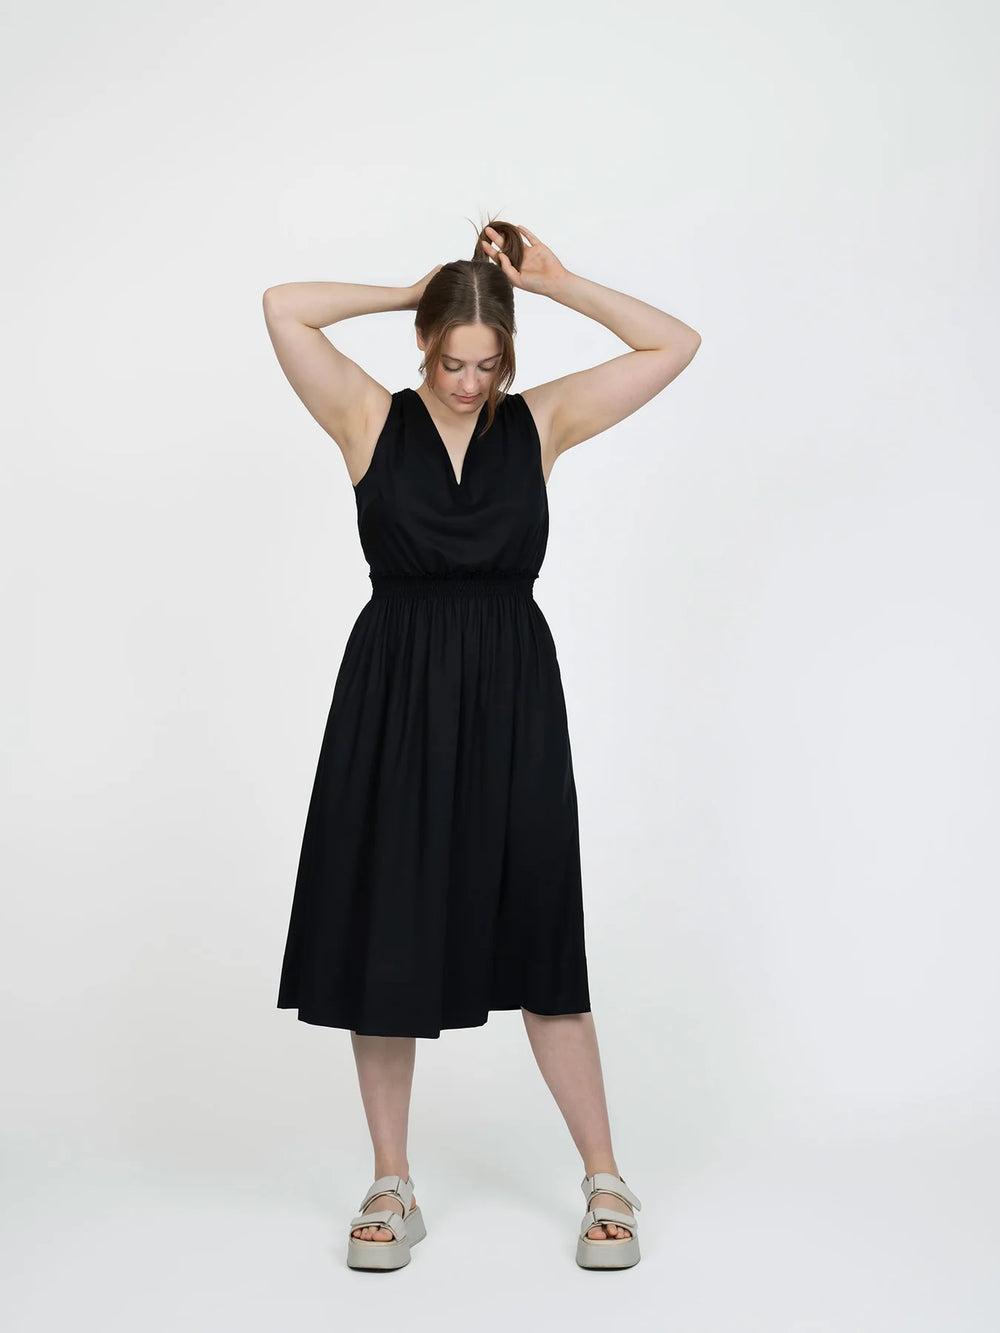
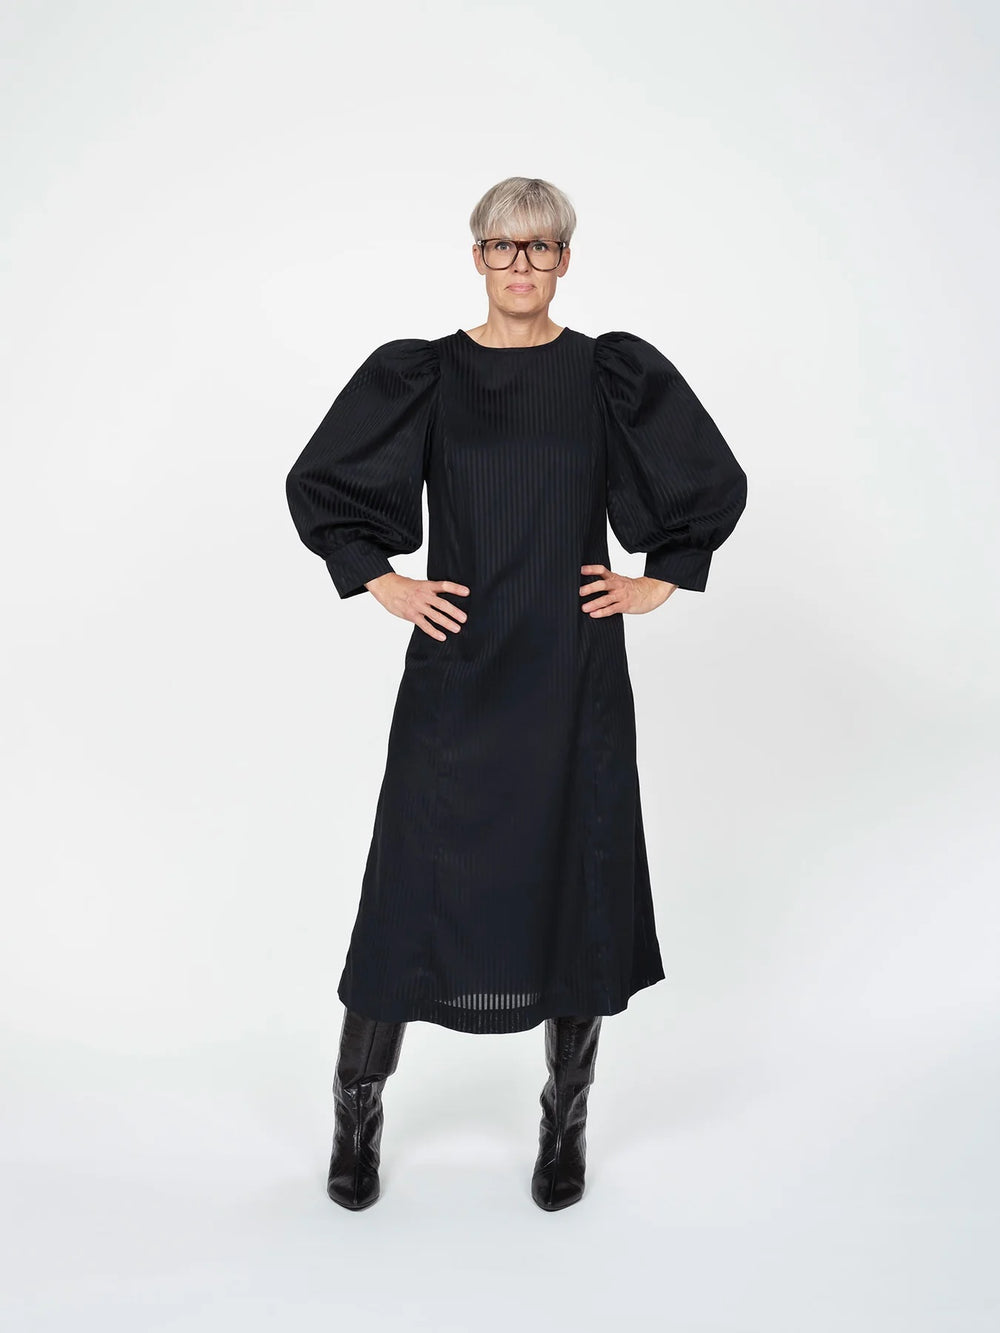
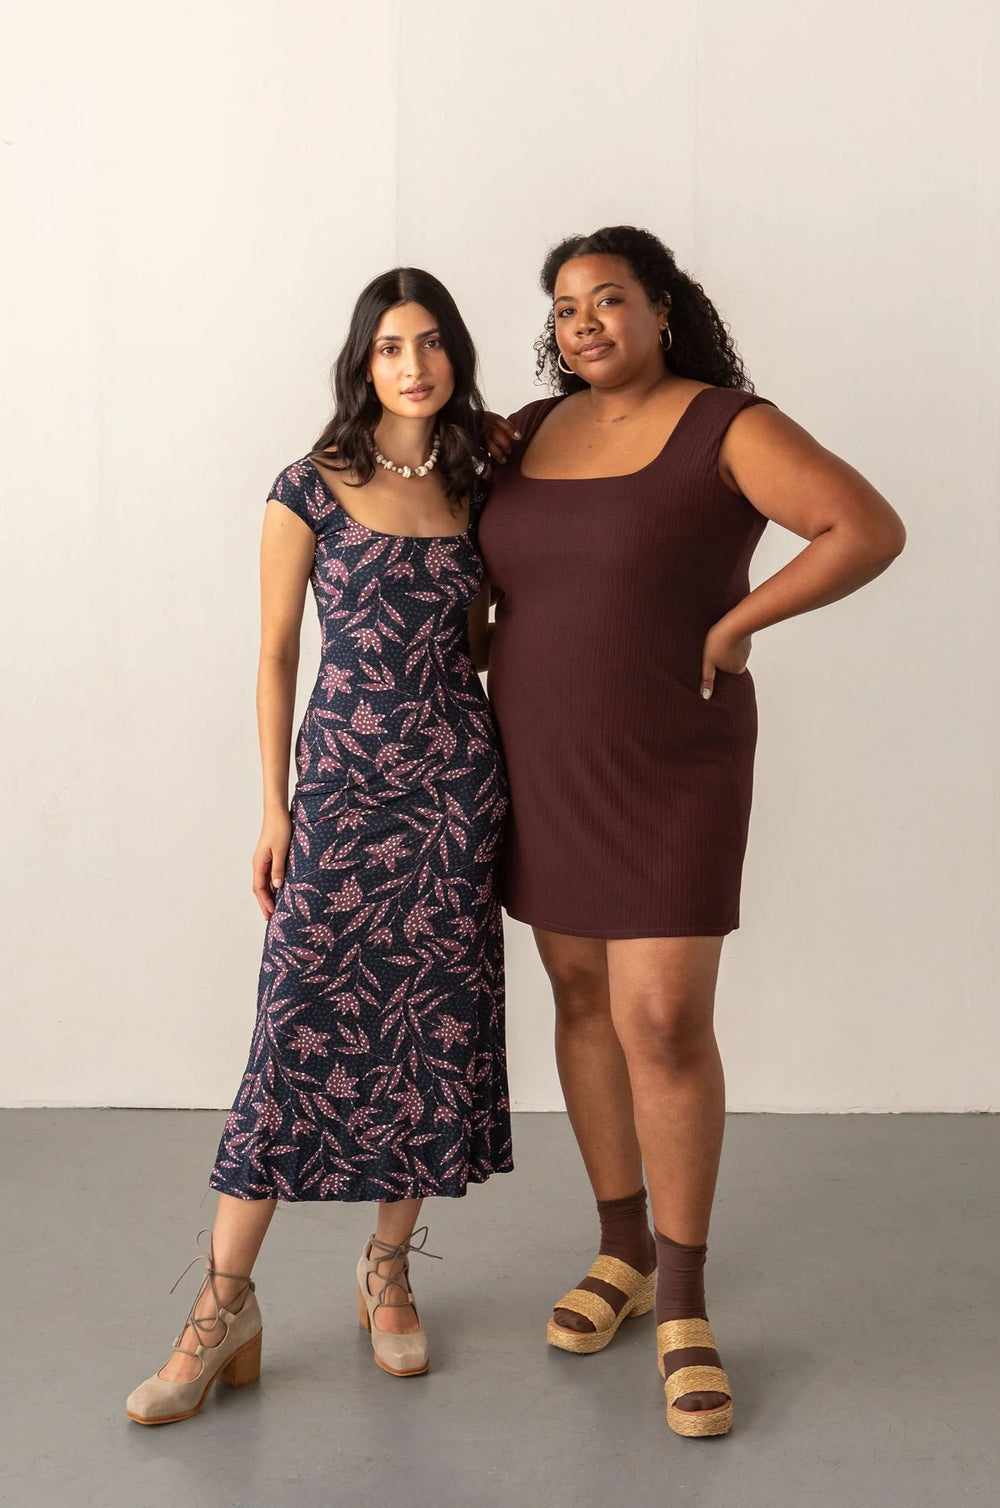
The Assembly Line The Assembly Line Smocked DressRegular price £21.00 GBPSale price £21.00 GBP Regular price
£21.00 -
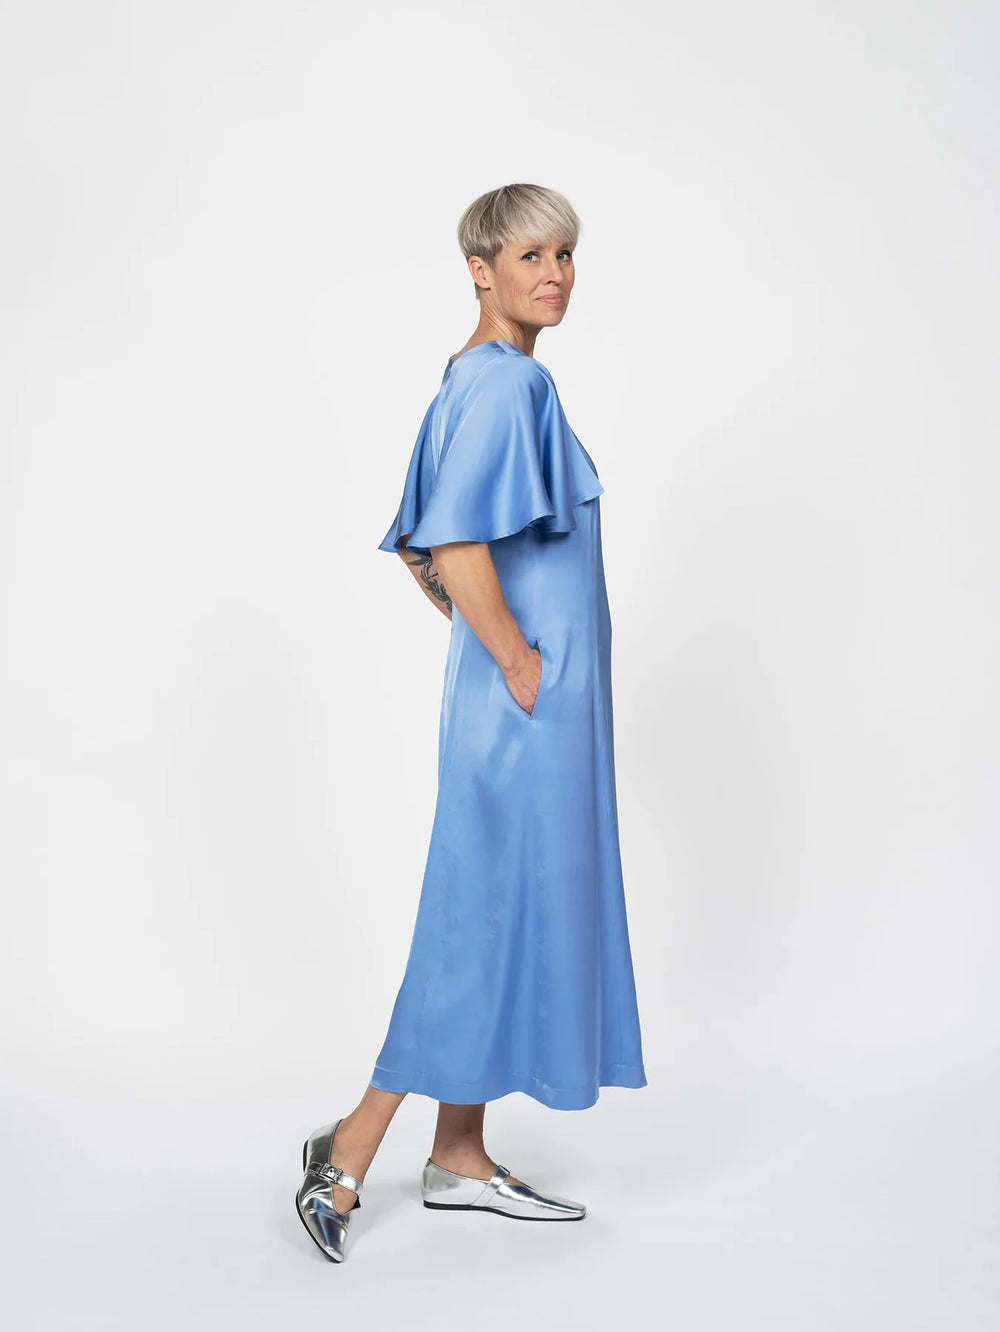
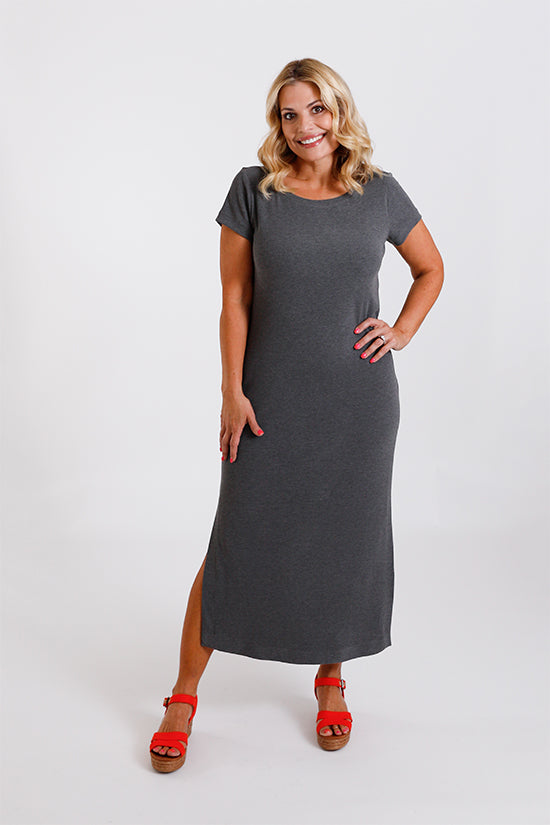
The Assembly Line The Assembly Line Flutter Sleeve DressRegular price £21.00 GBPSale price £21.00 GBP Regular price
£21.00 -
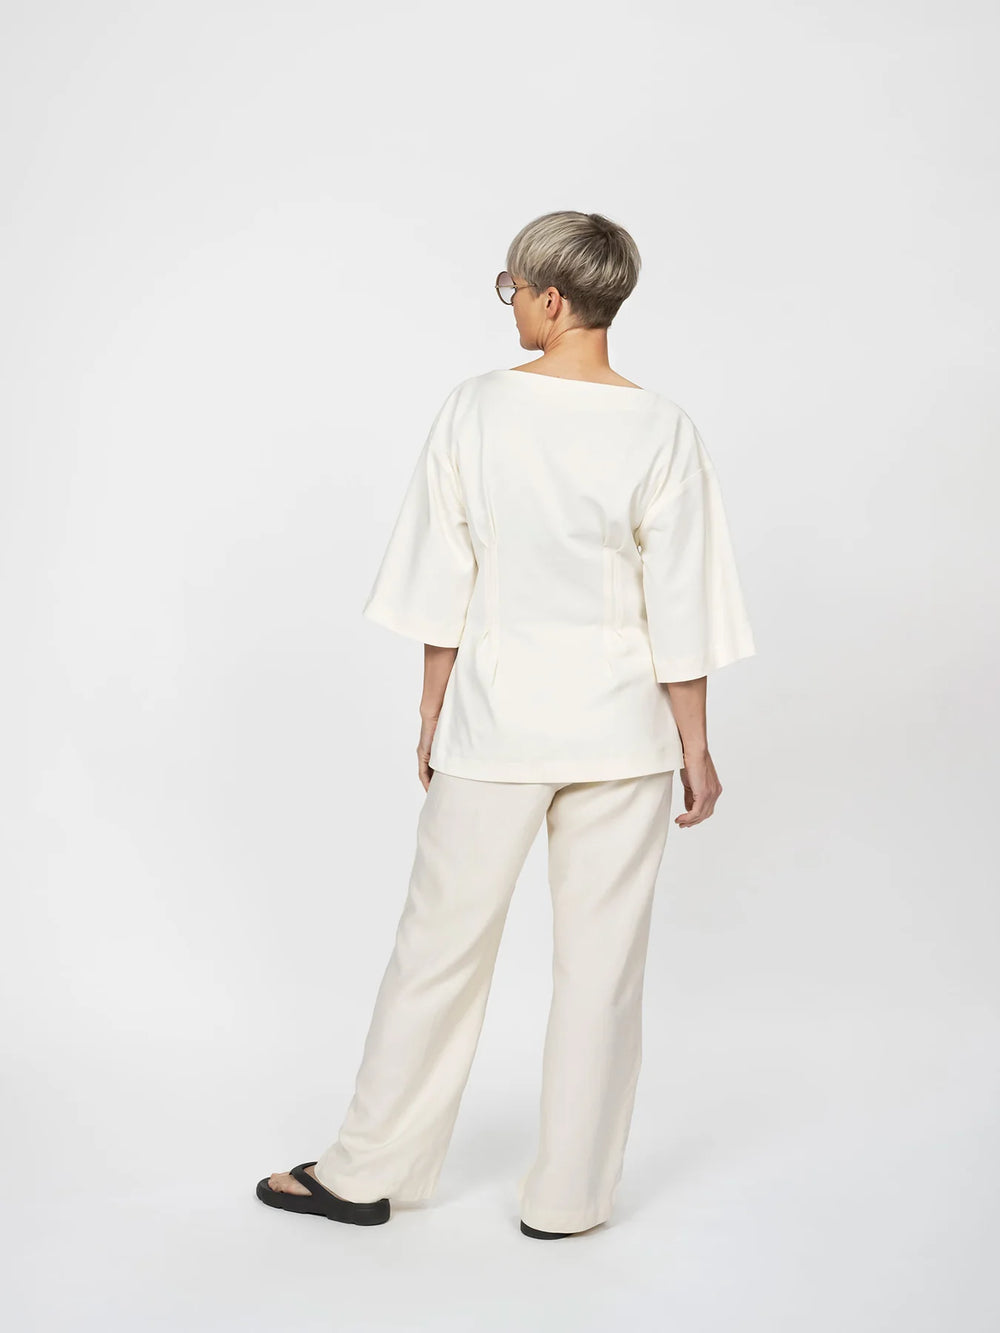
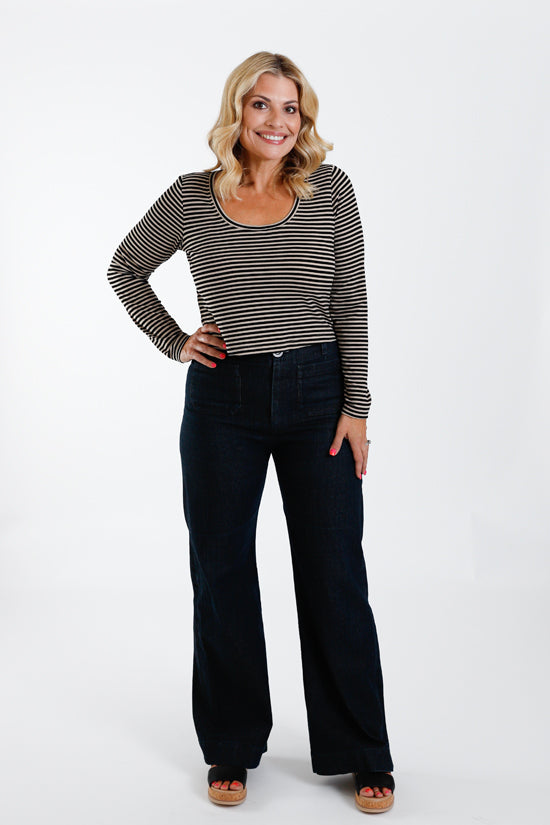
The Assembly Line The Assembly Line Fitted Waist T-shirtRegular price £21.00 GBPSale price £21.00 GBP Regular price
£21.00 -
The Assembly Line The Assembly Line A-line TunicRegular price £21.00 GBPSale price £21.00 GBP Regular price
£21.00 -
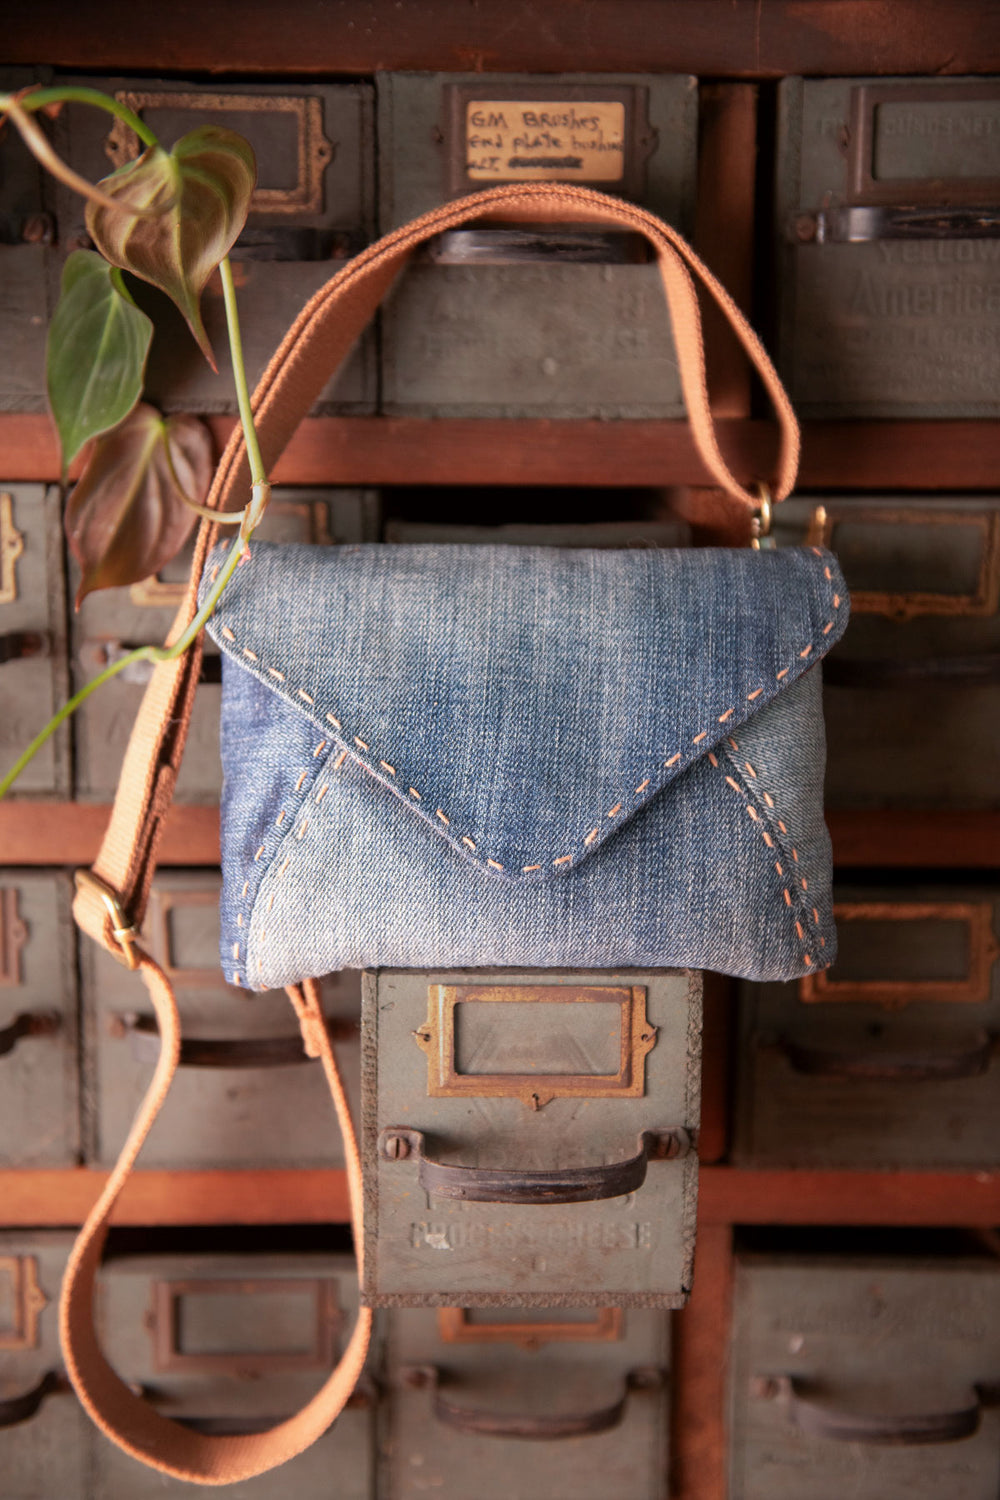
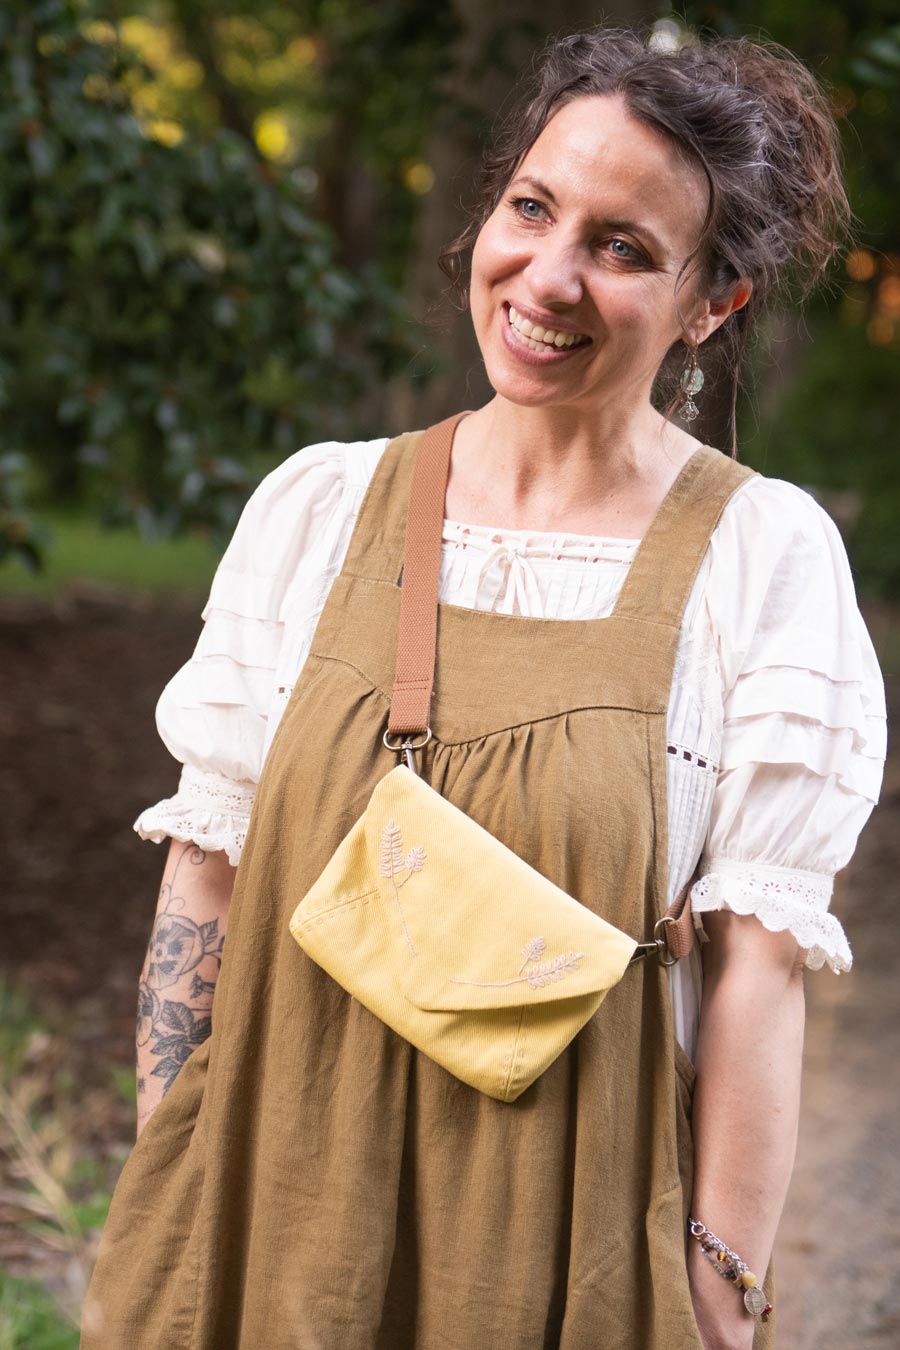
Sew Liberated Sew Liberated Missive BagRegular price £10.00 GBPSale price £10.00 GBP Regular price
£10.00 -
Chalk and Notch Chalk and Notch Tess Dress and TopRegular price £14.50 GBPSale price £14.50 GBP Regular price
£14.50 -
Friday Pattern Company Friday Pattern Company Collins Dress and TopRegular price £13.00 GBPSale price £13.00 GBP Regular price
£13.00 -
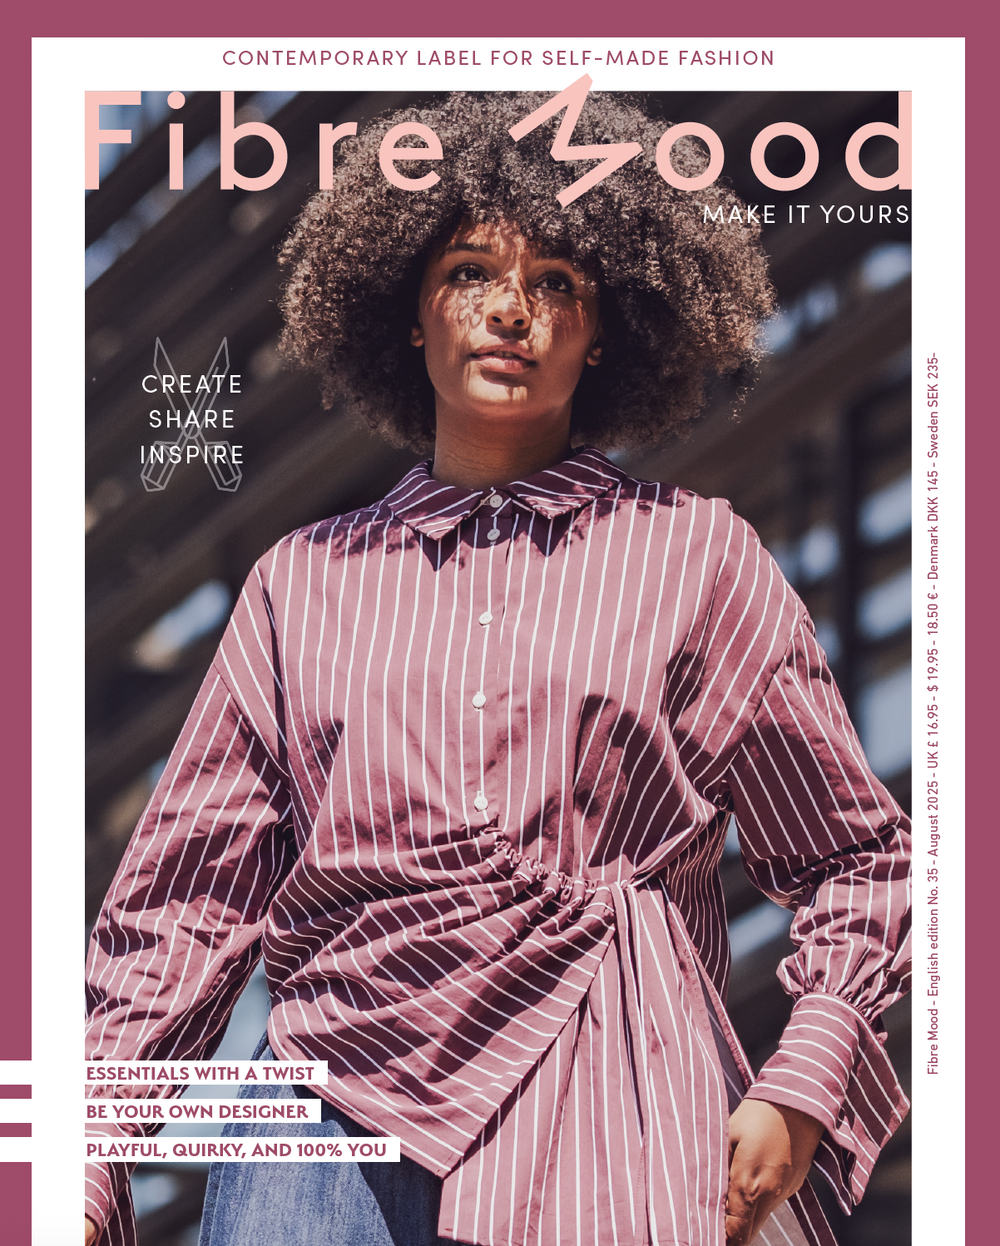
Fibre Mood magazine Fibre Mood Magazine Edition 35Regular price £16.50 GBPSale price £16.50 GBP Regular price
£16.50
Read our blog
-

THE EDIT: NEW SEWING PATTERN RELEASES - 24 AUGUST
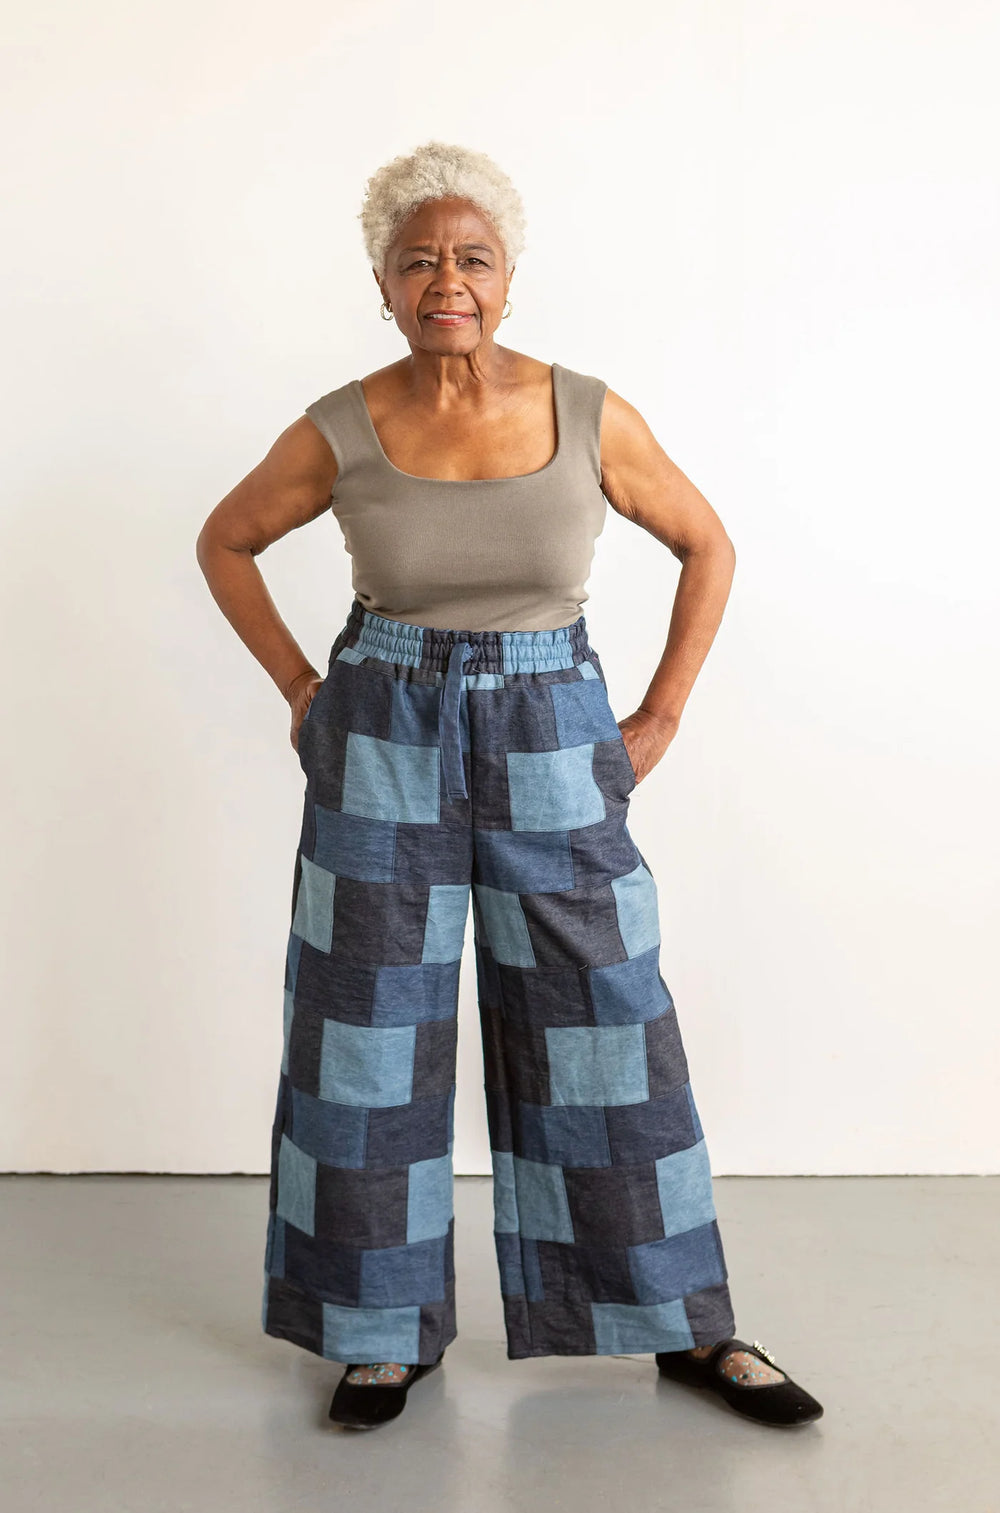
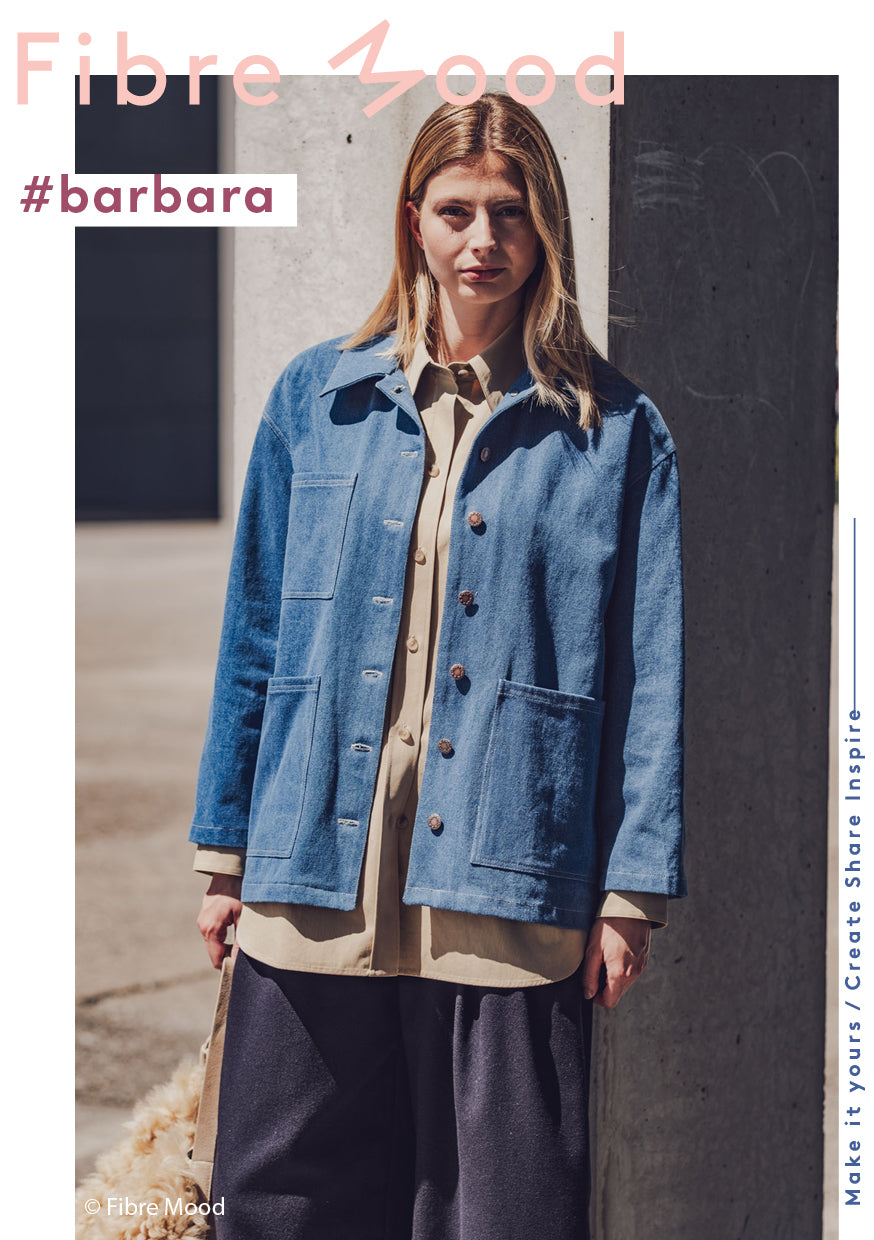
This week, I'll be flicking through an autumnal new edition of Fibre Mood magazine, sharing a new barrel-leg trouser to love and zooming in on a unisex shirt & shorts set.
-

The Sew Down - August
-
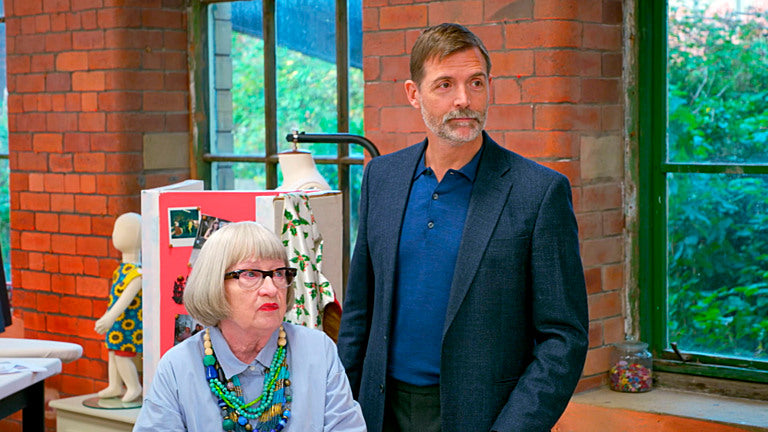
GREAT BRITISH SEWING BEE 2025 – SEWING PATTERNS S11 EP6
In the sixth episode of The Great British Sewing Bee, eight remaining contestants get their sew on for Reduce, Reuse, Recycle week!
OUR BRANDS
PATTERN EXPERTS
With more than 10 years of experience working with independent designers, we are the sewing pattern experts. With our expert knowledge and award-winning online shop, we are here to help you find the perfect project. Let us inspire your next make with our weekly blogs, vlogs and newsletters, bringing you the latest pattern releases, trends and sewing community news.
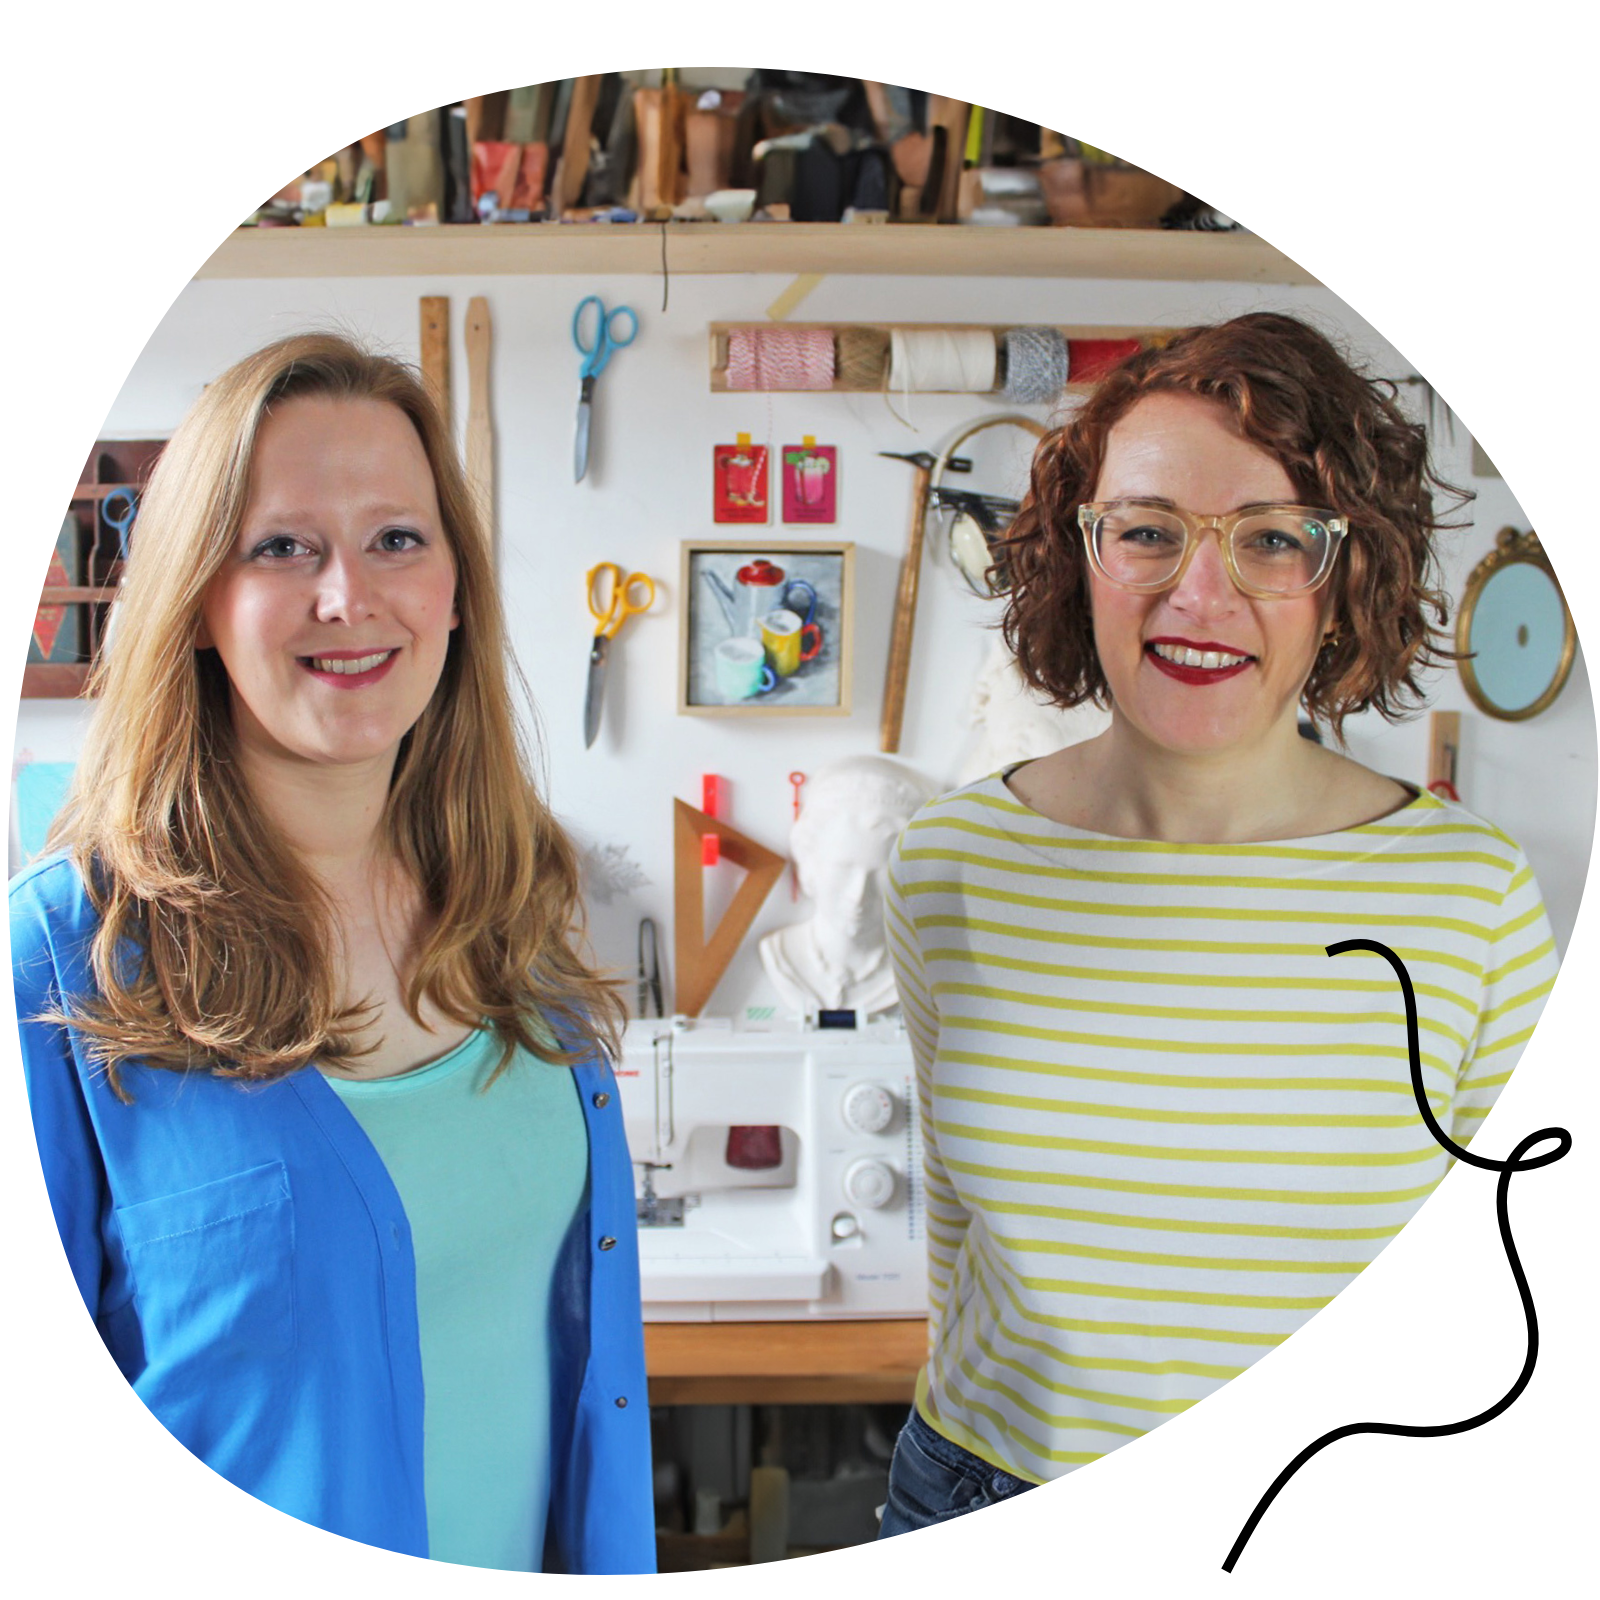
Kate & Rachel
OUR VALUES
-

We're a small female founded business
-

We champion indie designers
-

Let us help you find the perfect pattern
-
We donate to a different charity each month
customers love our patterns
Let customers speak for us
from 3927 reviewsHaving made my toile some time ago, I finished my best version of this pattern. Some reviewers here seem to have been bamboozled and frustrated so it might be helpful to point out that M&M place their lay plans and notes after the instructions on page four. Illustrations of wrong and right sides are given and these are also clear in the illustrations. The reviewer who questioned the placing of pocket back on the back pocket bag was incorrect.
When laying out and cutting pieces, transfer all markings (presented as asterisks) in a way that doesn't disappear. That says tailor tacks to me. Cut all notches including centres on front and back of skirt and waistband. Ensure that you mark right and wrong sides, also top and bottom. Note that the skirt pieces have the option of a seam allowance if joining narrow fabrics. If cutting on the fold, the SA is not required.
I cut the waistbands wider than indicated having had trouble with my toile and only interfaced them at half height. When I attached them, I was able to match them to the sides of the skirt.
There is one tailor tack towards the bottom of the pocket which is vital since it appears and has to be matched on every piece. In some cases you are asked to stay stitch and snip to that mark.
I changed the order of work suggested in order to avoid a large bulk of fabric. It is quite possible to make up the front and the back, including the waistbands and to join the side seams afterwards. I think this makes the pocket work clearer to understand.
I started with the front and back pleats. The pattern identifies these with either tacks or notches. It also numbers the order in which to make the pleats and points the direction with an arrow. 1 to the centre, 2 to to the side, 3 (overlaps 2) to centre and 4 to the centre.
Make sure the top edges line up exactly and then machine baste.
All of the pocket work happens on the front of the skirt. Only the back button placket is attached to the back piece.
You can attach both waistbands before sewing the side seams. I did initially make a mistake in turning the button placket under. However, I was sufficiently accurate with marks and snips that I was able to French seam the skirt sides.
I'm pleased with my new skirt and feel that it was worth the work.
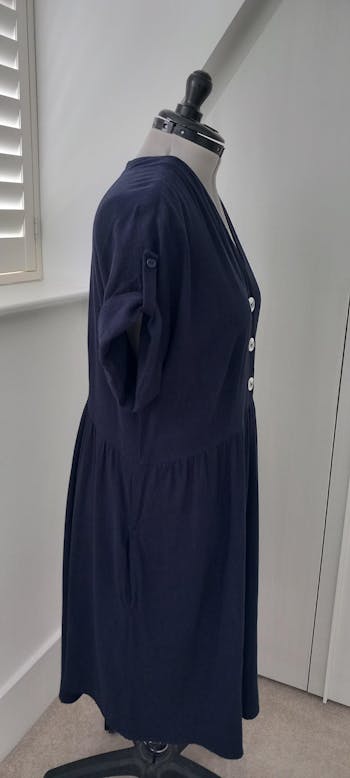
This dress went together like a dream and is a great fit for my curvy size 14 figure. I used the C/D option. It's rare to find a softly fitting dress with darts these days but this has two sets of darts at the front and one set at the back of the bodice. As a result it has both a fitted shape with some ease instead of hit and miss bagginess. I made the button front version and it has a lovely curved neckline. I made the curved hem version. It's not very defined so might shape and cut higher at the sides next time. I used a rayon crepe, absolute top choice for this dress style. I'm planning a maxi version hack next and know I'll use this pattern a few more times.
I really enjoyed making these trousers. Simple to construct, and easy to follow instructions. Perfect for beginners. The apron pocket is what makes these trousers really special and I can’t wait to make another pair in corduroy with contrast ruffle! The only thing I changed was the size of the ruffle which looks bigger in the photos of the models’ trousers. I added a couple of centimetres to make the ruffle wider and stand out more. The elastic waistband is comfortable but doesn’t look too obvious. You could add belt loops if you wanted to disguise it, but I’m happy with the elastic waistband. You could add these pockets to other garments. This look great on a skirt. Thanks for the lovely pattern. Highly recommend.
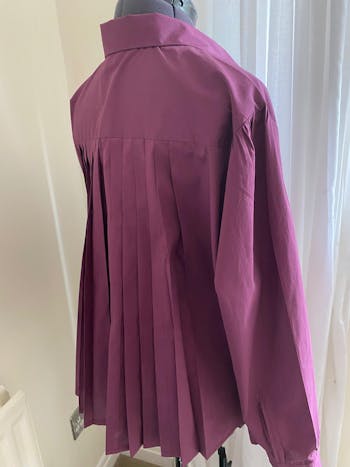
I am really happy with how this turned out… love the pleats.
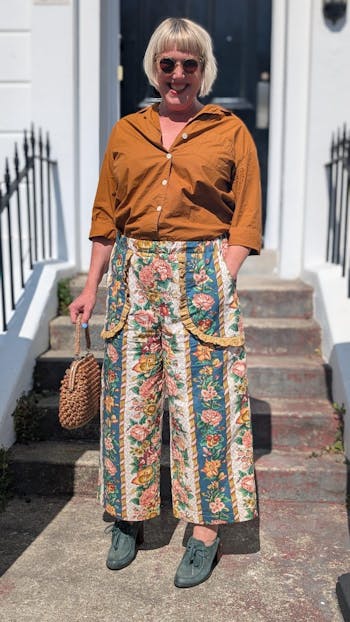
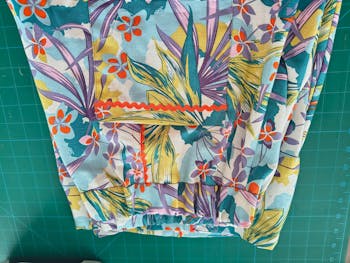
This is my third pair of Arthurs. I went colourful with some fabric from Ditto in Brighton. The all elastic waist is super speedy. Also copied the ric-rac idea that has been on Instagram. Beware though: it melts if pressed too hot!
I completed the jacket in the Merchant and Mills quilted fabric with the helpful opinions of Foldliners about the form of closure to use. The fabric frays a good deal and I was concerned that machined button holes would not hold through the layers of fabric and interfacing.
The body is quite short on me and the arms were the right length without the turn up which I didn't want but you might want to add length if you do.
The pattern is clearly marked and well drafted. As with other M&M patterns, it isn't always obvious what to do or why but the pieces fit together easily. This one recommends some tailoring. I put the pockets on before joining the front/yoke to the back piece and made up the lining entirely separately before sewing it to the facing and the facing to the jacket. Then I slip-stitched the jacket hems and finally slip stitched the lining to the jacket at wrists and waist, leaving room for it to "hang". It looks all right to me.
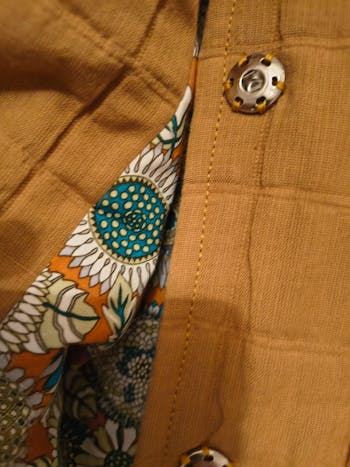
I used sew on snaps (press studs) in preference to trying to massacre the garment with an expensive snap press and then sewed the buttons to the outside. I'm not sure it has all lined up quite correctly but with this method I can take the whole lot off quickly and do it again.
I wasn't sure if I would like this jacket but I do. It closes right up to the neck, the collar is snug and I like the pockets. I'm now eyeing up something to make the coat.
Before I do, I will experiment with the pattern layout. The fabric amount stated for 120cm wide left me, having made a size 12, with almost a metre over. A bag I suppose!
I deliberated many months over whether to try this pattern. I finally took the plunge and here is my first one (I will make more). I see another reviewer struggled with the pockets. I can’t comment on this as I never put pockets in dresses. If I put anything in them, I find they ruin the line of the dress and if I don’t, I don’t need them. Anyway, this pattern is perfect for hot days and holidays.

I've always been aware of how popular this pattern is among the sewing community, and the release of the Trapeze 'additions' pack was the nudge I needed to get myself a copy of the pattern and give it a try. I opted for the standard pattern for my first version, and I made the sleeveless variation in a size 8 with no modifications. I really love the finished dress - it's so easy to wear and nice and breezy on a warm day. The fit is great, but I think I would make the size 10 if I was using a thicker fabric or if I wanted to layer a t-shirt or polo neck underneath for winter. I'm looking forward to giving some of the versions in the add-on pack a try next!
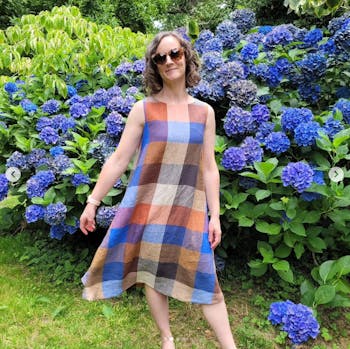
I made this up with stretch Terry towelling/epongé. I'm a size 12 with narrow shoulders. I used the medium and lengthened the arms by 2cm as I'm gangly. The model in the photo looks swamped rather than a boxy fit, but I would say it's appropriately sized. I'd never sewed with epongé or with an overlocker before. Whipped it up in an afternoon and am thrilled with the result. Pattern very clear and easy to follow. Will definitely make this pattern again, perhaps in something thicker for winter.

I sewed up the partner overalls and used the extension as I wanted pockets. I would definitely say the extension is worth getting for these along. The original doesn’t have hip pockets and I don’t know what I would do with my hands if they weren’t there.
It definitely elevates the pattern and I will only be using the extension pieces to make this pattern going forward, but I definitely will be making more as these are my favourite dungarees
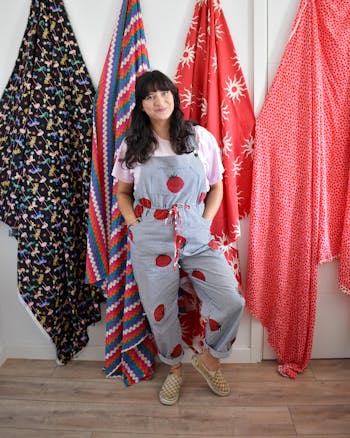
This is such a cute design that comes together really quickly. I love the ruffle pocket detail and the fit is excellent.
I made size M and I didn’t need to make any adjustments, other than to the height.
They are super comfy, not too tight but fitted nicely.
They sewed up really quickly and the instructions are great. This would be a perfect beginner pattern for someone who wants to try pattern and push themselves to learn a new technique.
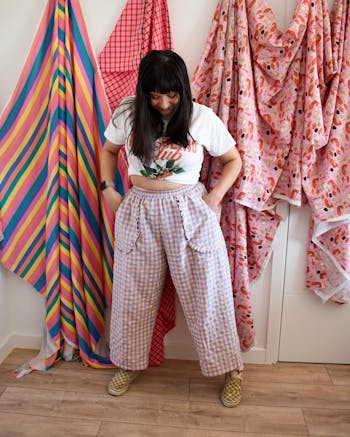
Tauko magazine is designed beautifully, with some interesting articles and patterns. The patterns are included on several sheets at the back of the magazine and need to be traced off. At first it is a little confusing but once you get used to the layout, it is fairly easy to navigate.
The back of the magazine has the instructions for the patterns and also includes key skills that you will need such as darts, mitred corners, pleats and so forth. As a beginner this was really helpful. I am curvy and the patterns do go up to larger sizes which is nice to see. I have already nearly finished the 'Centrefold' top. Fairly straightforward and the top is beautiful. I already have lots of ideas for modifications. Can't wait to try the other patterns.
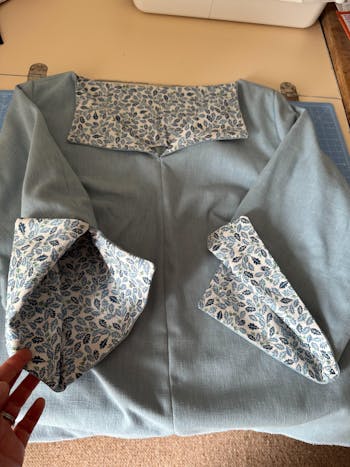
Love,love, love this pattern! Was actually pretty easy to do. An absolute beginner might need to look up things like under stitching on YouTube.
I added pockets (why would you want a dress with no pockets?!?) and I would have made it about 3 inches longer (I'm 5"6).
Will definitely be making it again .
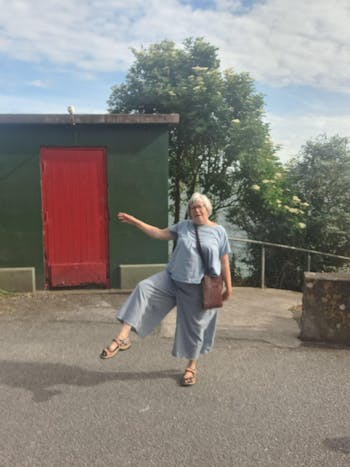
I love this Joanne Cullottes sewing pattern. The very high waist suits me very well, the seams at back.of the bottom makes it a great fit.
I.made it in a pale blue linen cotton mix. I will definitely make these again. So easy to.wear and I feel.good in.them
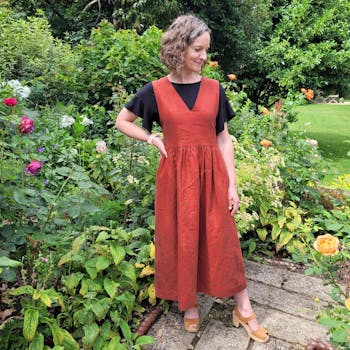
I bought this pattern as soon as it came out and was just waiting to find the perfect fabric to sew it up. I opted for this beautiful linen from Fabworks Mill Shop and it has worked really well - lovely and swishy and the ideal weight for such a full skirt. I made the size 2 with no modifications and chose to make the dress fully reversible by omitting the pockets. I used both necklines and definitely prefer the v-neck at the front, although I think the square neck will look cute with a roll neck in the winter. Great instructions from Madswick, as usual, and a really well-drafted design. Super pleased with my finished dress!
4 Charities
In 2025