
True to size, with easy to follow instructions

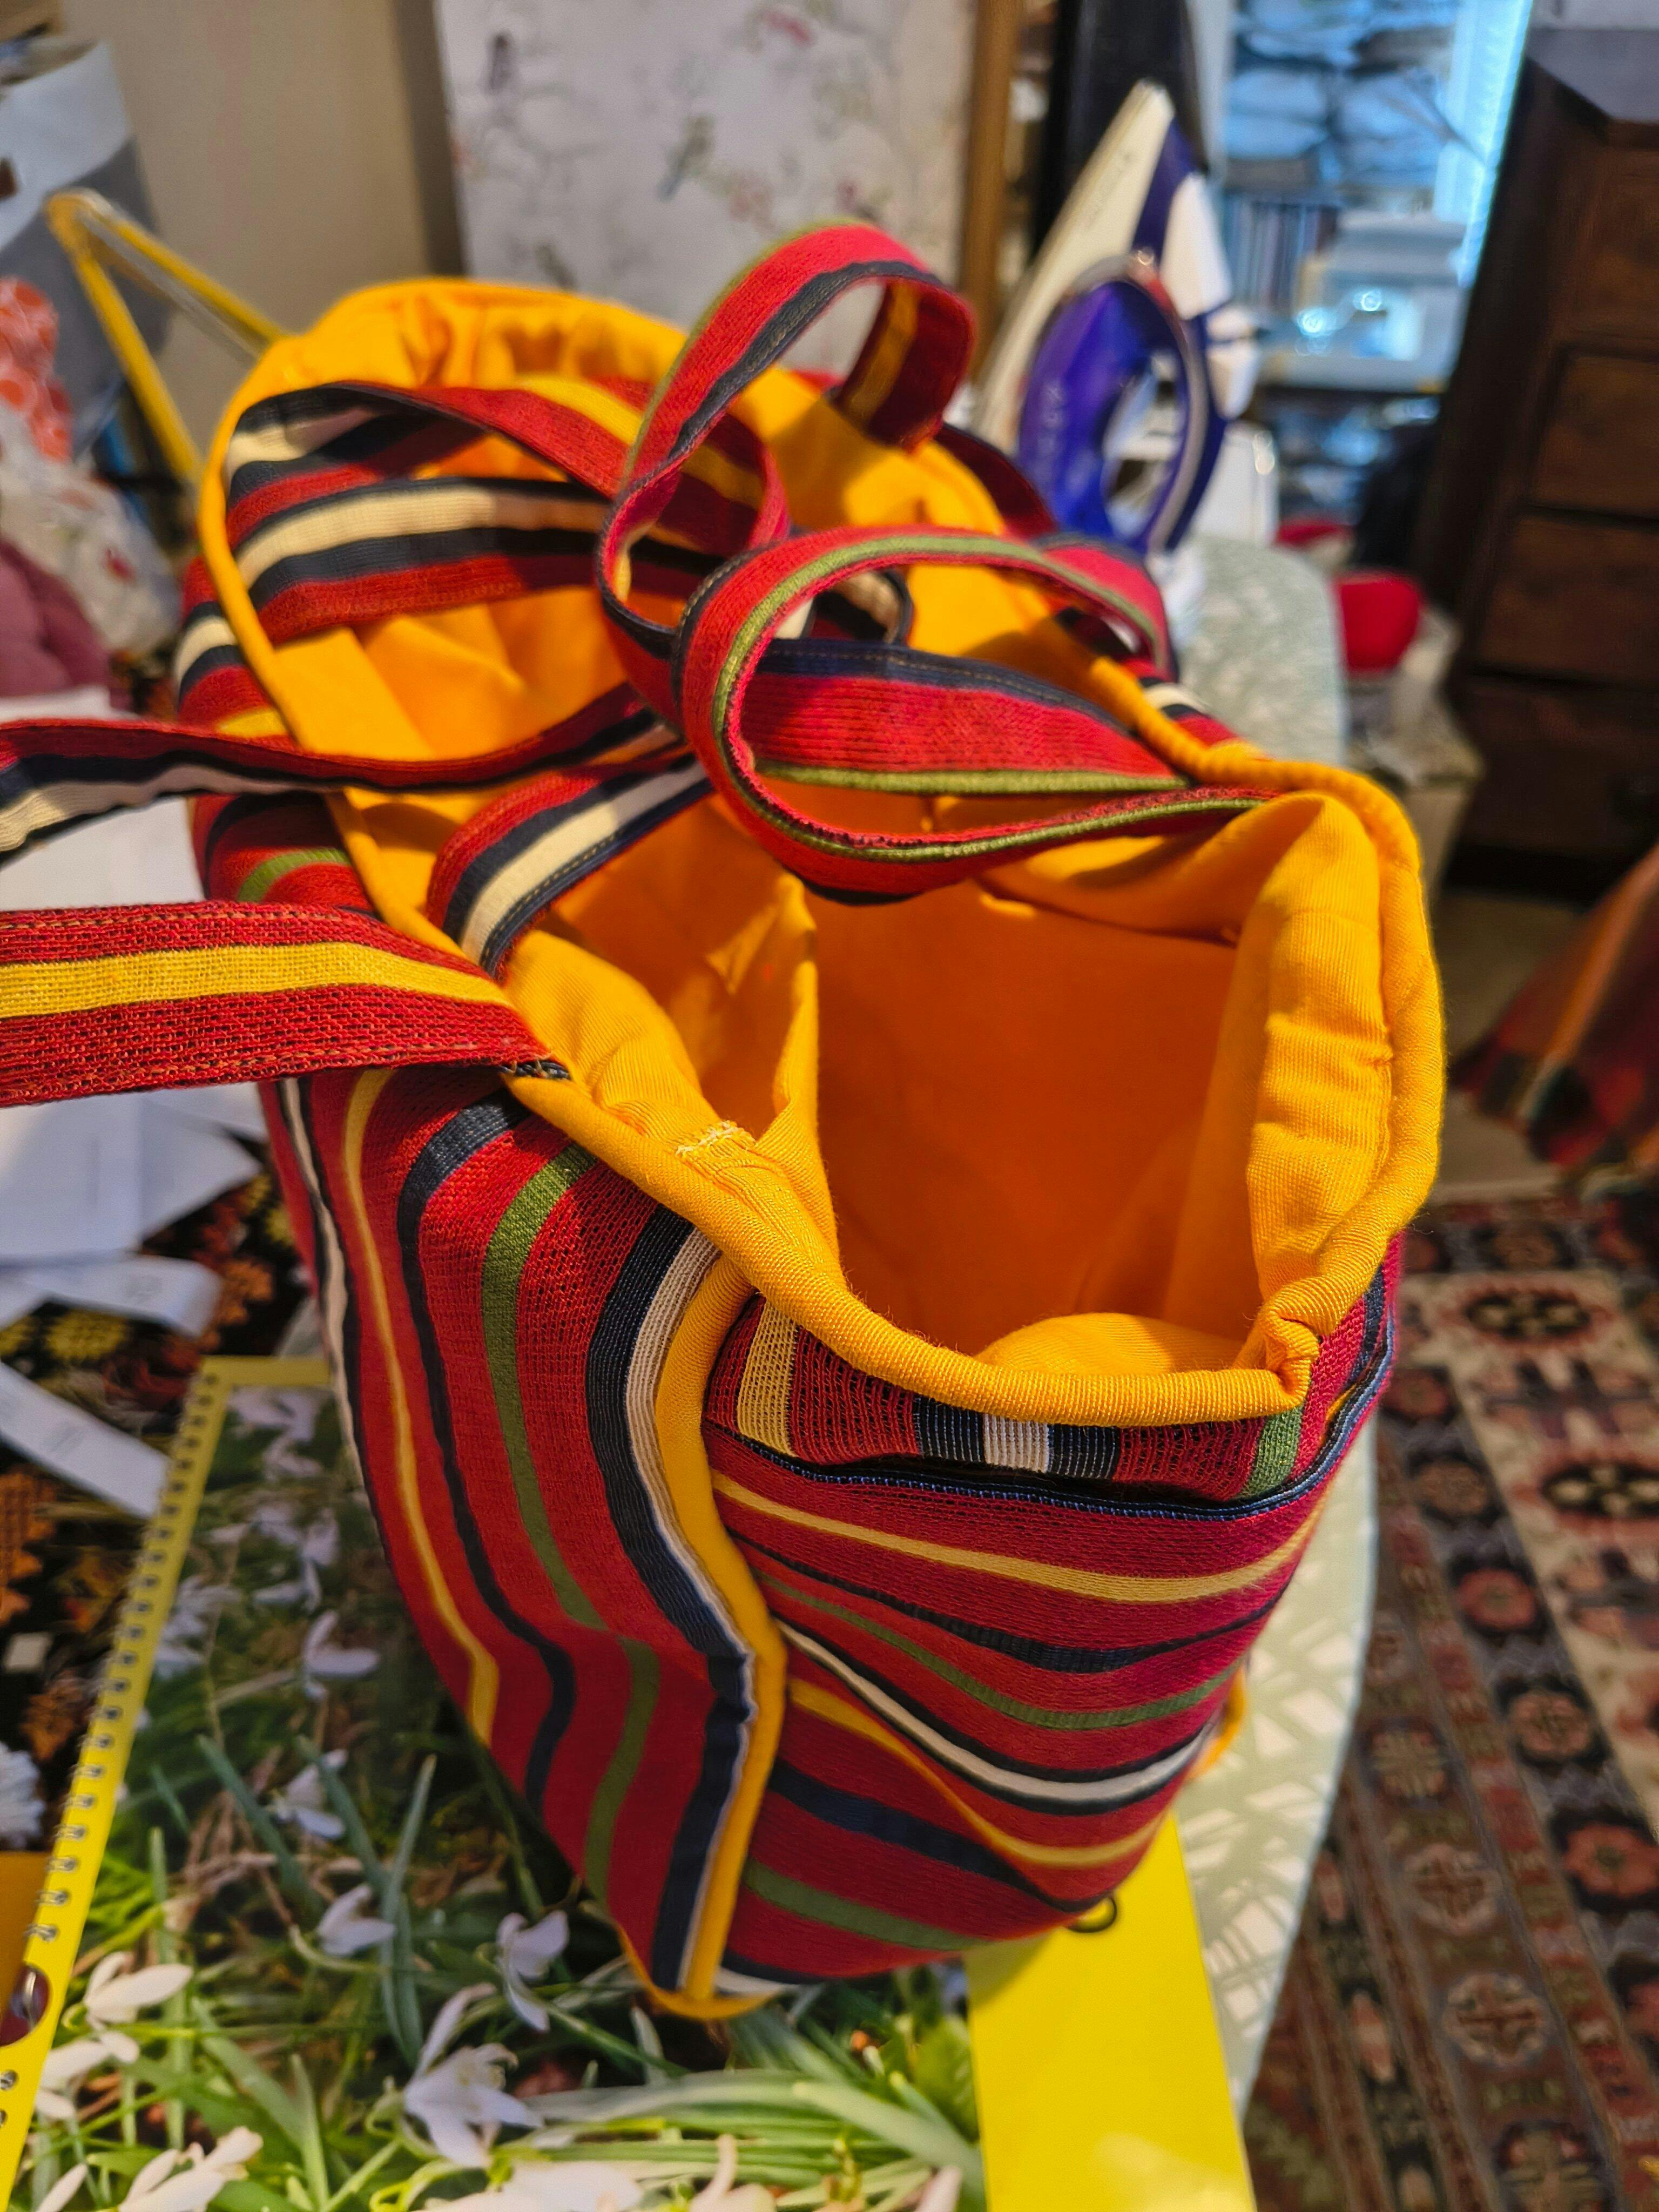
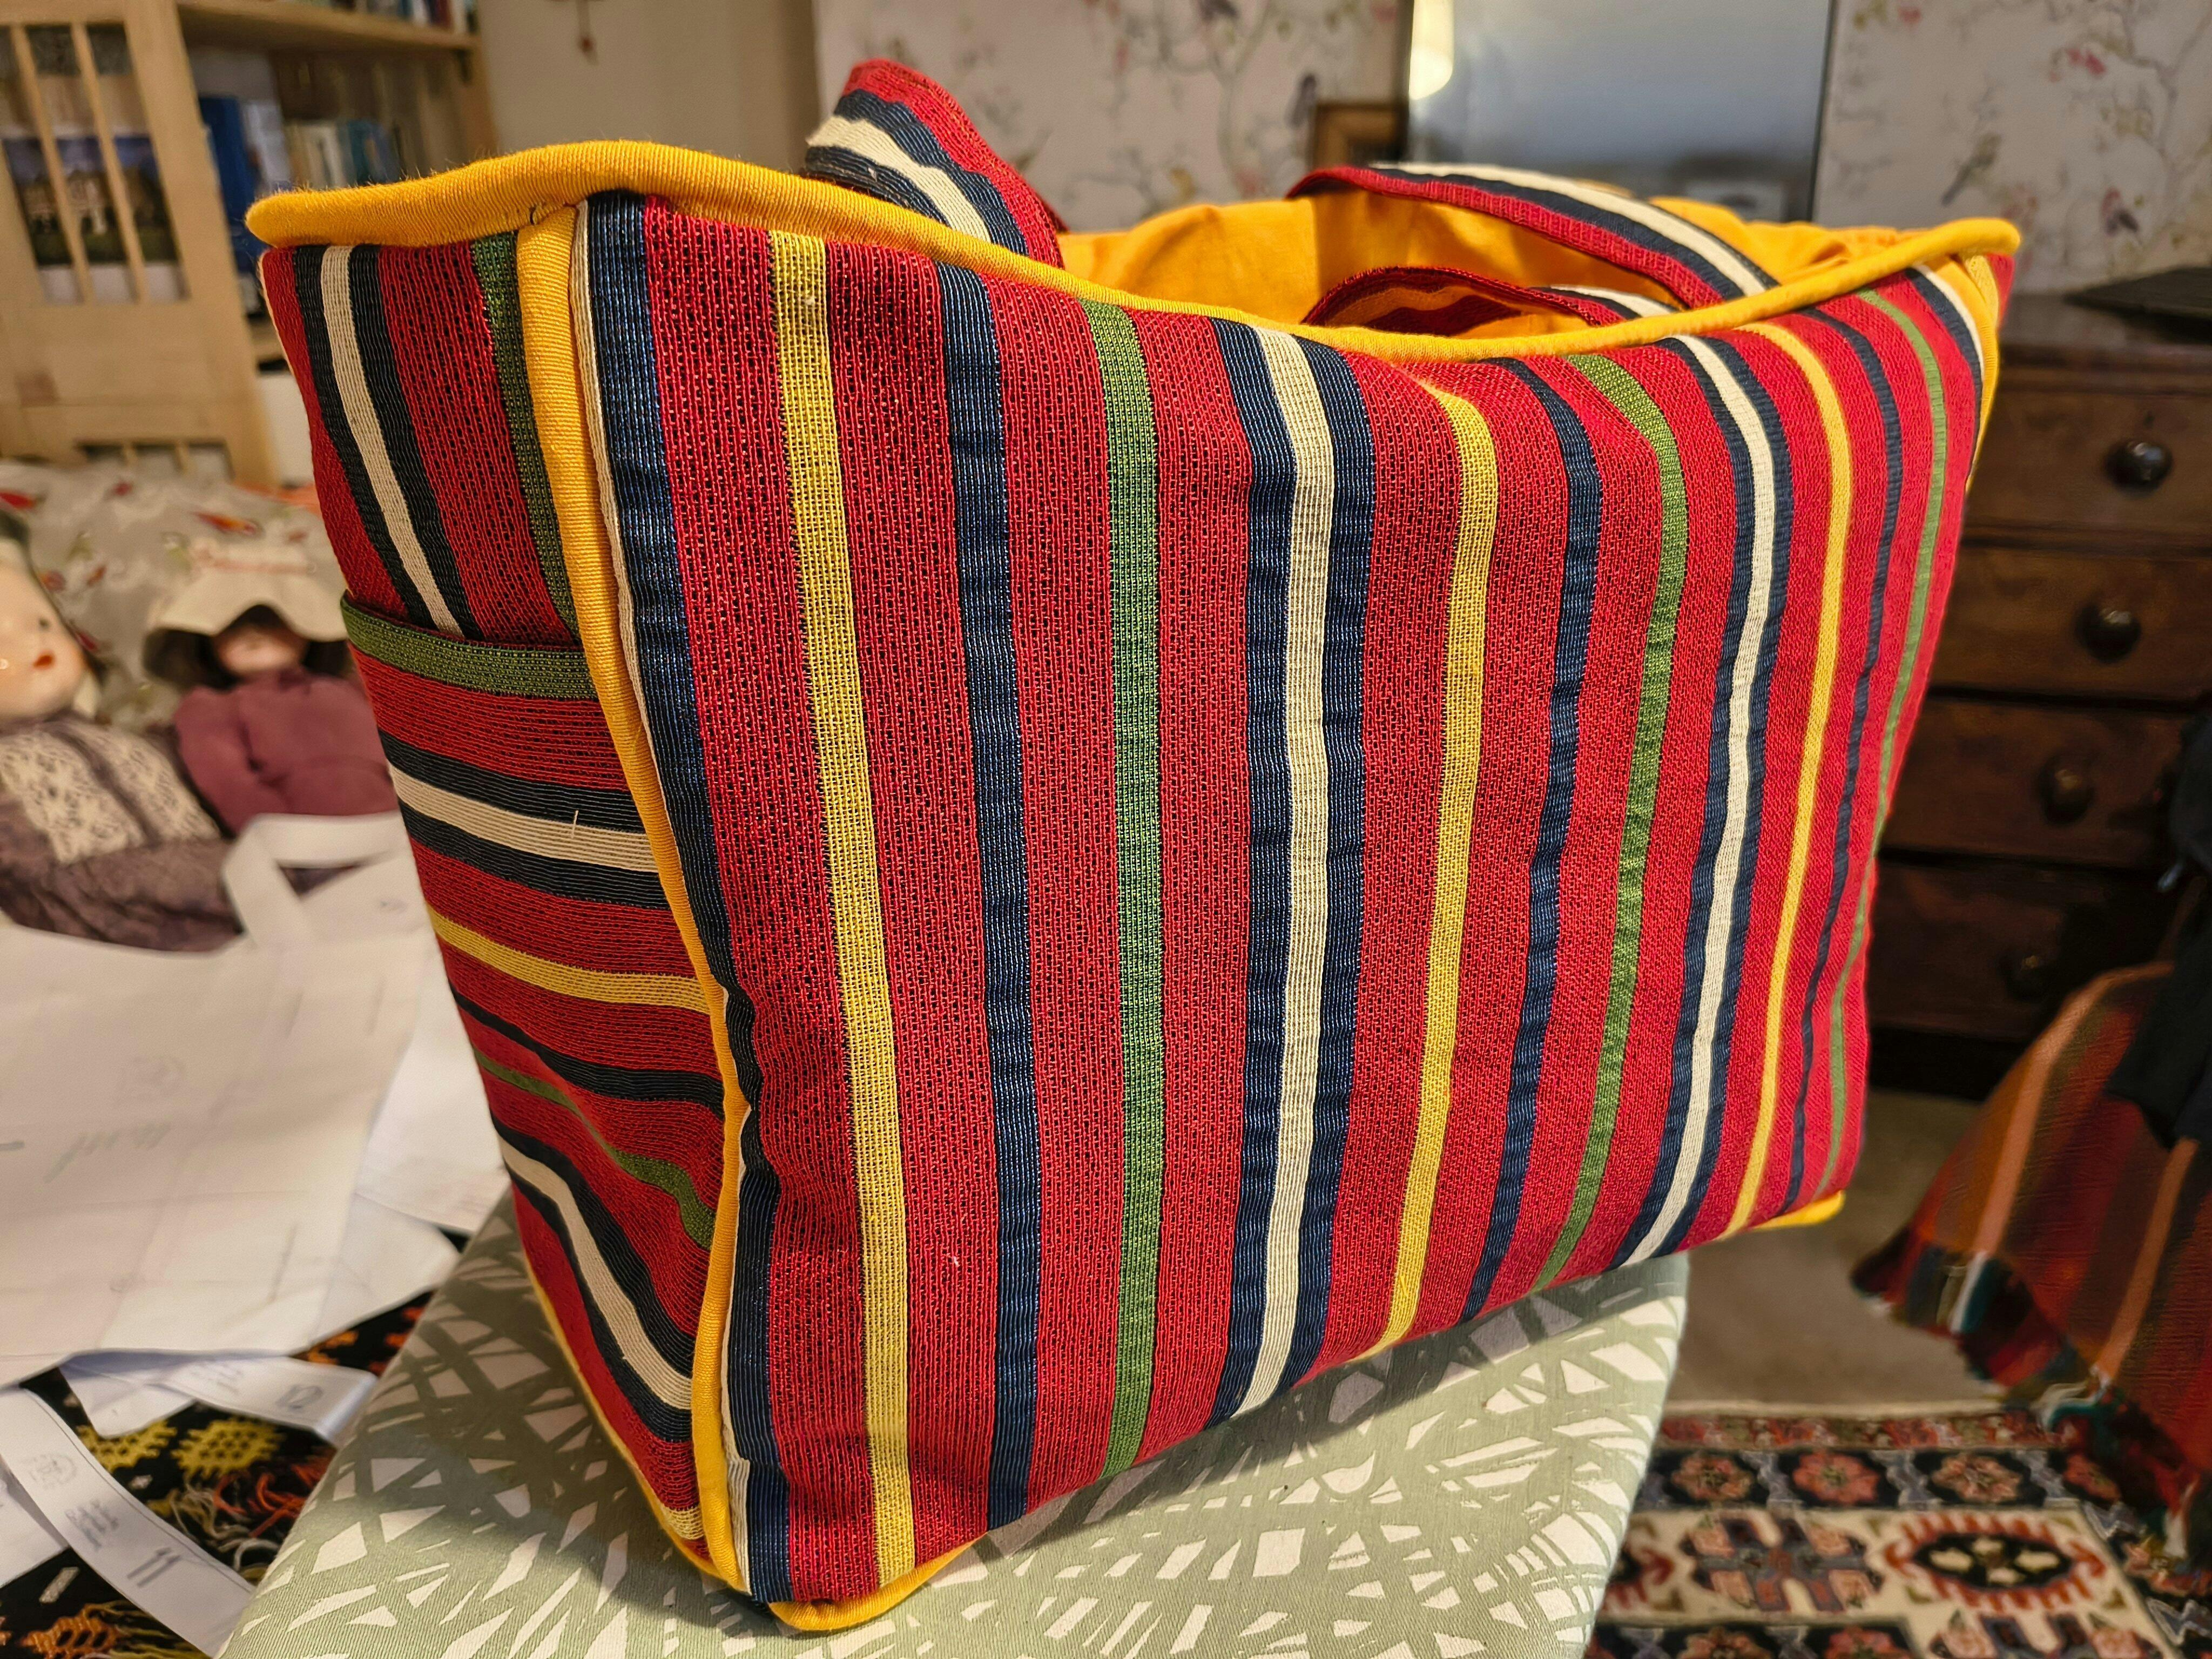
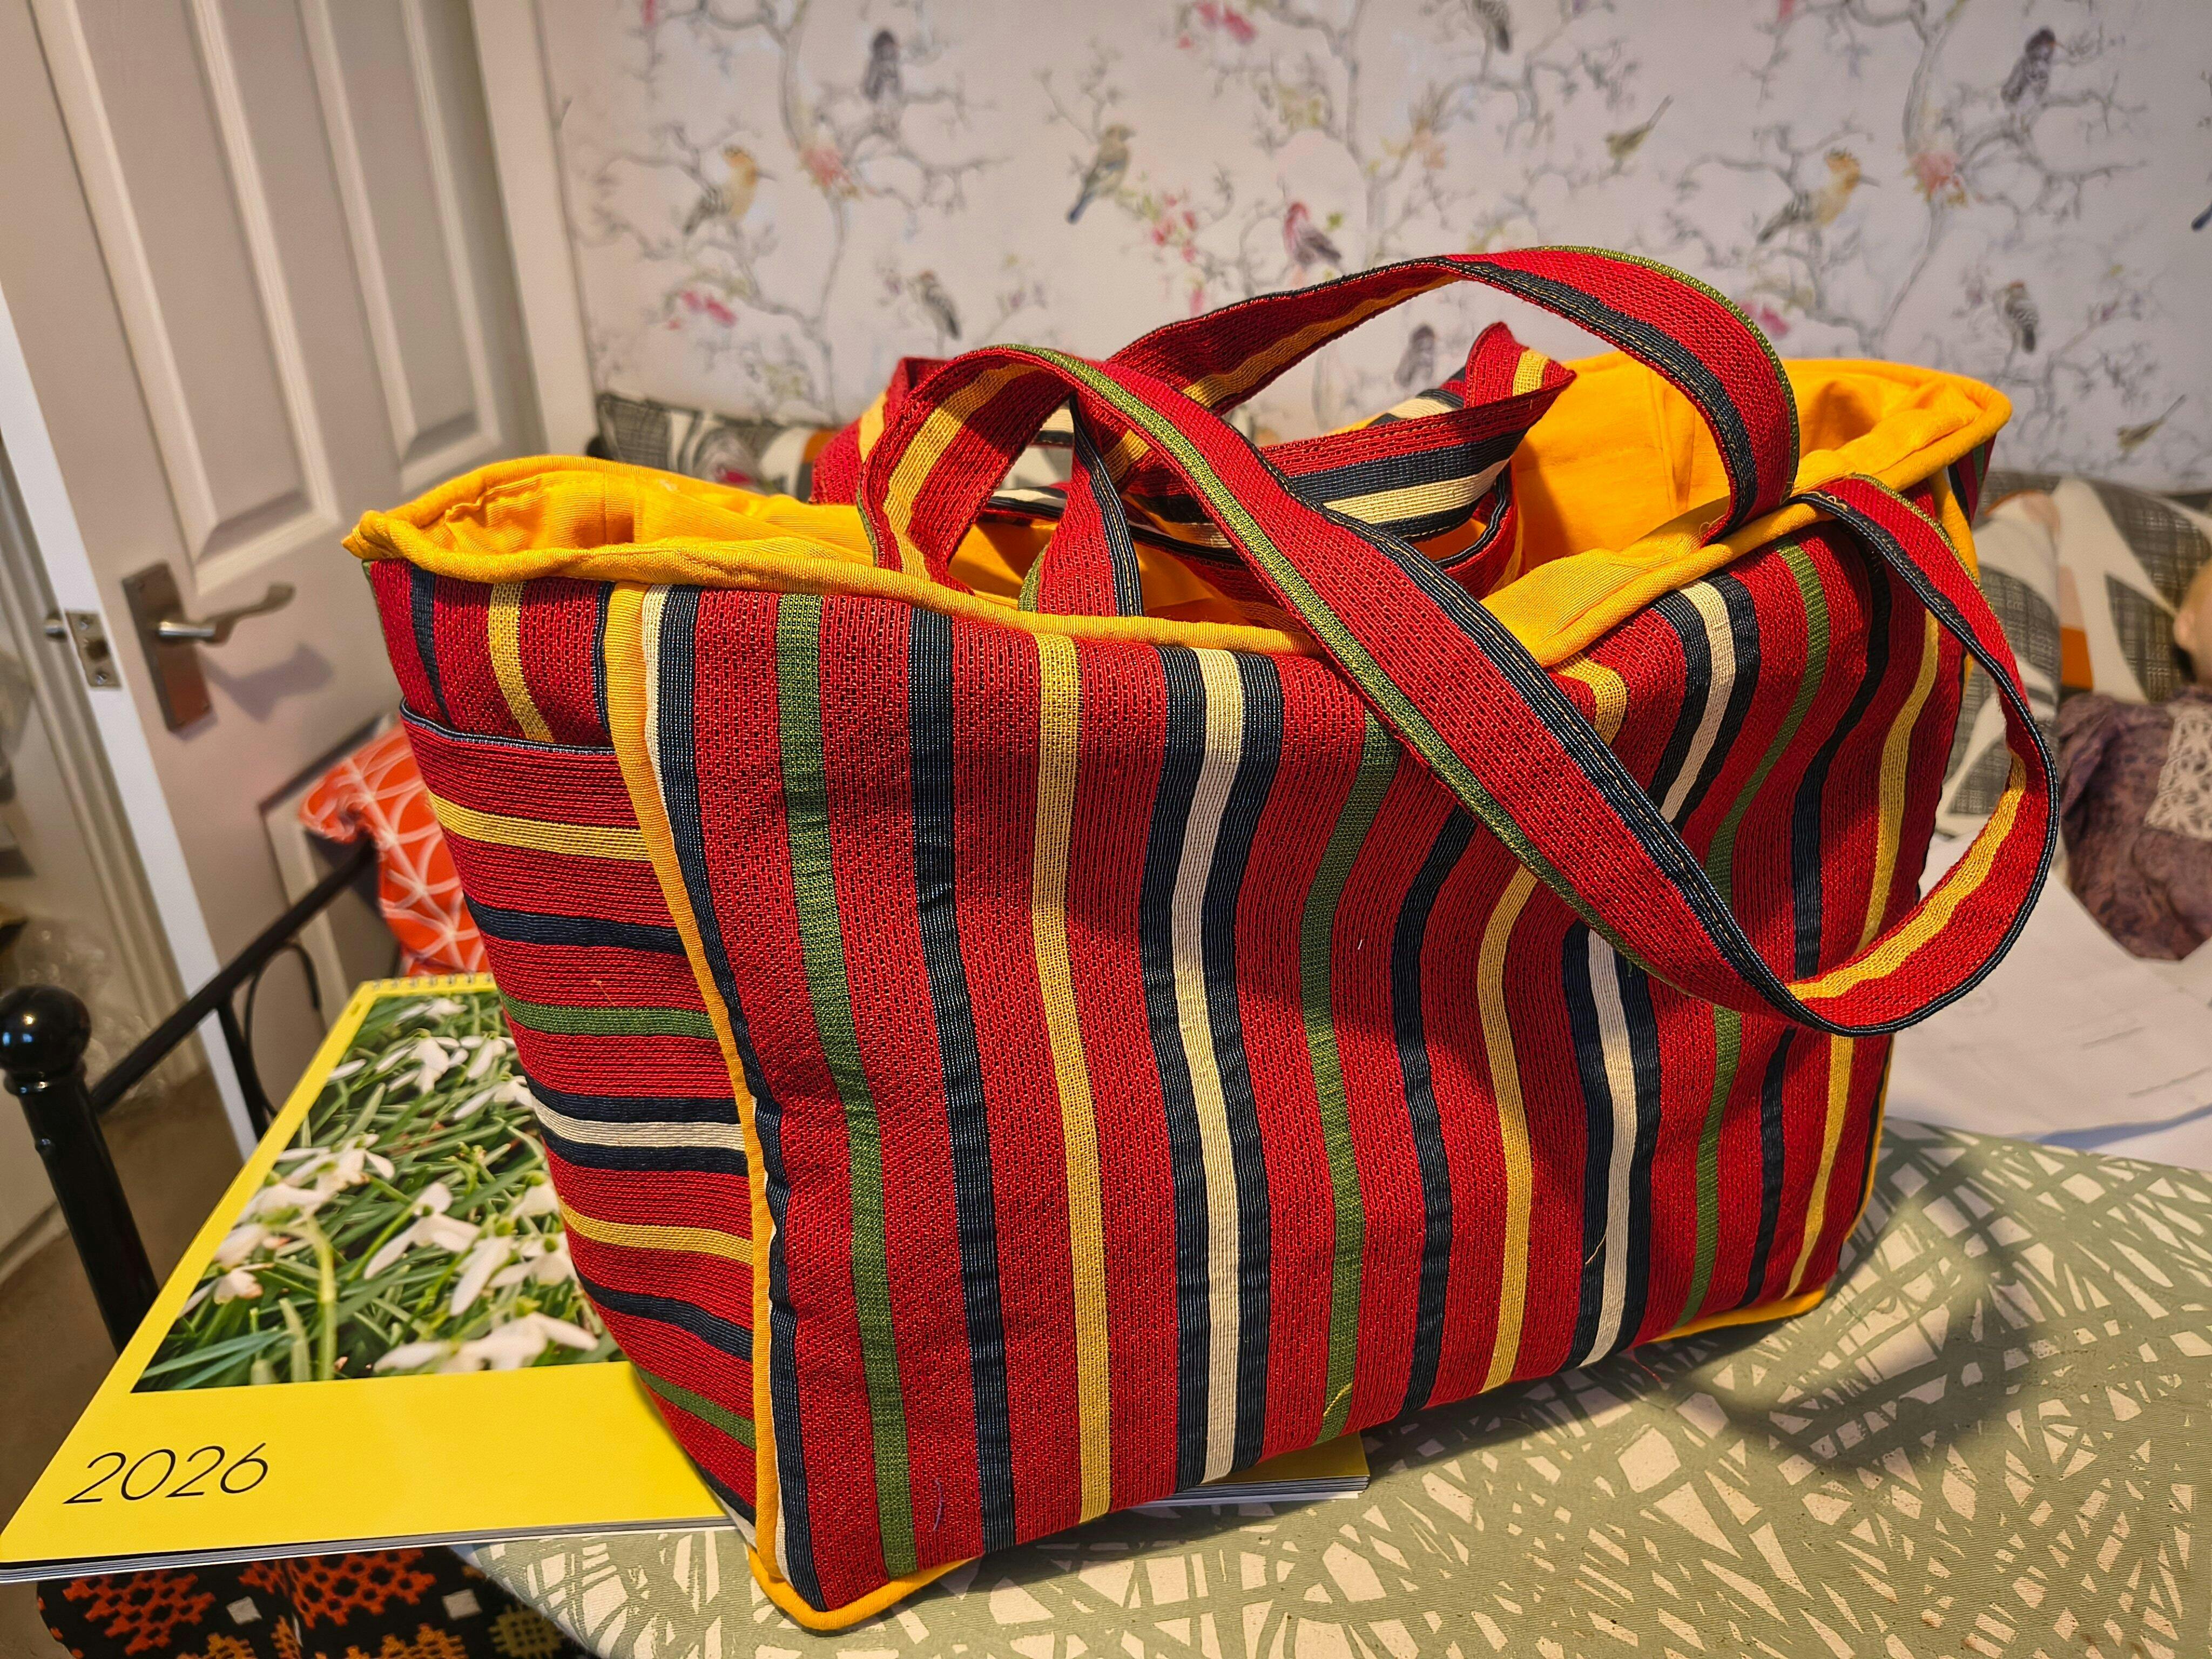
Acquired the pattern during the 12 days of Christmas promo, a wonderful tote bag. Really enjoyed making it and especially the piping. Will make more!

I really enjoyed making the Rosamund Blouse. The oversized fit and sailor-style collar make it feel modern but still very wearable, and it came together into a piece I’ll actually reach for. The instructions are generally clear and the illustrations are helpful, especially for the trickier construction steps.

I made this for my boyfriend a few times now and it was super easy following the pattern and very happy with the final garment!

I have made the TATB Stella joggers for myself and these are a great match for my husband. I used the same fabric for everything but it would be easy and fun to use a different fabric for the waist band, ankle bands and/or pocket details. The pattern is simple and the instructions are easy enough to follow. The measurements/sizing are good and I'd be happy to make many more pairs of these.

Cute sewing labels. A perfect match for my comfy TATB Drew sweatshirt:)

Fun labels. Who doesn't want to point out "it has pockets"?!

Lots of gathering in this skirt, but it's simple to make and lovely to wear. I'm 5'2" / 1.58m and made a size 3/4 with 2.5m of light weight cotton. It's floaty and wonderful.

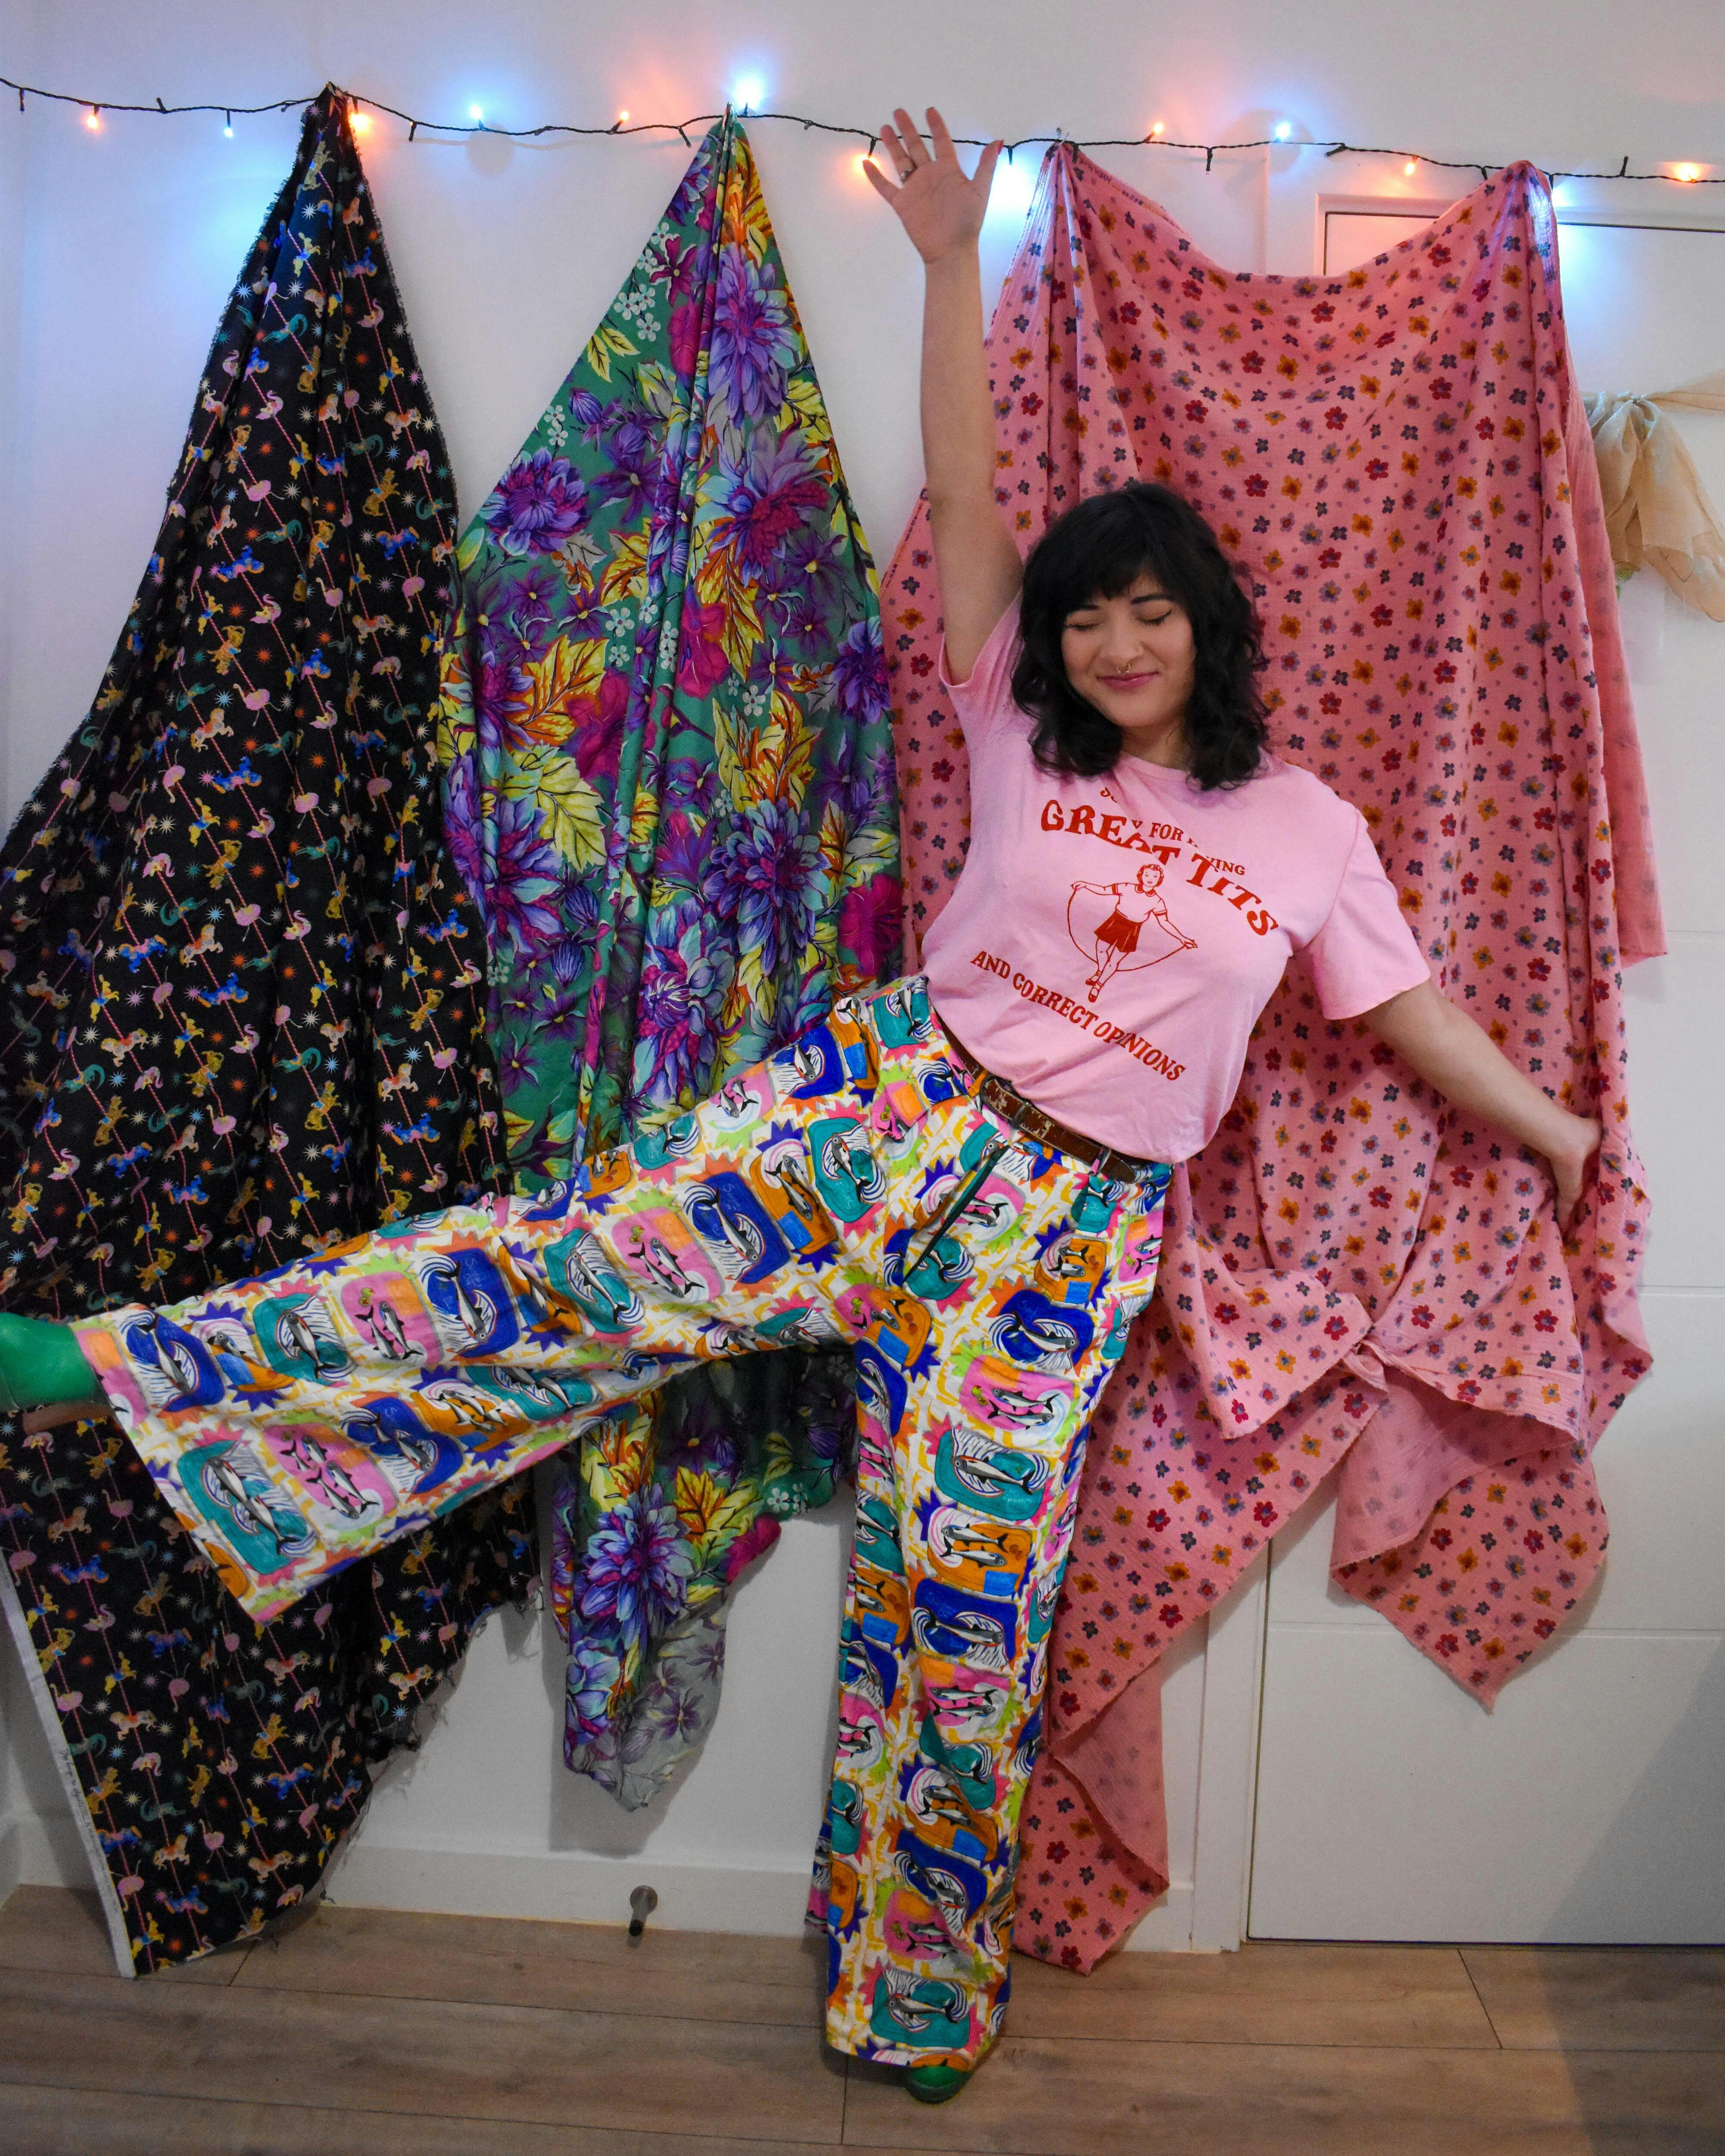
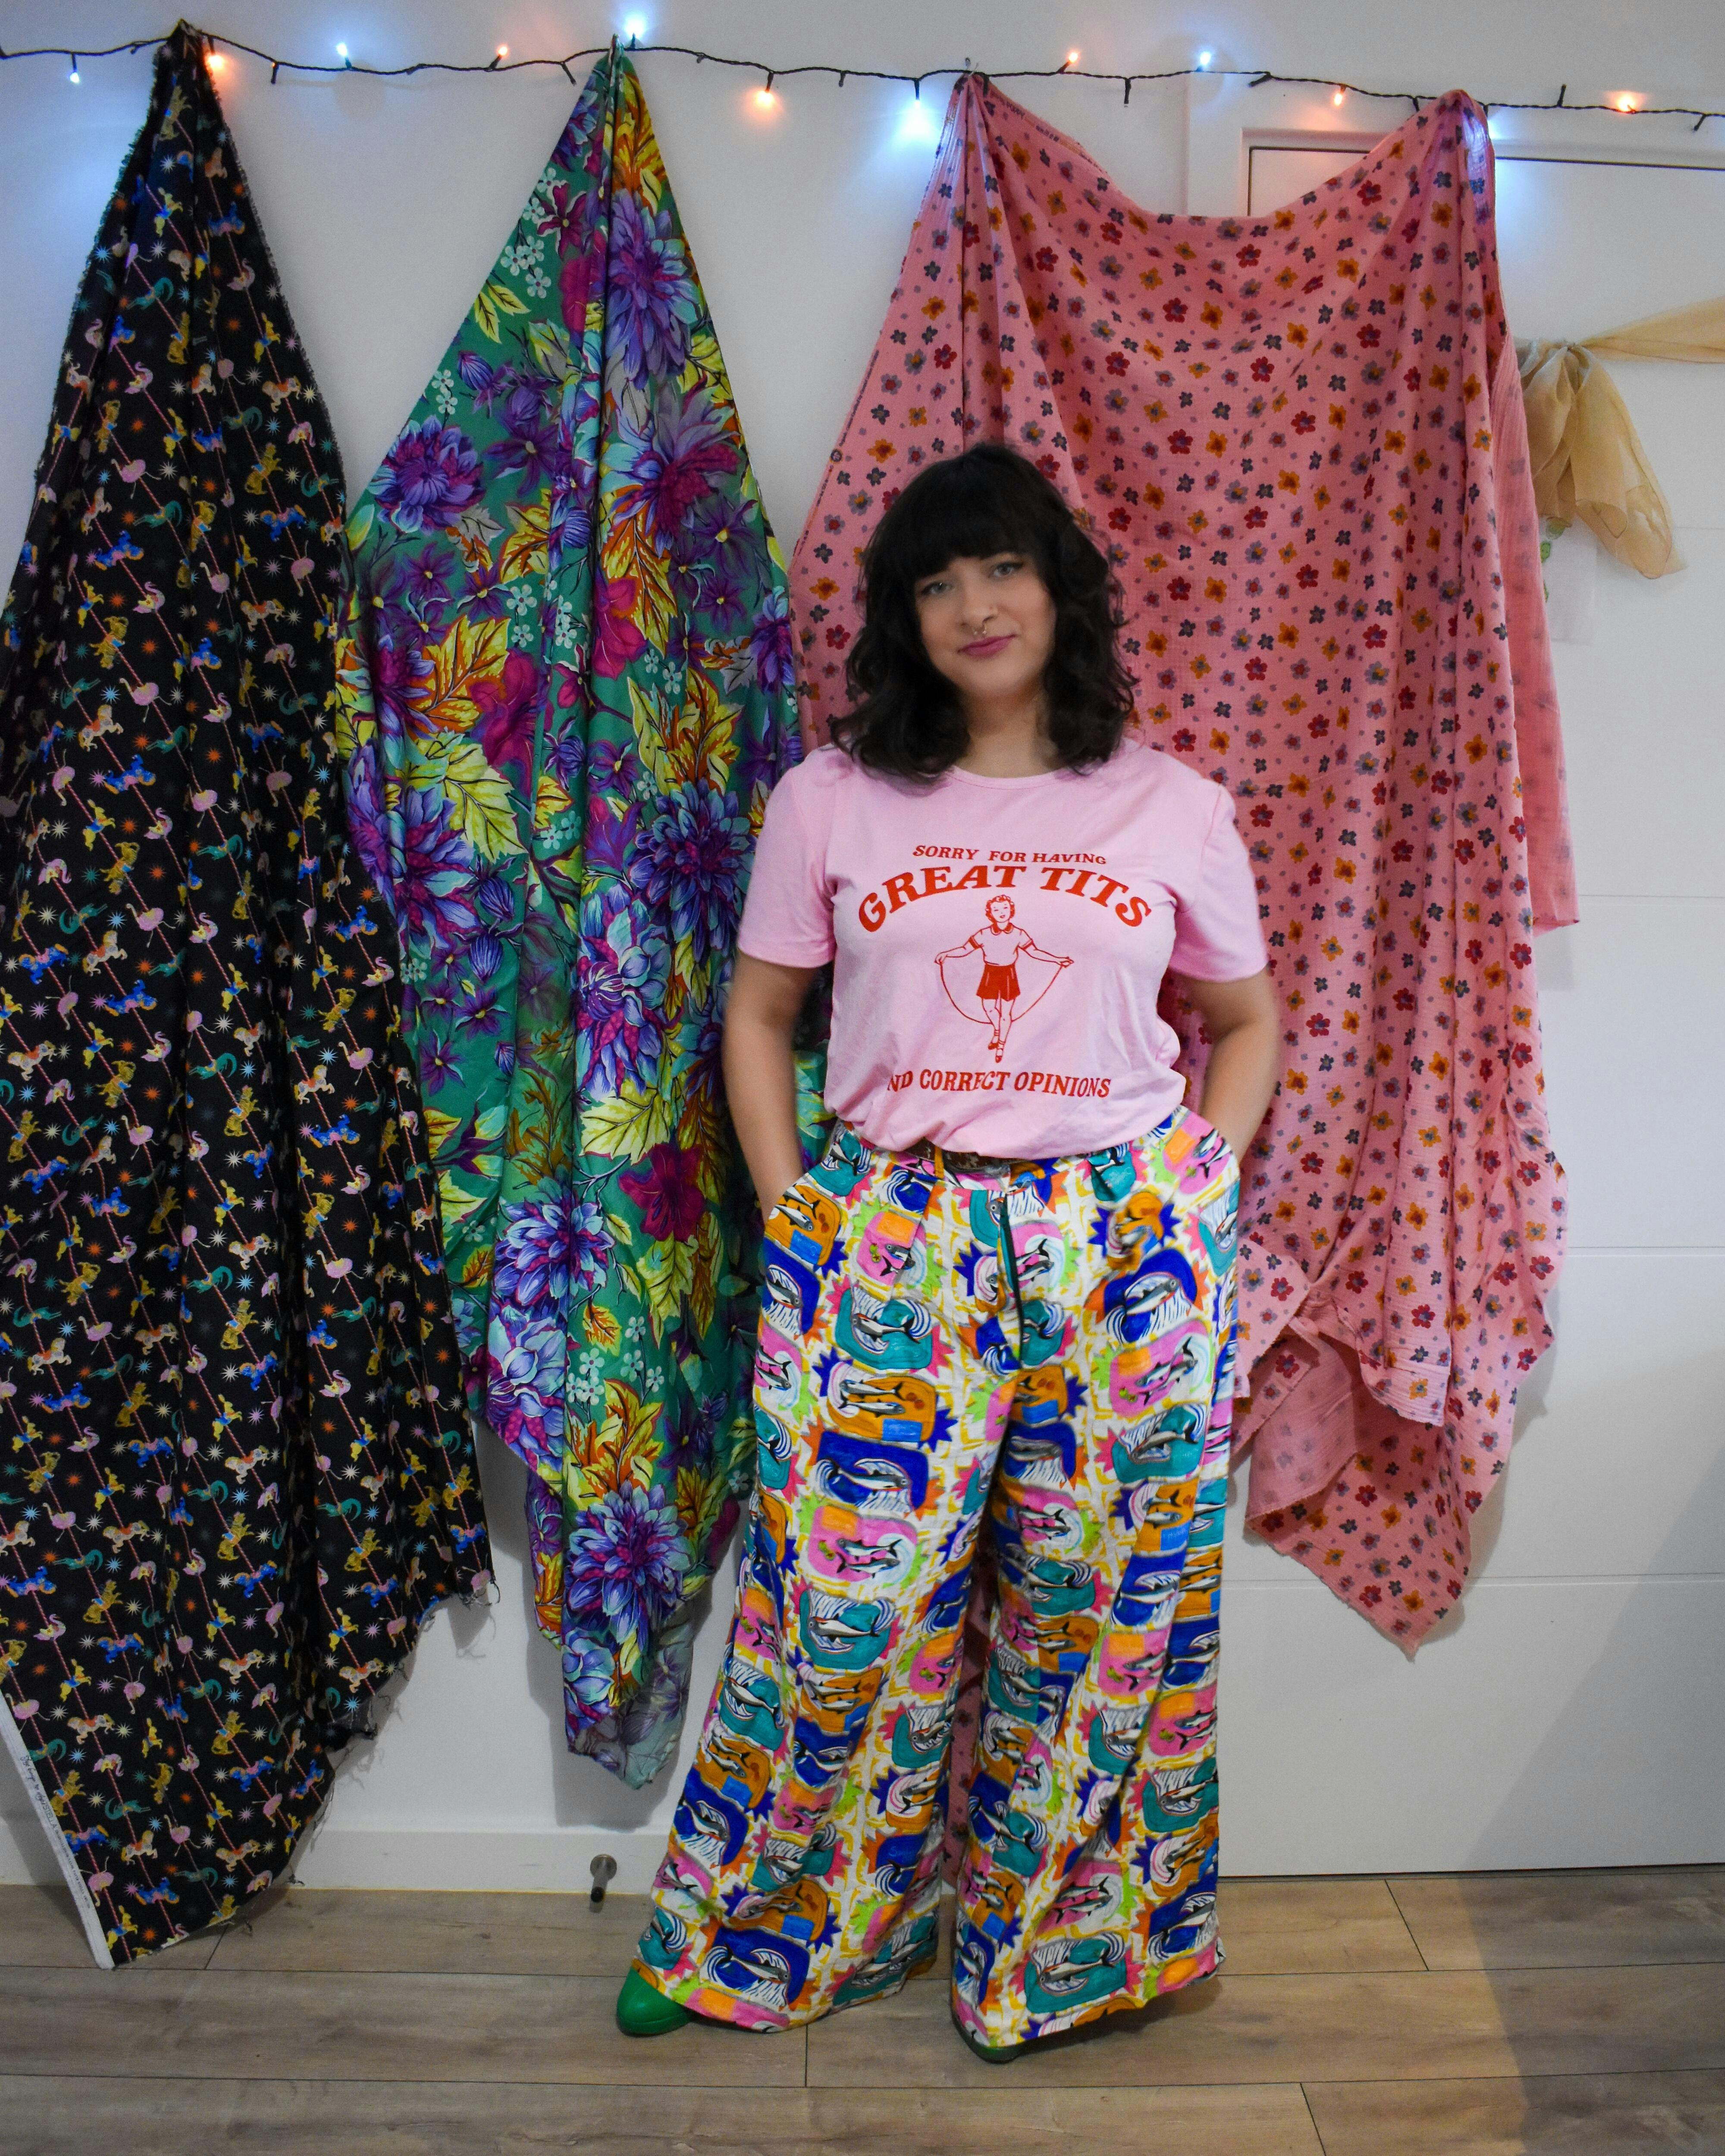
I'm a beginner and this was very clear and easy. The pattern makes sense and is easy to see where and how to make modifications on neckline, body length/style, sleeves, etc. I made a baseball Tshirt for $1 with material from the thrift store for and the next day someone asked where I got it! SO easy to customize - I may never need another T-shirt pattern again!

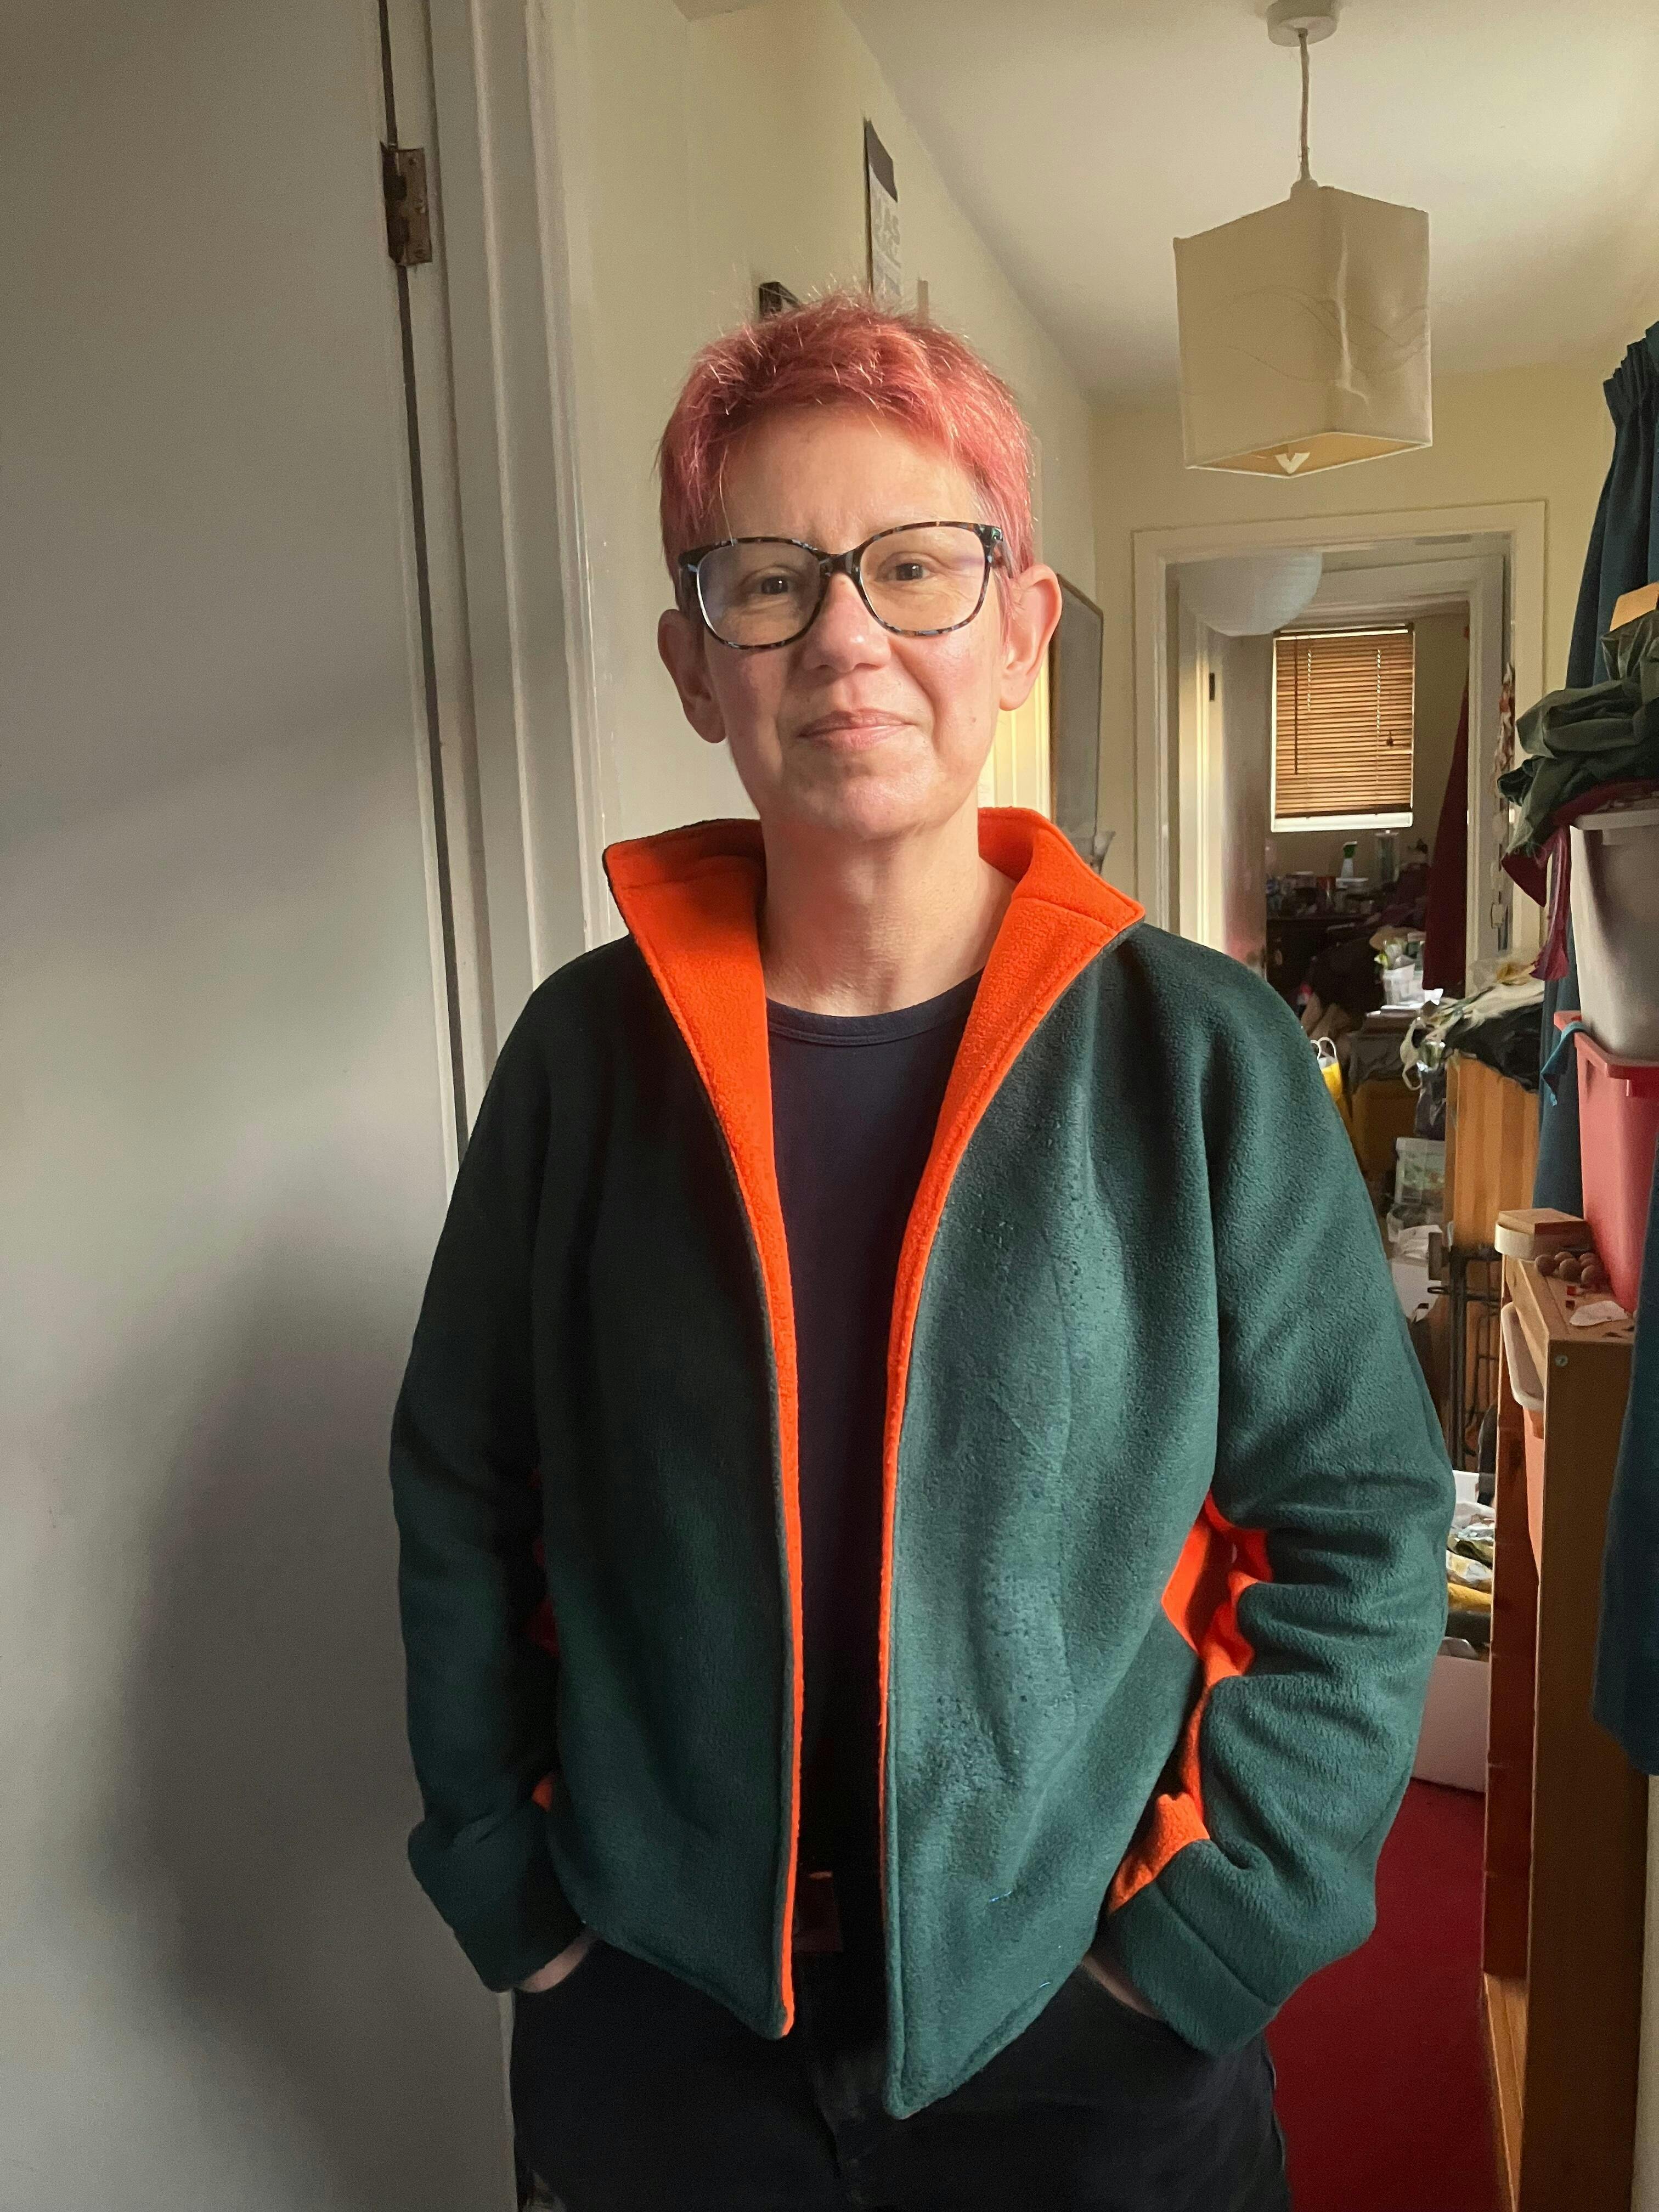
Making the Yanaka jacket in a snuggly fleece worked out very well as a post-Christmas make! It didn’t take long at all, as I missed out the additional elements I put on the other ones I made (the base pattern doesn’t include pockets or lining but I have put these into the others made). The gussets on the arms, plus the facings, work very well for colour blocking and I feel like I am wearing some very upmarket activewear, or perhaps some very cosy work wear.

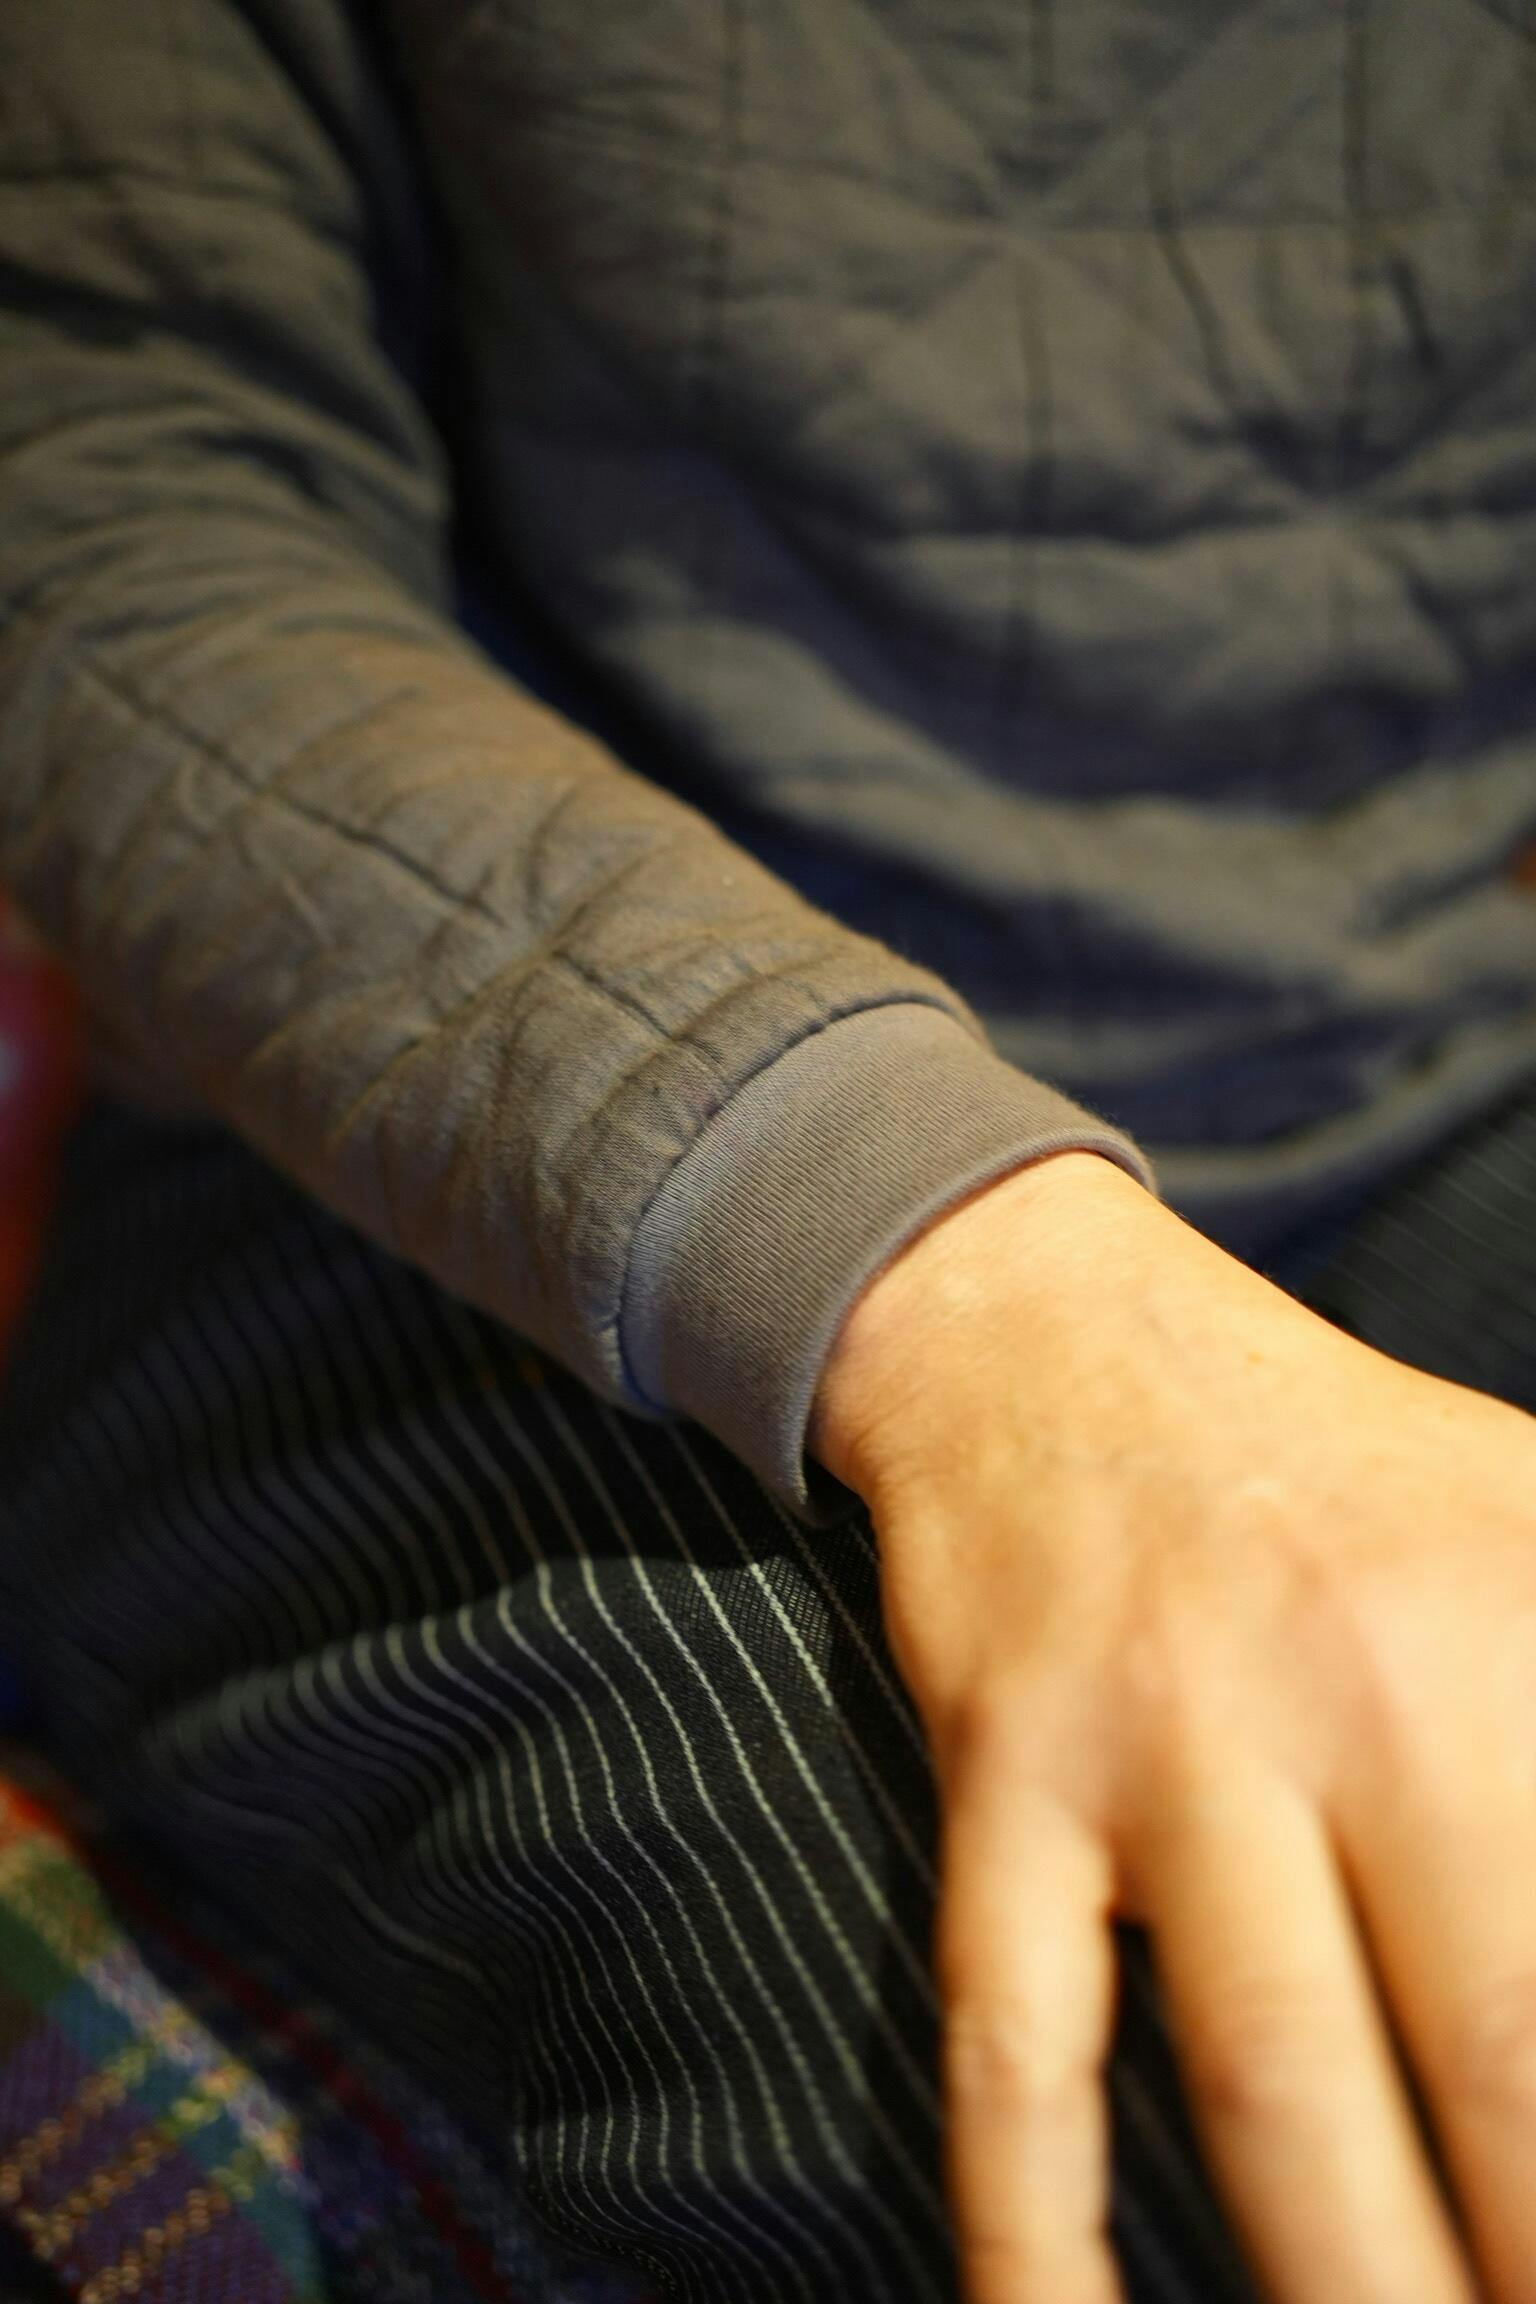
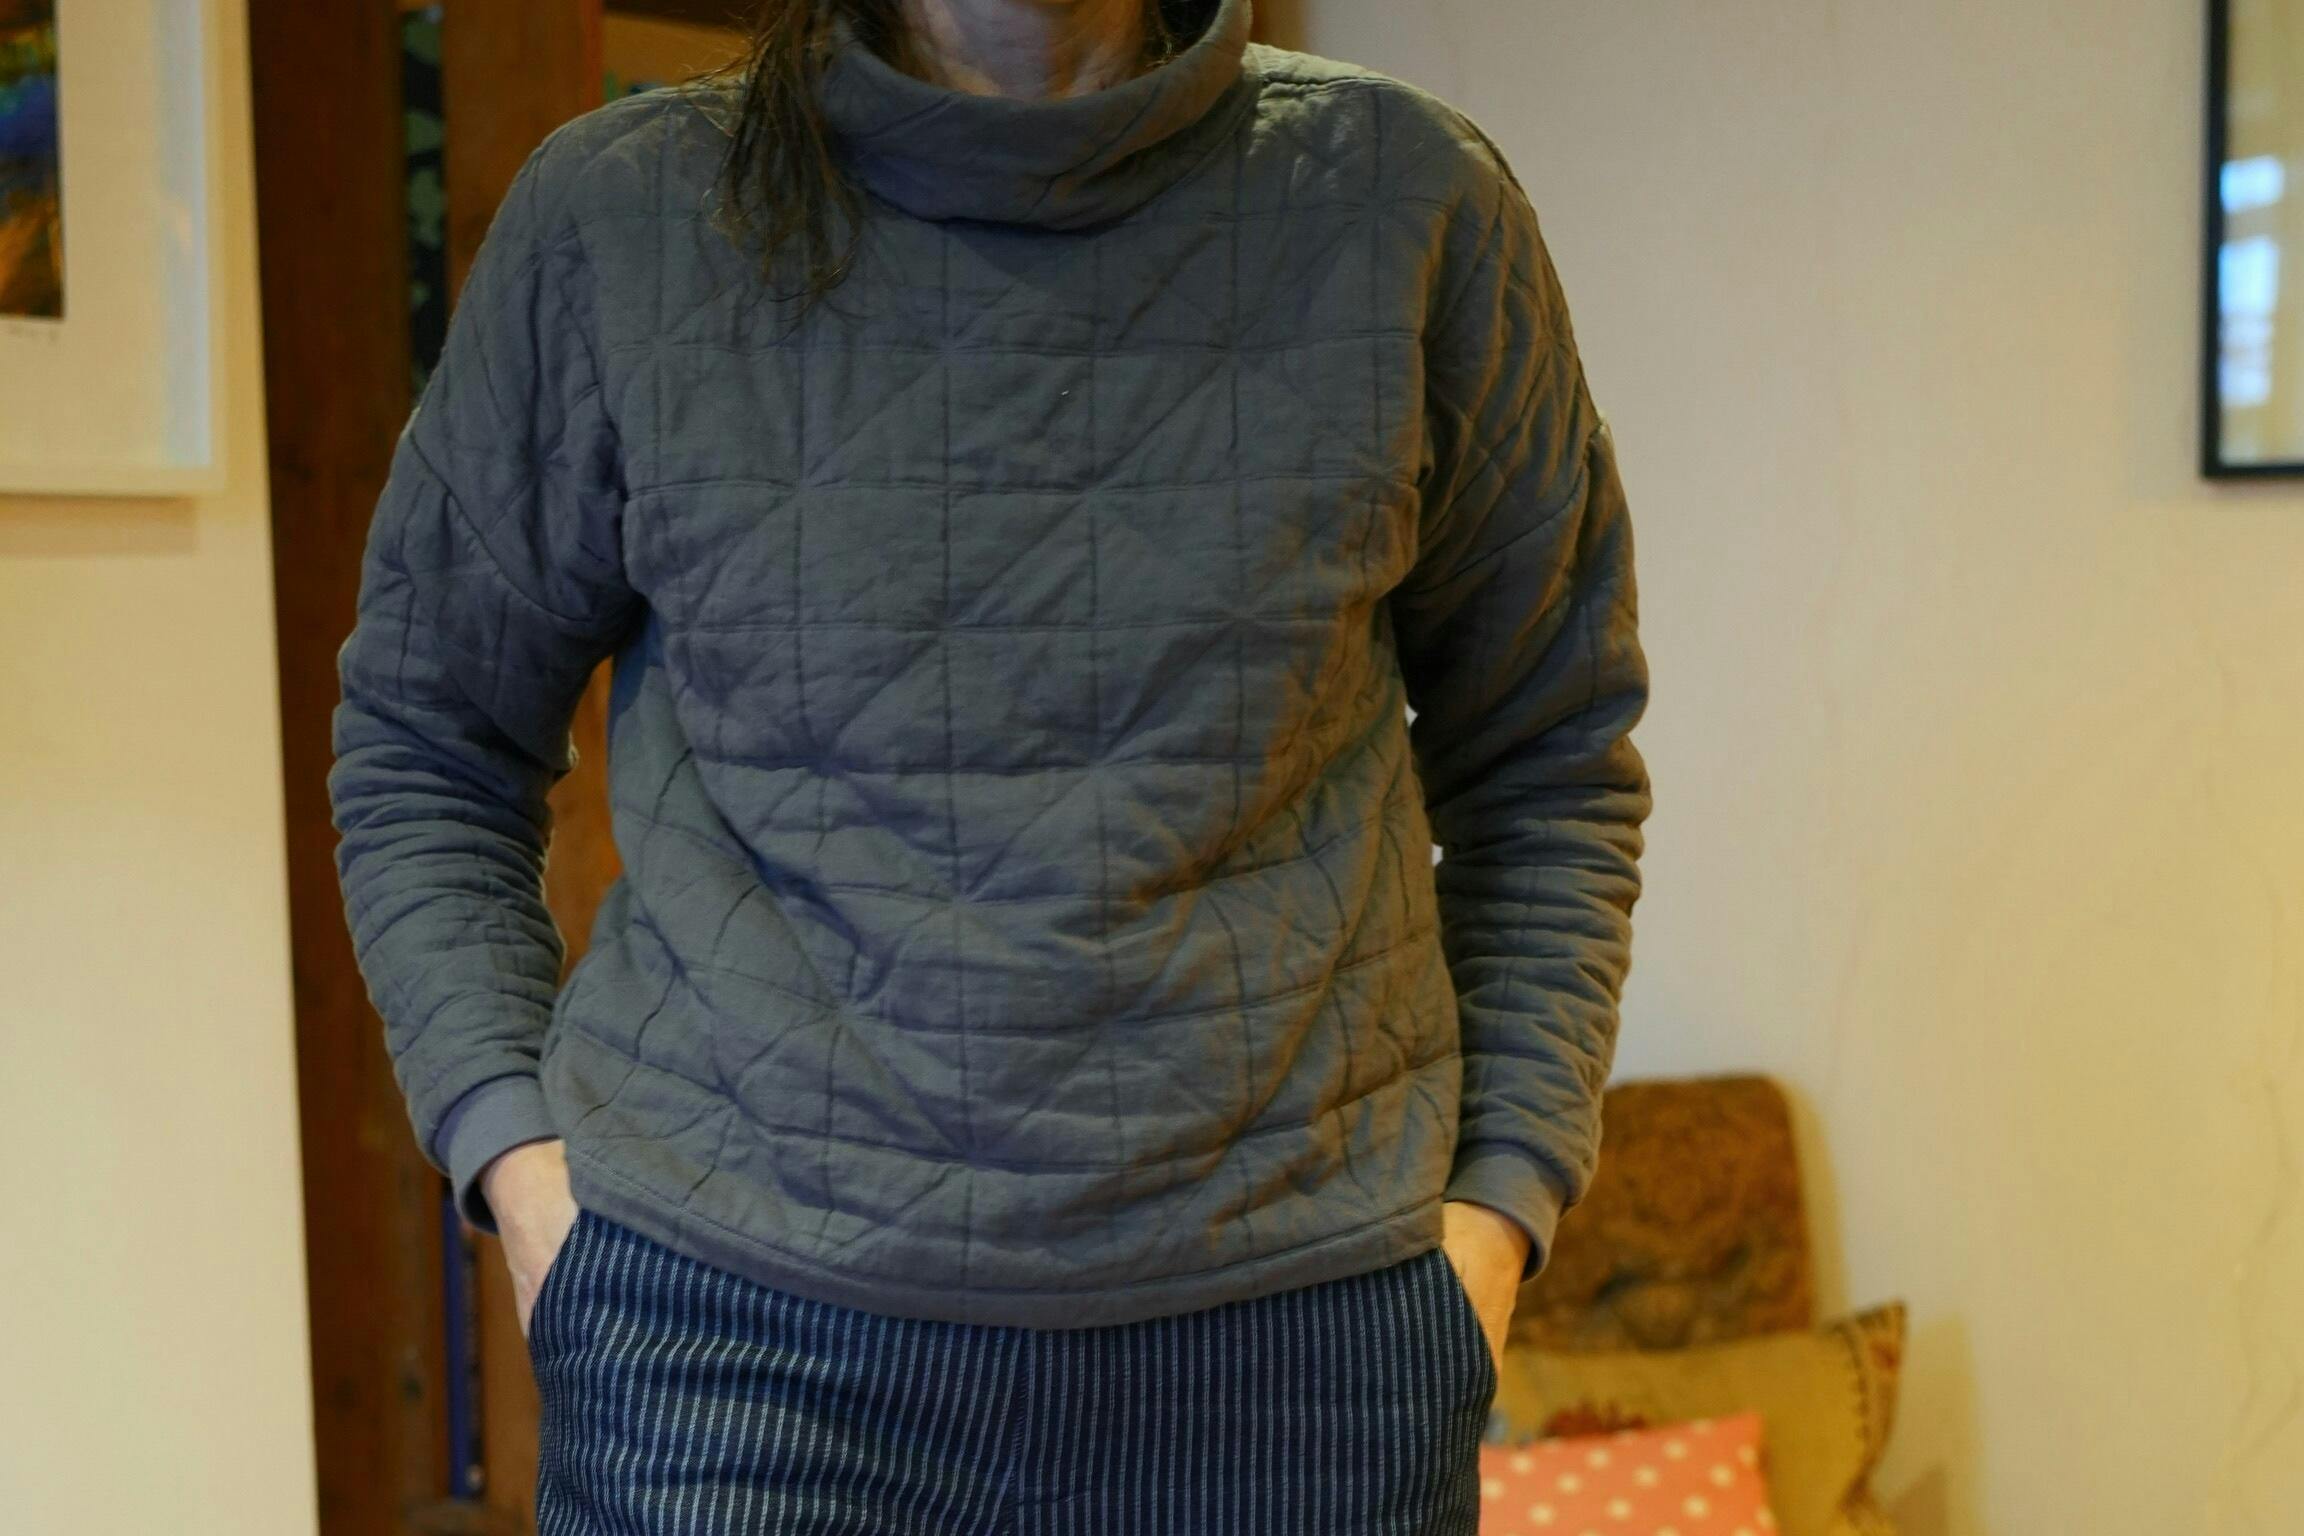
My second version of this pattern is in a Merchant and Mills quilted jacquard (found on Marketplace for an absolute bargain price).
Sewn in a size 12, french seamed (necessary with this fabric. I extended the sleeve length again and then found it was too tight, so I removed the cuff (same fabric) and found just enough rib in my stash of a similar colour and added that instead. It was just the solution I needed and this has been regularly worn this winter.
A quick sew (when things go to plan).

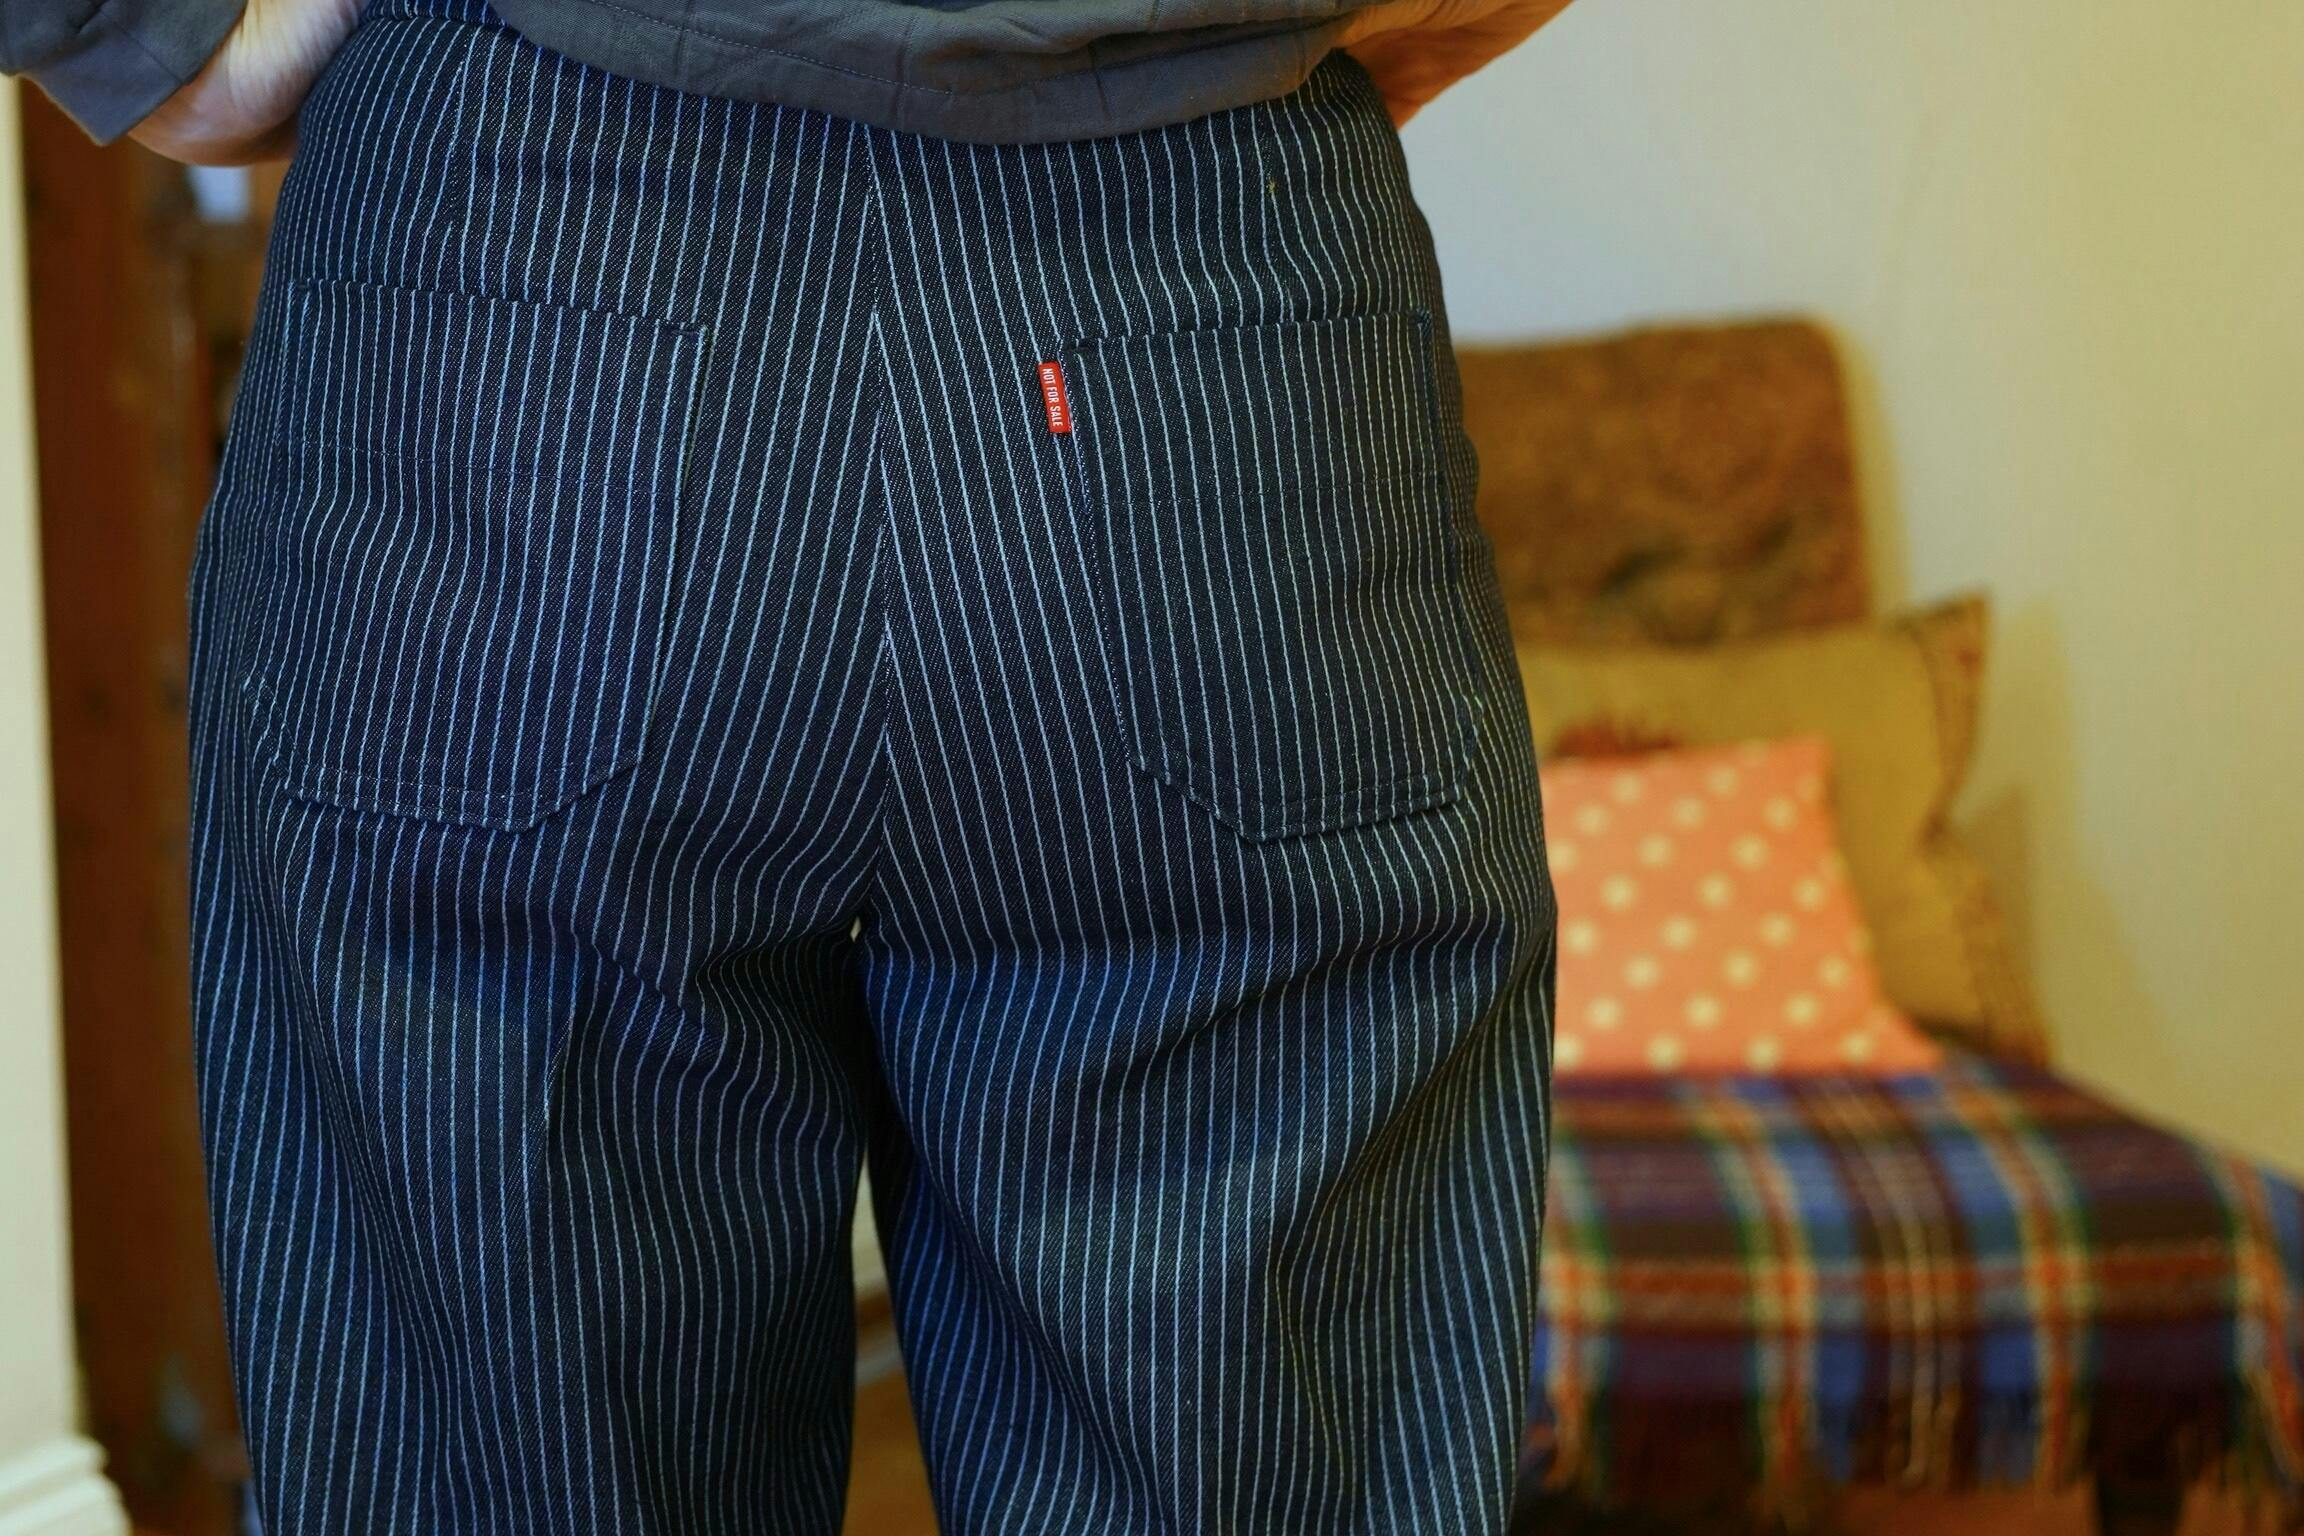
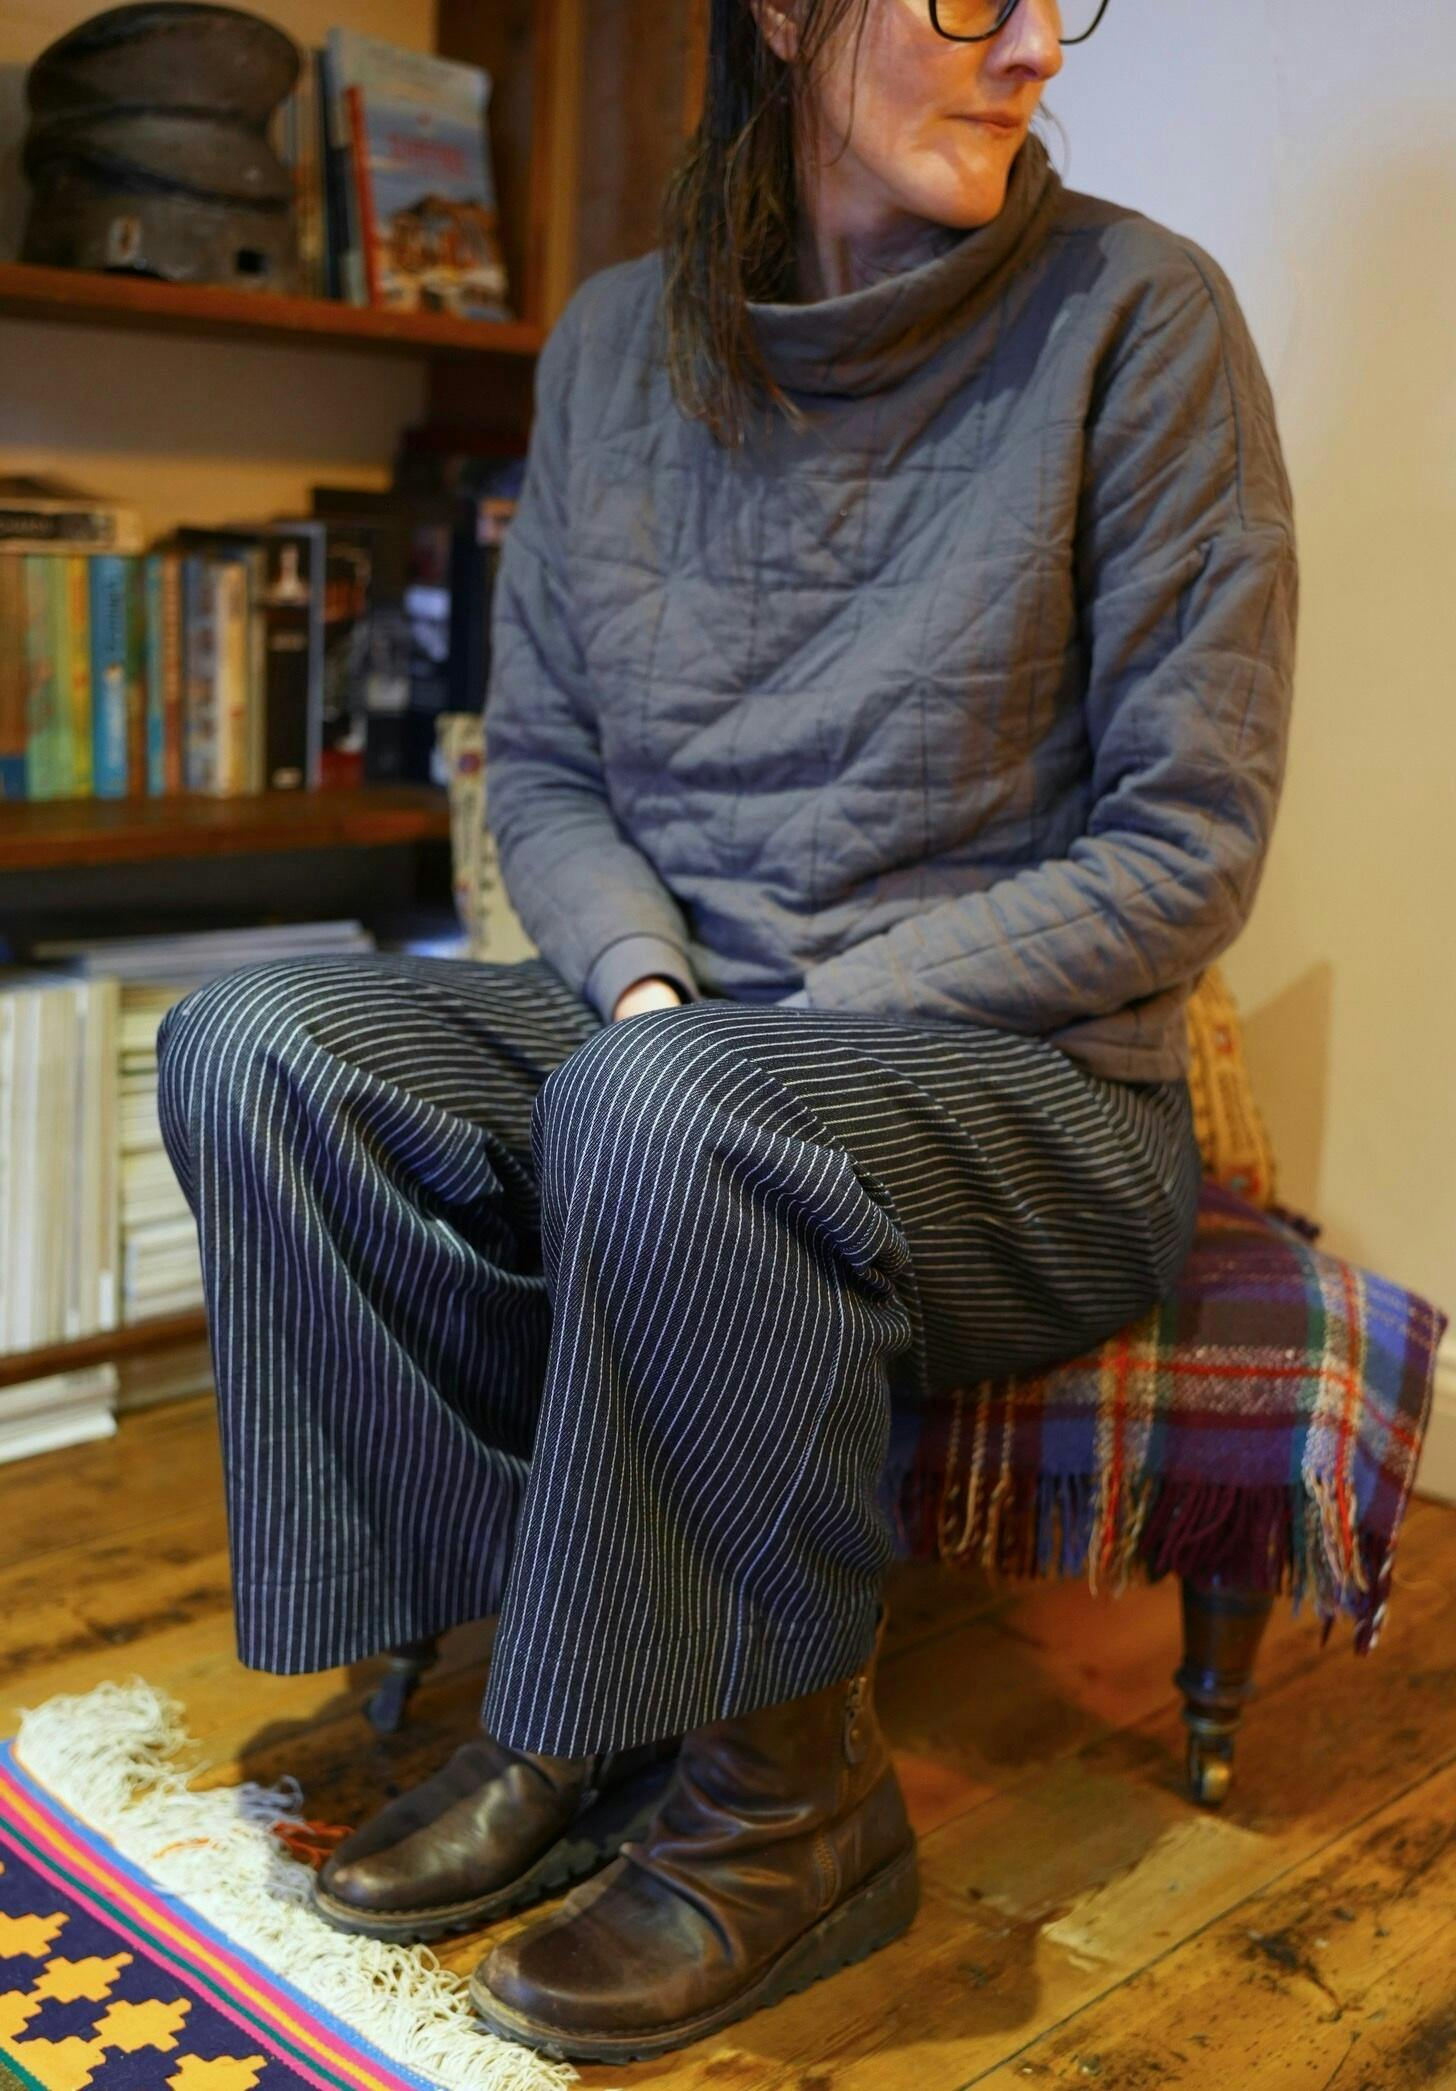
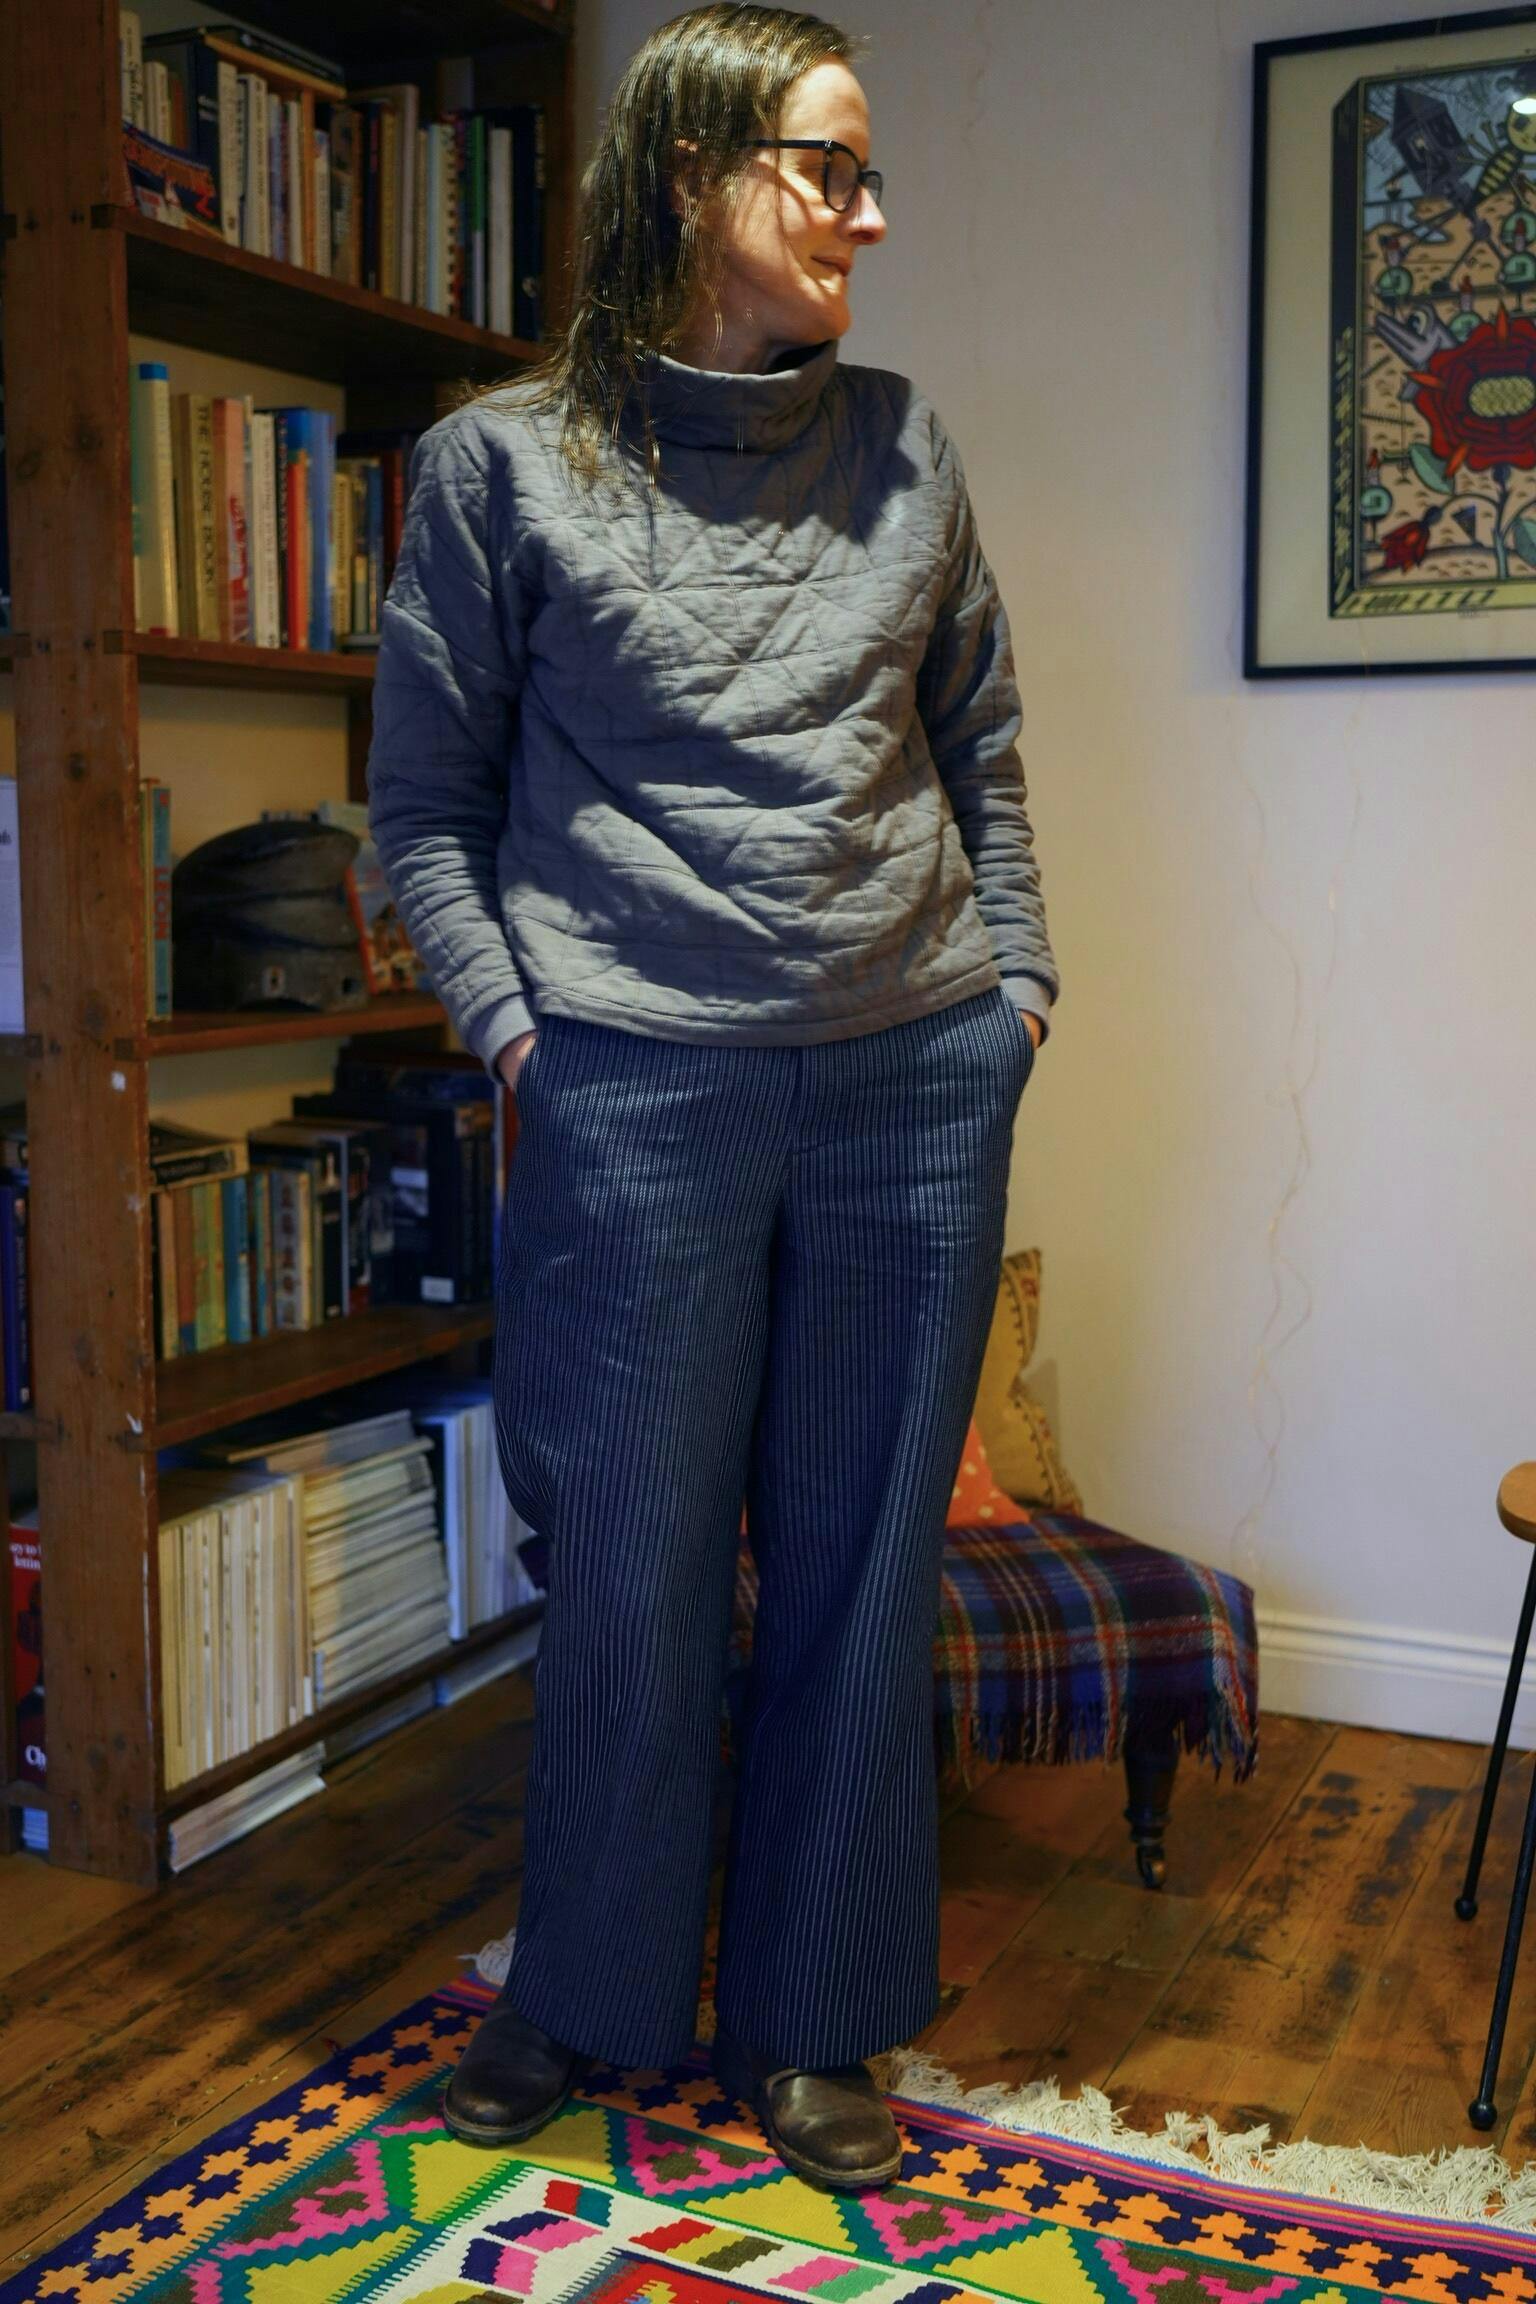
I've made 2 pairs of these in a twill and this third pair in a stripe denim.
These are view B which has a flat front and patch pockets (rather than welt) in a size 10, I didn't make any adjustments and am really happy with the fit and feel of them.

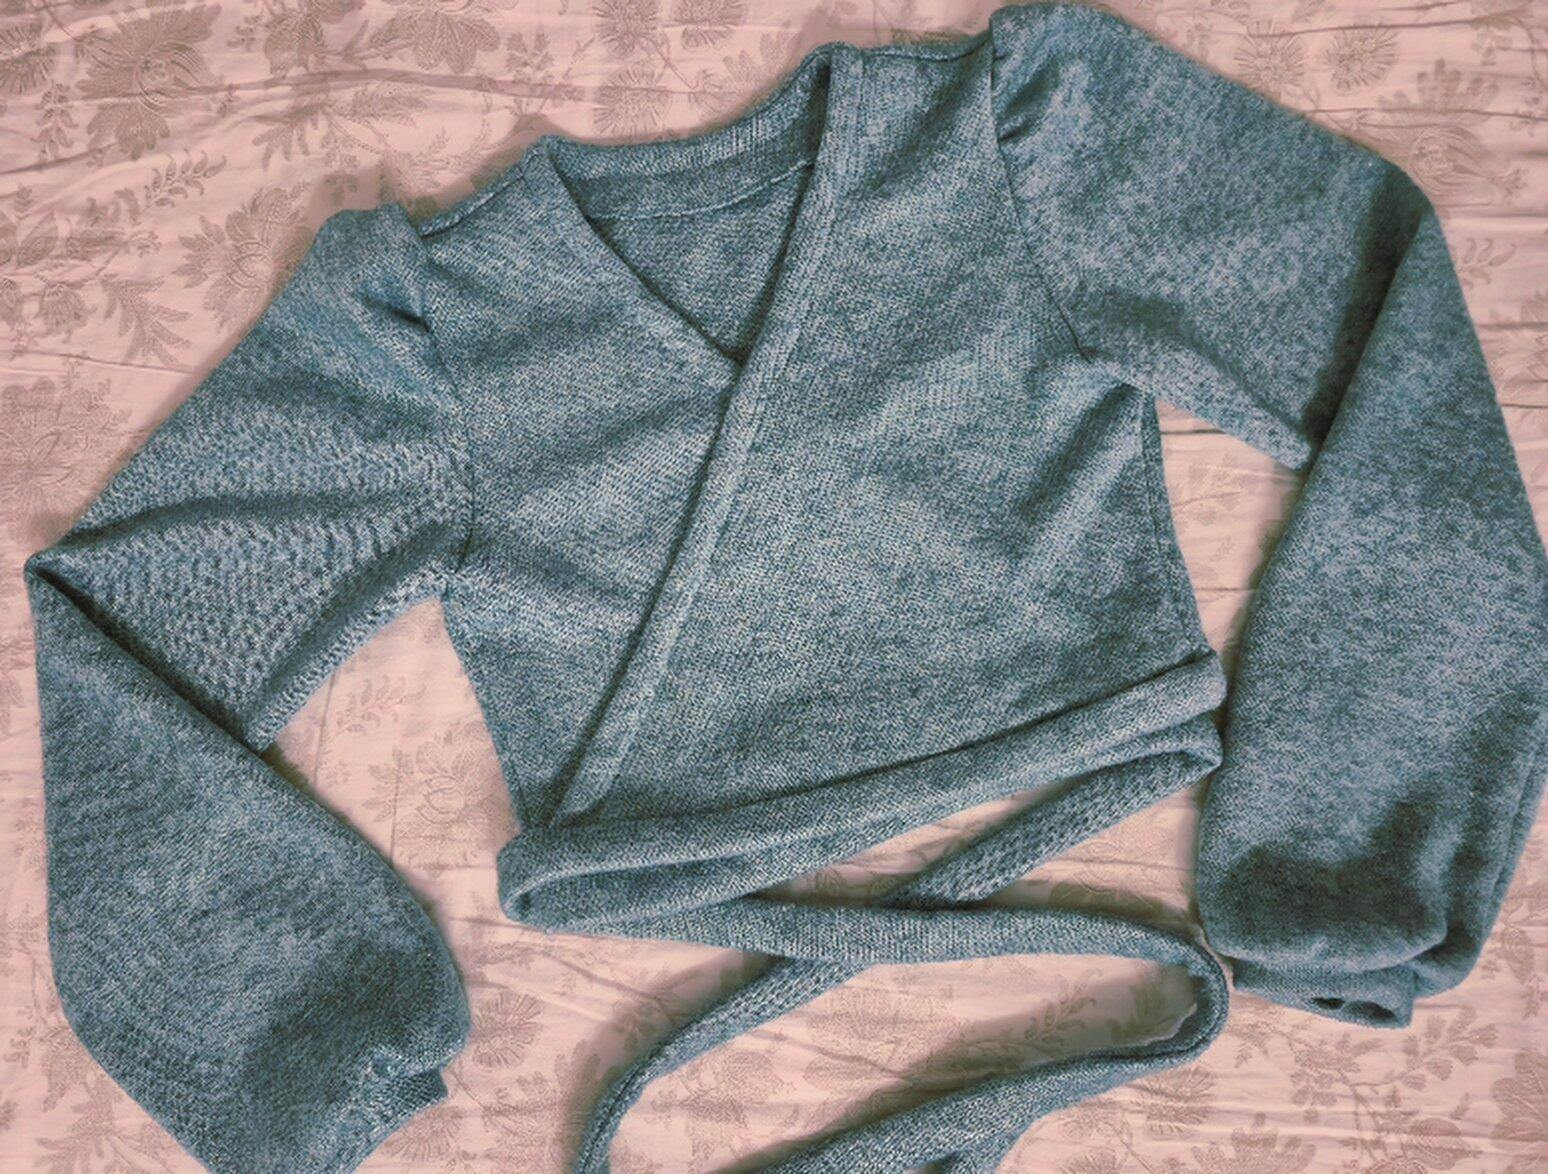
Totally thrilled with this pattern, the instructions and the outcome. This was my first time cutting anything on the bias other than binding, and I have to say I’m totally thrilled with the result and the impact it makes when you wear it. Everything was clear and straightforward, I did struggle a little bit with getting my head around the fact that this pattern company uses both metric and imperial measures mixed in together so I had to keep switching my brain from one to the other. But the math gymnastics was worth it. I simply love the dress and can’t wait to make some more.

Excellent service for printing PDF patterns purchased online, rather than attempting to assemble printed A4 pages into patterns.
Highly recommended!

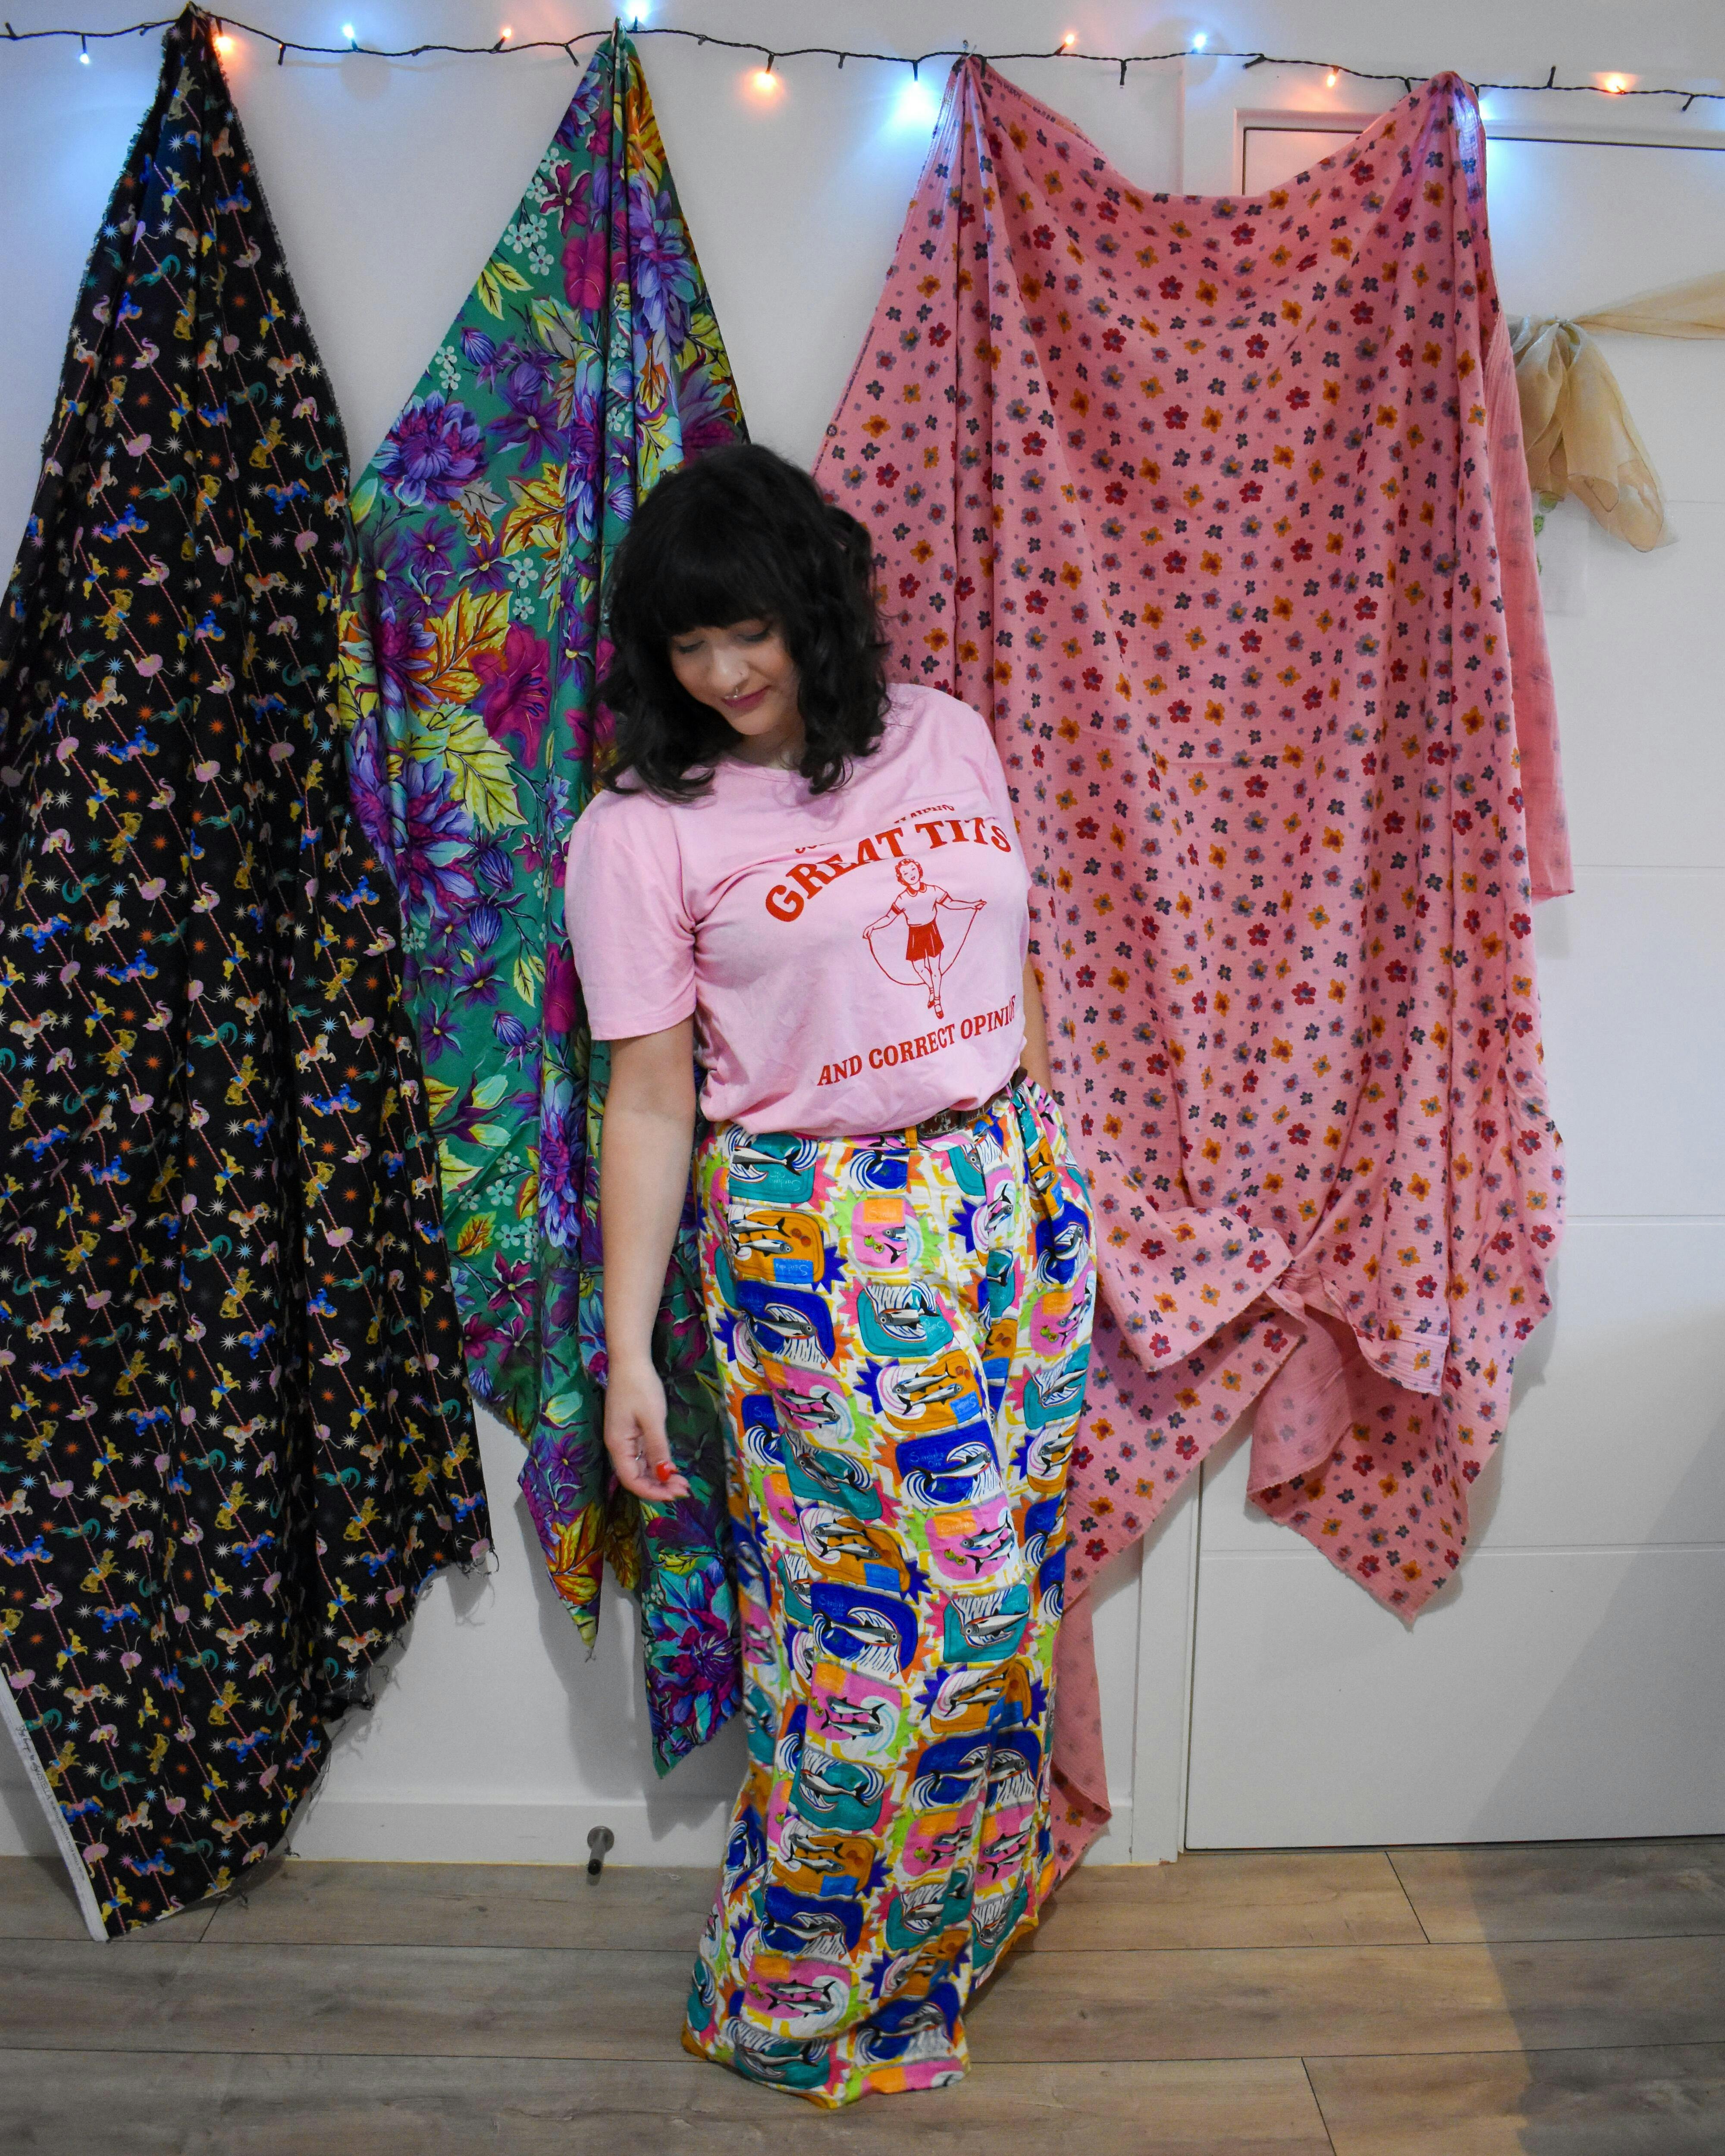
Ive wanted to make this pattern ever since it was released but kept getting sidetracked by other projects. When I finally did get around to making a pair I just didn’t love it as much as I thought it would, they look so good on everyone but I just don’t like them on me.
I made them to my body measurements but they came up big, and I cut the 28” hem which is my inseam and they came out really long.
The instructions are ok, although their method of attaching the zipper was a little confusing.
They’re still wearable and I’m hoping they will grow on me but I was just underwhelmed and I had such high expectations, which may have been where I went wrong.

Acquired the pattern during the 12 days of Christmas promo then the fabric in Madeira. It's a traditional design.
It's a great project. I placed the pockets differently to make use of the stripes with two crossways on the outside. As it's thick, lined, interfaced and piped, there was some bulk and I had to hand finish at the bottom corners.

Love these labels. True to their name - unique

I've had my eye on these for a while and treated myself to them with a Xmas voucher. Super sharp, I know they will quickly become an essential tool.

Treated myself to this with a gift voucher. It's a lovely magazine with interesting articles. Patterns need to be traced off but don't look as daunting as the Fibre Mood ones. I'm planning on making the Shalli coat and Selena dress.

I absolutely love this blouse and found the instructions simple to follow and the fit perfect (with my standard addition of length)

Quite strange shoulder construction, definitely should have done a toile as fit wasn't quite right - quite wide across shoulders and very narrow at the hips.


