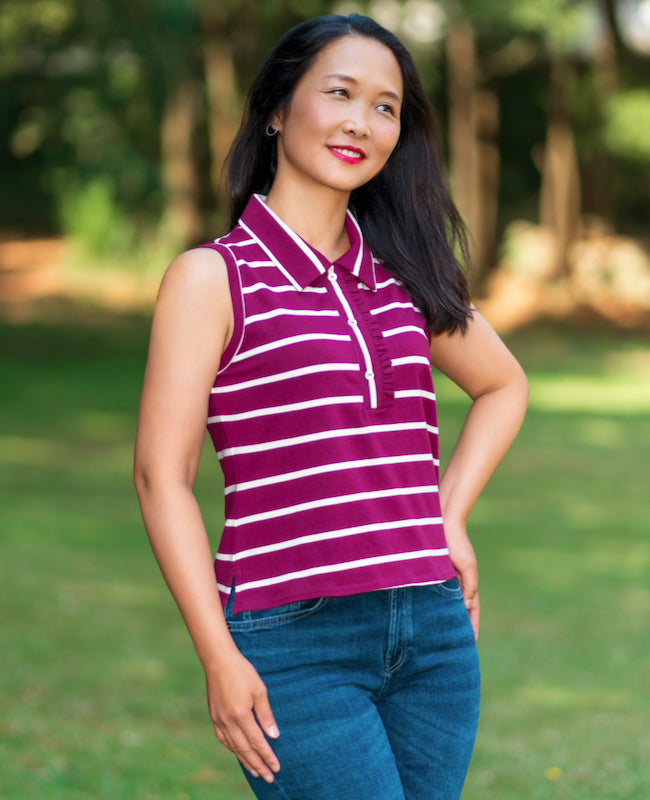
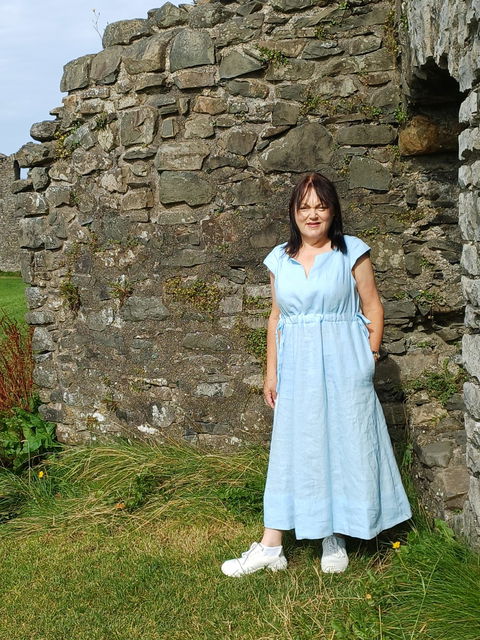
Sew a Summer Essential


The Fold Line is an award-winning online sewing pattern shop
We are the home for people who love sewing and making their own clothes. We offer an extensive range of paper and digital PDF sewing patterns plus copy shop printing services, shipping worldwide.
shop by category


Shop our latest patterns


Read our blog


OUR BRANDS


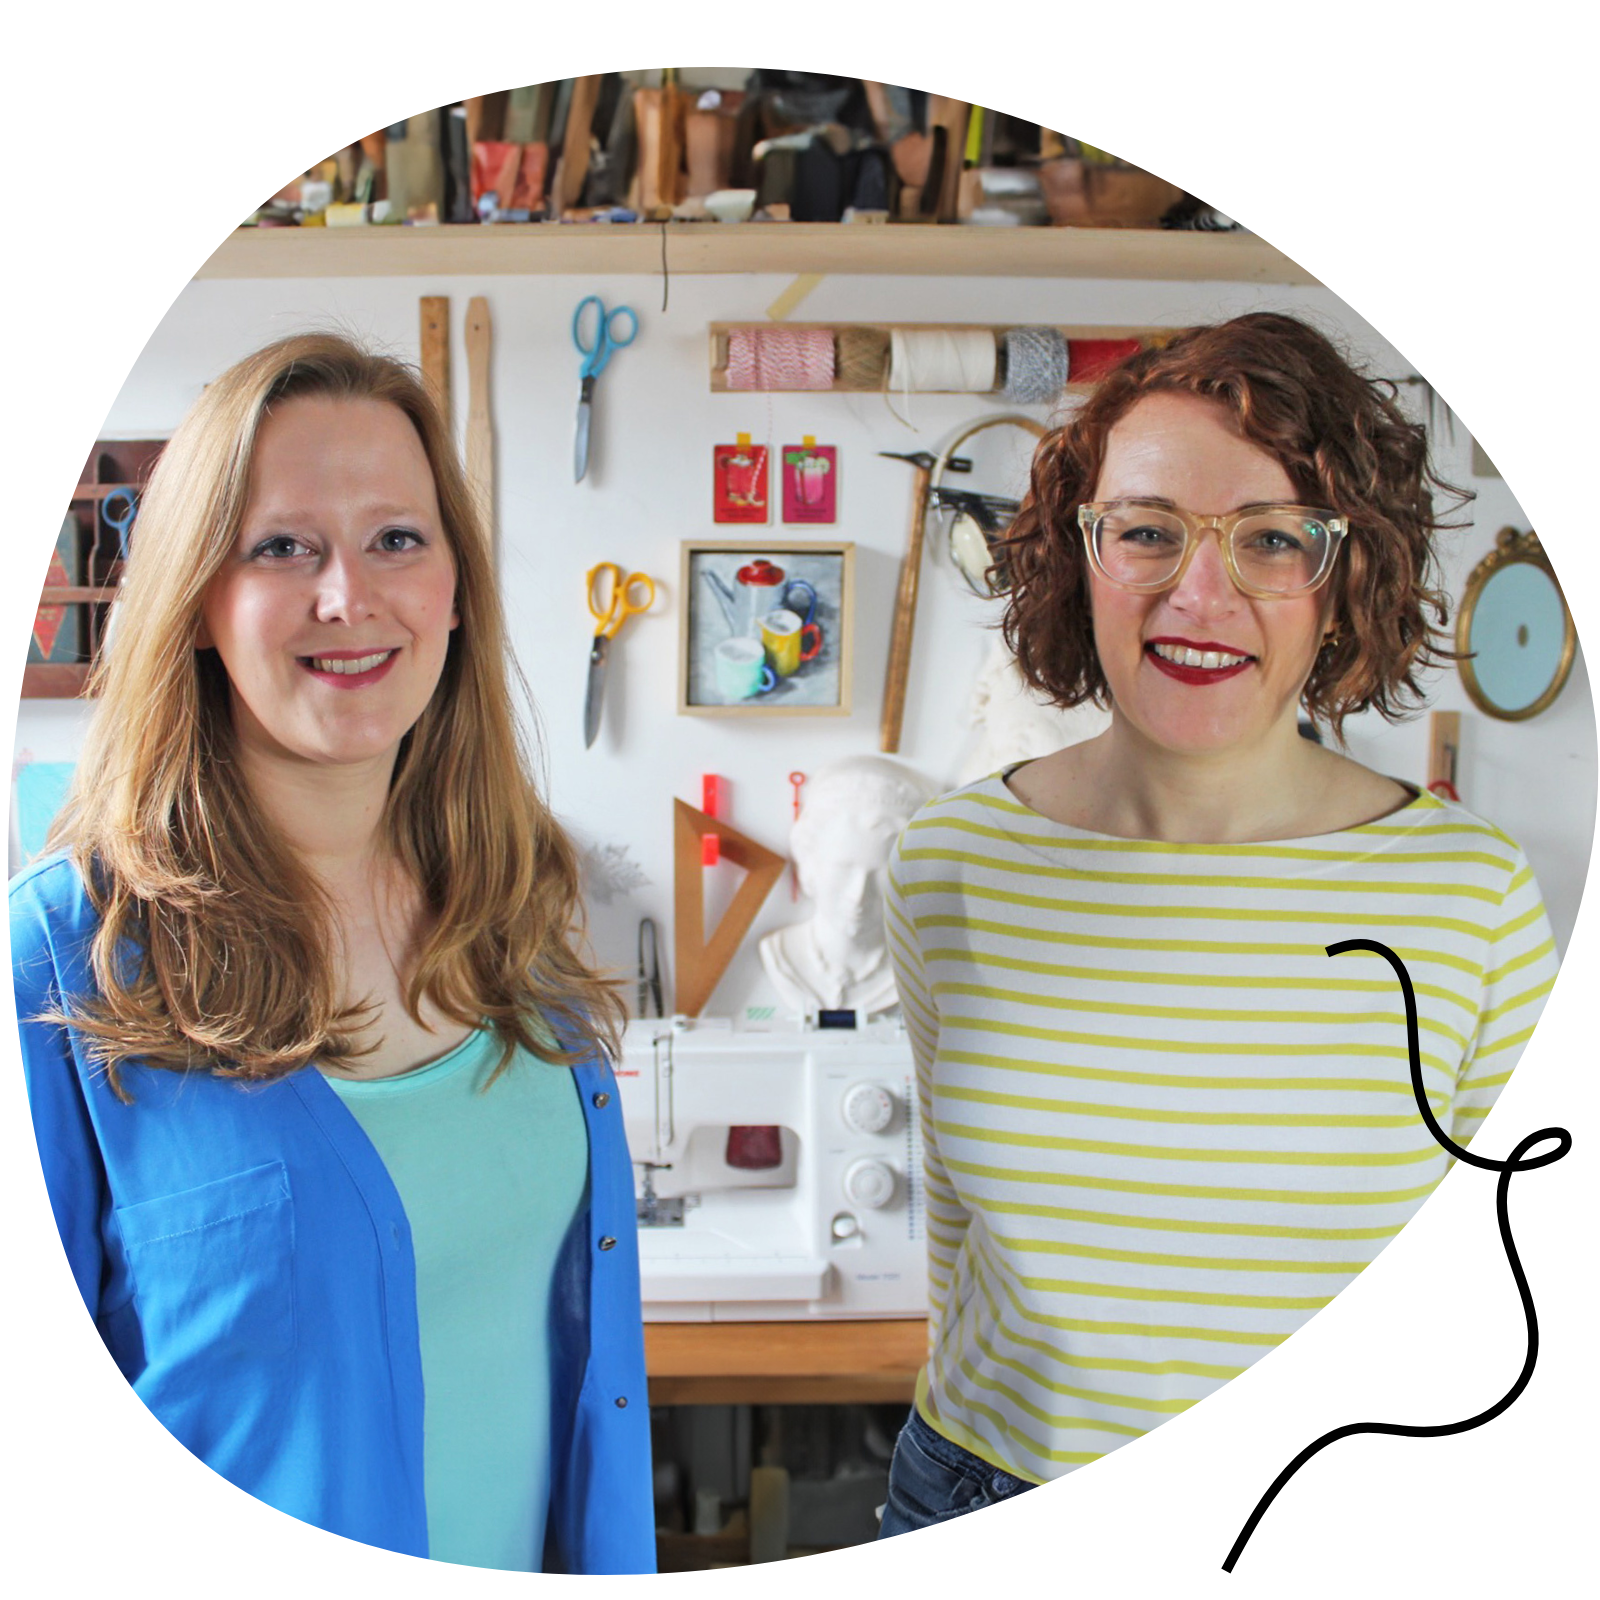
PATTERN EXPERTS
With more than 10 years of experience working with independent designers, we are the sewing pattern experts. With our expert knowledge and award-winning online shop, we are here to help you find the perfect project. Let us inspire your next make with our weekly blogs, vlogs and newsletters, bringing you the latest pattern releases, trends and sewing community news.
Kate & Rachel
OUR VALUES


customers love our patterns
Let customers speak for us
MBAdams
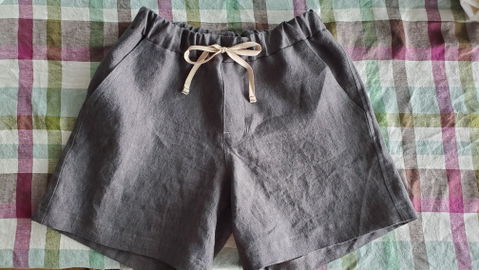
Okey Dokey Ukee!
I am fortunate enough to live in British Columbia, and to have visited Ucluelet (after which I assume these shorts were named). It's a beautiful part of the world.
This is the first time I have made a pattern from Helen's Closet. As an experienced sewist, I wasn't sure what to expect from this designer, but boy, was I very pleasantly surprised!
Everything fit together beautifully, and the finished result looks pretty darn great. Although I did manage to squeeze into these, they are technically one size too small for me; they are in a parcel right now, headed to my daughter, so the shorts aren't modelled.
I only have two small suggestions to make: the instructions mention that for sizes 0 - 8, you will have to unpack part of a tacking line holding the pocket to the shorts' front. I made the size 10, so didn't think I would have to pick out the stitches, but I did; second, once the pocket bag has been folded in on itself, you are supposed to finish the bottom edge of the pocket bag, but by that point, you have already been instructed to sew the pocket to the edge of the shorts' front.
These are minor points only, and are for a heads up only, not really a complaint.
I used some beautiful linen in my stash from Emma One Sock in Philadelphia.
I hope my daughter loves these and that they fit just right. I had previously made her the Bamberton shorts, but the legs were too wide at the bottom (kind of flared) and the crotch turned out to be too deep, so they had a hanging/pulling feelingnfor her.
These should hit the bullseye!
Mell
Sooo cute!
My first time making a skirt and I'm quite the beginner. I did make a few small mistakes, but it turned out amazing anyway! I followed the YouTube video along with the printed instructions and it all came together in about 3 days for me.

Linda Whittaker
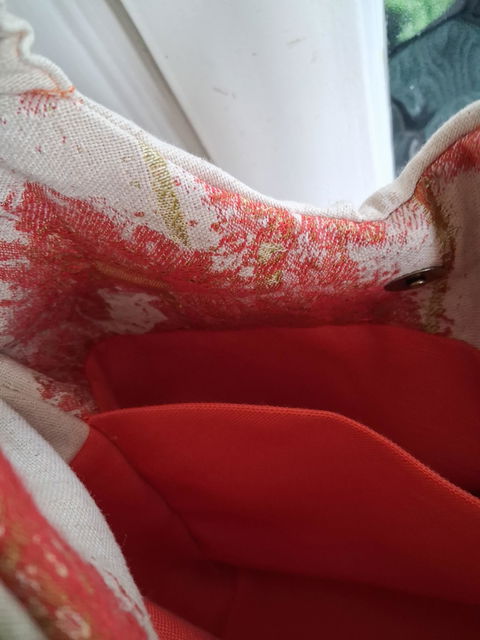
Bridge bag sewing weekender
I would say this pattern was more complicated than expected as my brain doesn't do jigsaws but worth the effort and made a lovely bag out of an old curtain switch book fabric.
tamara
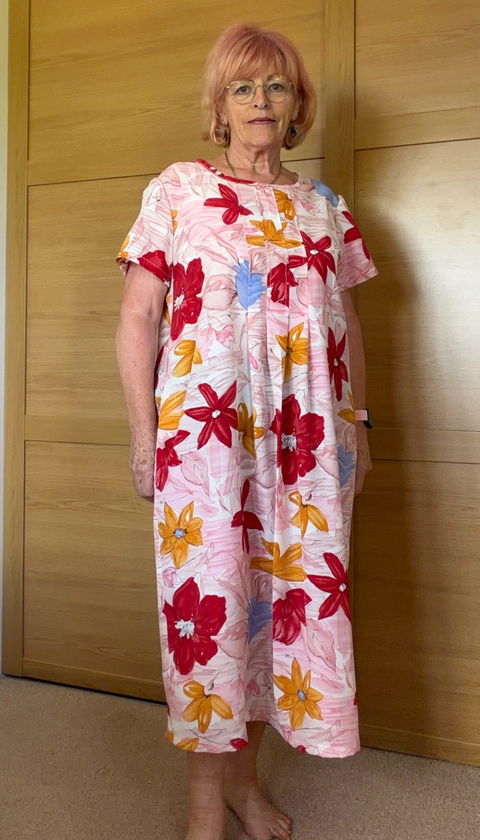
Great dress pattern
I really enjoyed sewing this. Its one of the few dress patterns I have bought that actually fit me but at 5 foot it was very long on me. I found doing the top a bit tricky as never done burritto method before so used youtube for help. Instructions are good though and the pattern pieces all matched up. I made it in a heavier weight linen which in retrospect was probably a bit too thick. Im planning to make another in double gauze, with skirt shortened to mid calf and perhaps the waistline dropped to my natural waist. Thats just personal preference rather than a fault of the oattern.
Sophie White
Trapeze dress, tiered version
I’m still a beginner but I really loved making both dress. I have also made the top without the frill.
The instructions were okay for me, the first one had to be adjusted after completion but I didn’t have any issues.
I’m considering making the original design but a longer length.
Mary
Cleo at last
After an unsuccessful dyeing of a white linen skirt a few days before going on holiday I decided to make a skirt. Despite all the handmade garments in my wardrobe there was not one skirt.
I had a length of chambray fabric from the charity shop along with a scrap of denim chambray which I decided would be perfect for this pattern (which had been stashed since 2018).
I opted for view A, knee length with cutout pockets.
The instructions were straightforward to follow. I choose to French seam the pockets, all other seams were overlocked.
The irony is that this was finished in plenty of time however I then decided to not pack it for holiday. I have however worn it a number of time since, it’s great for the hot weather we’ve been experiencing this month.
Léa
Magnifique
Je l'ai réaliser dans un tissus en 100 % coton assez rigide ce qui donne un beau tomber.
Je fait petit un bonnet E est contrairement au commentaire précédent cela me convient très bien. j'ai juste bien fait attention lors de ma prise de mesure car j'était entre 2 tailles. Je peux même le porter sans soutient gorge et avoir un maintient grâce a la partie corset qui met aussi bien en valeur la taille.
C'était ma première robe, je la porte tous le temps. J'ai eu aucune difficulté grâce au explication (qui son en anglais mais avec google traduction on y arrive facilement)
La seule modification que j'ai faite est au niveau e la logeur où j'ai retirer 10cm et j'ai pas encore mis l'élastique dans les manches mais je pense laisser comme ca.
Becky
I am so so pleased I made this dress.
I watched The Fold Line YouTube review of Tessuti patterns and decided to give this one a go. Although I have been dressmaking for a few years I am not at all confident, and have had a few disasters. When the pattern came it was obvious to me that I would be able to follow the detailed instruction (there were photos too) the instruction were in a step by step form and thats exactly how I proceeded. I initially made this dress with a viscose fabric I had had for ages and didn't mind if the whole thing went wrong, but the dress is beautiful...and I am already preparing to make another one. If I never buy another pattern this will suit me nicely.
Mell
Love love love!
I'm a beginner, so the first real project is daunting, but with the video sew-along, this was a breeze! I did make a few small mistakes, as with learning anything, but this is quite forgiving too! I made view C as my first project, but I'm going to make A and B next!
Milie
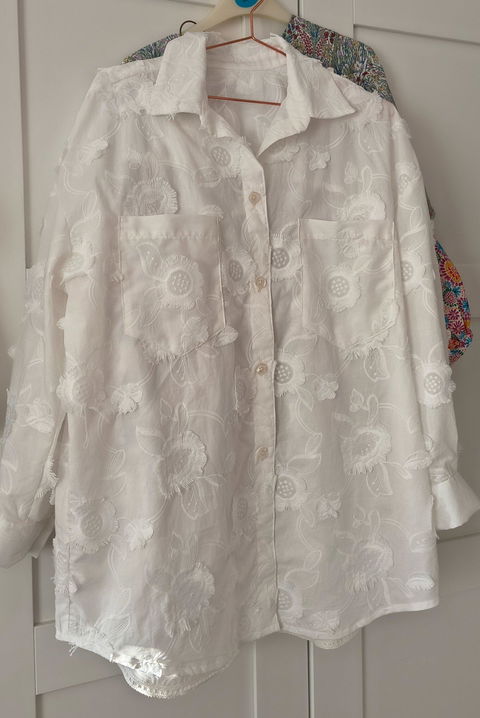
Second iteration
I returned to the Carry blouse and made the slightly less fabric hungry version with the pleats at the wrists. It's a super pattern although I rushed it, interfaced the wrong side of the cuffs (i.e. the right ones) and have one cuff buttoning one way and one the other. No one will notice.
I used every last little bit of this poppy (or is it peony?) deadstock fabric which has been popping up this year. Mine was from Ditto in Brighton. A little placement was necessary but it was easy to work with apart from leaving quite a lot of short bits from trimmings involving the stand up petals.
Milie
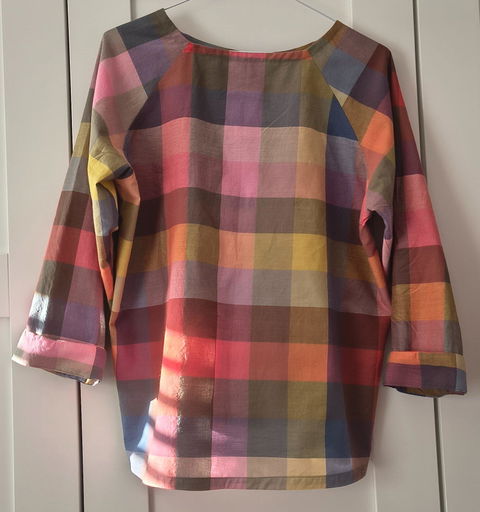
Excellent pattern with several iterations
It's a quick pattern with a variety of alternative designs including the free gathered sleeve expansion. This is the mid sleeve, pull over option in a cotton remnant from Merchant and Mills. French seamed throughout and finished at the hem with bias tape.
Carol C
Beautiful results for a quick sew!
My first Fibre Mood garment, and it won't be my last. I made it up in a crisp poplin and I love the way it has come out. It's quite fabric hungry so I'm going to look at a different layout next time. Simple construction and clear, concise instructions. Already got another one in double gauze under way!
Fi
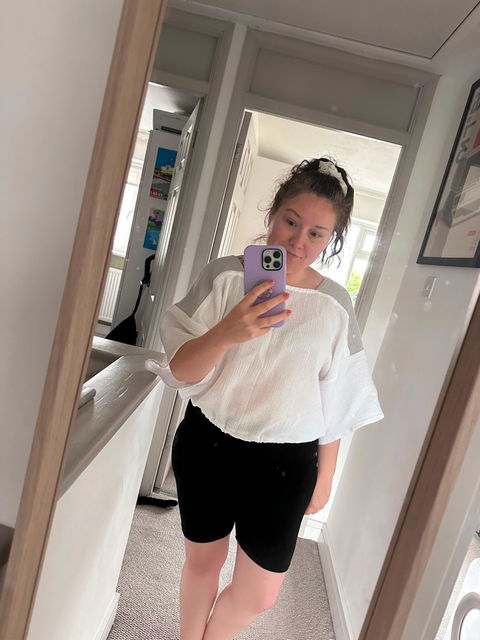
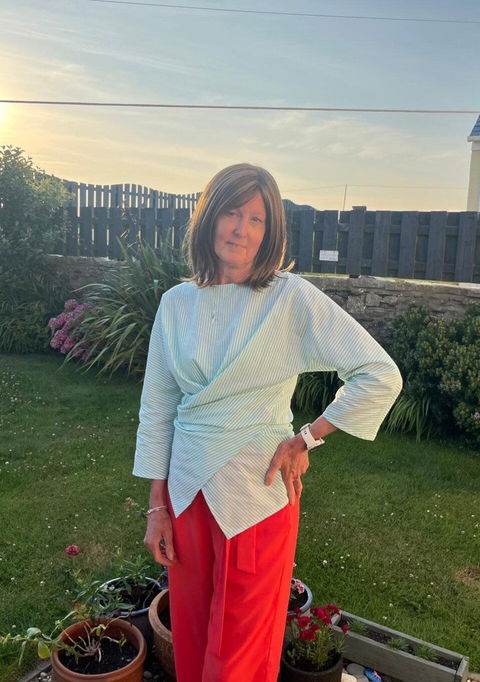
Wrap top
Thrilled with this little top. I was a little confused with which stich to use with the sewing mach9ne. Next time i will use the overlocker for all bar the left Stan. Will definitely make again. Perfect fit.
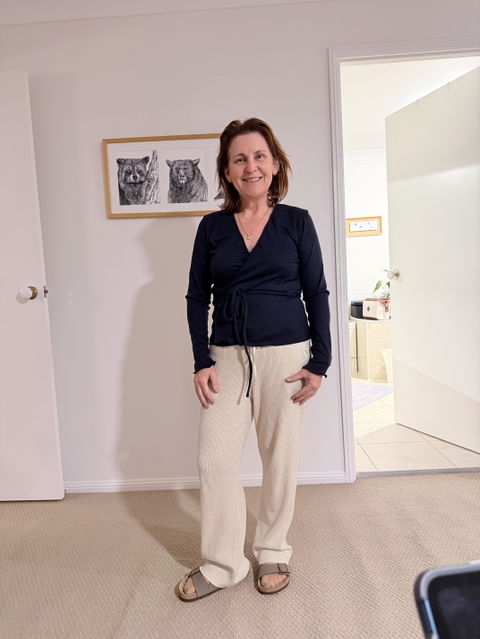
Milie
Just as good as the first ones
My second time of making and still no issues. Great pair of trousers can be dressed up or down and don't need a lot of ironing in this Guthrie and Ghanian ramie linen. Will take them travelling!
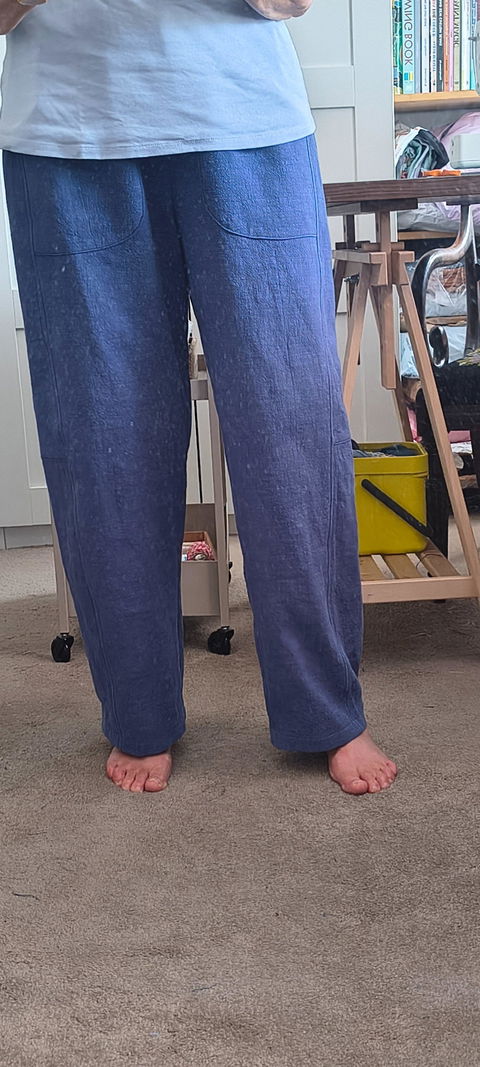
Ally
Fantastic pattern and design
As a beginner this pattern was fabulous, the instructions were really clear and easy to follow and the fit is great! I’m sure I’ll come back to this pattern over and over again