Approachable, Classic + Chic Sewing Patterns


The Fold Line is an award-winning online sewing pattern shop
We are the home for people who love sewing and making their own clothes. We offer an extensive range of paper and digital PDF sewing patterns plus copy shop printing services, shipping worldwide.
shop by category


Shop our latest patterns


Read our blog


OUR BRANDS


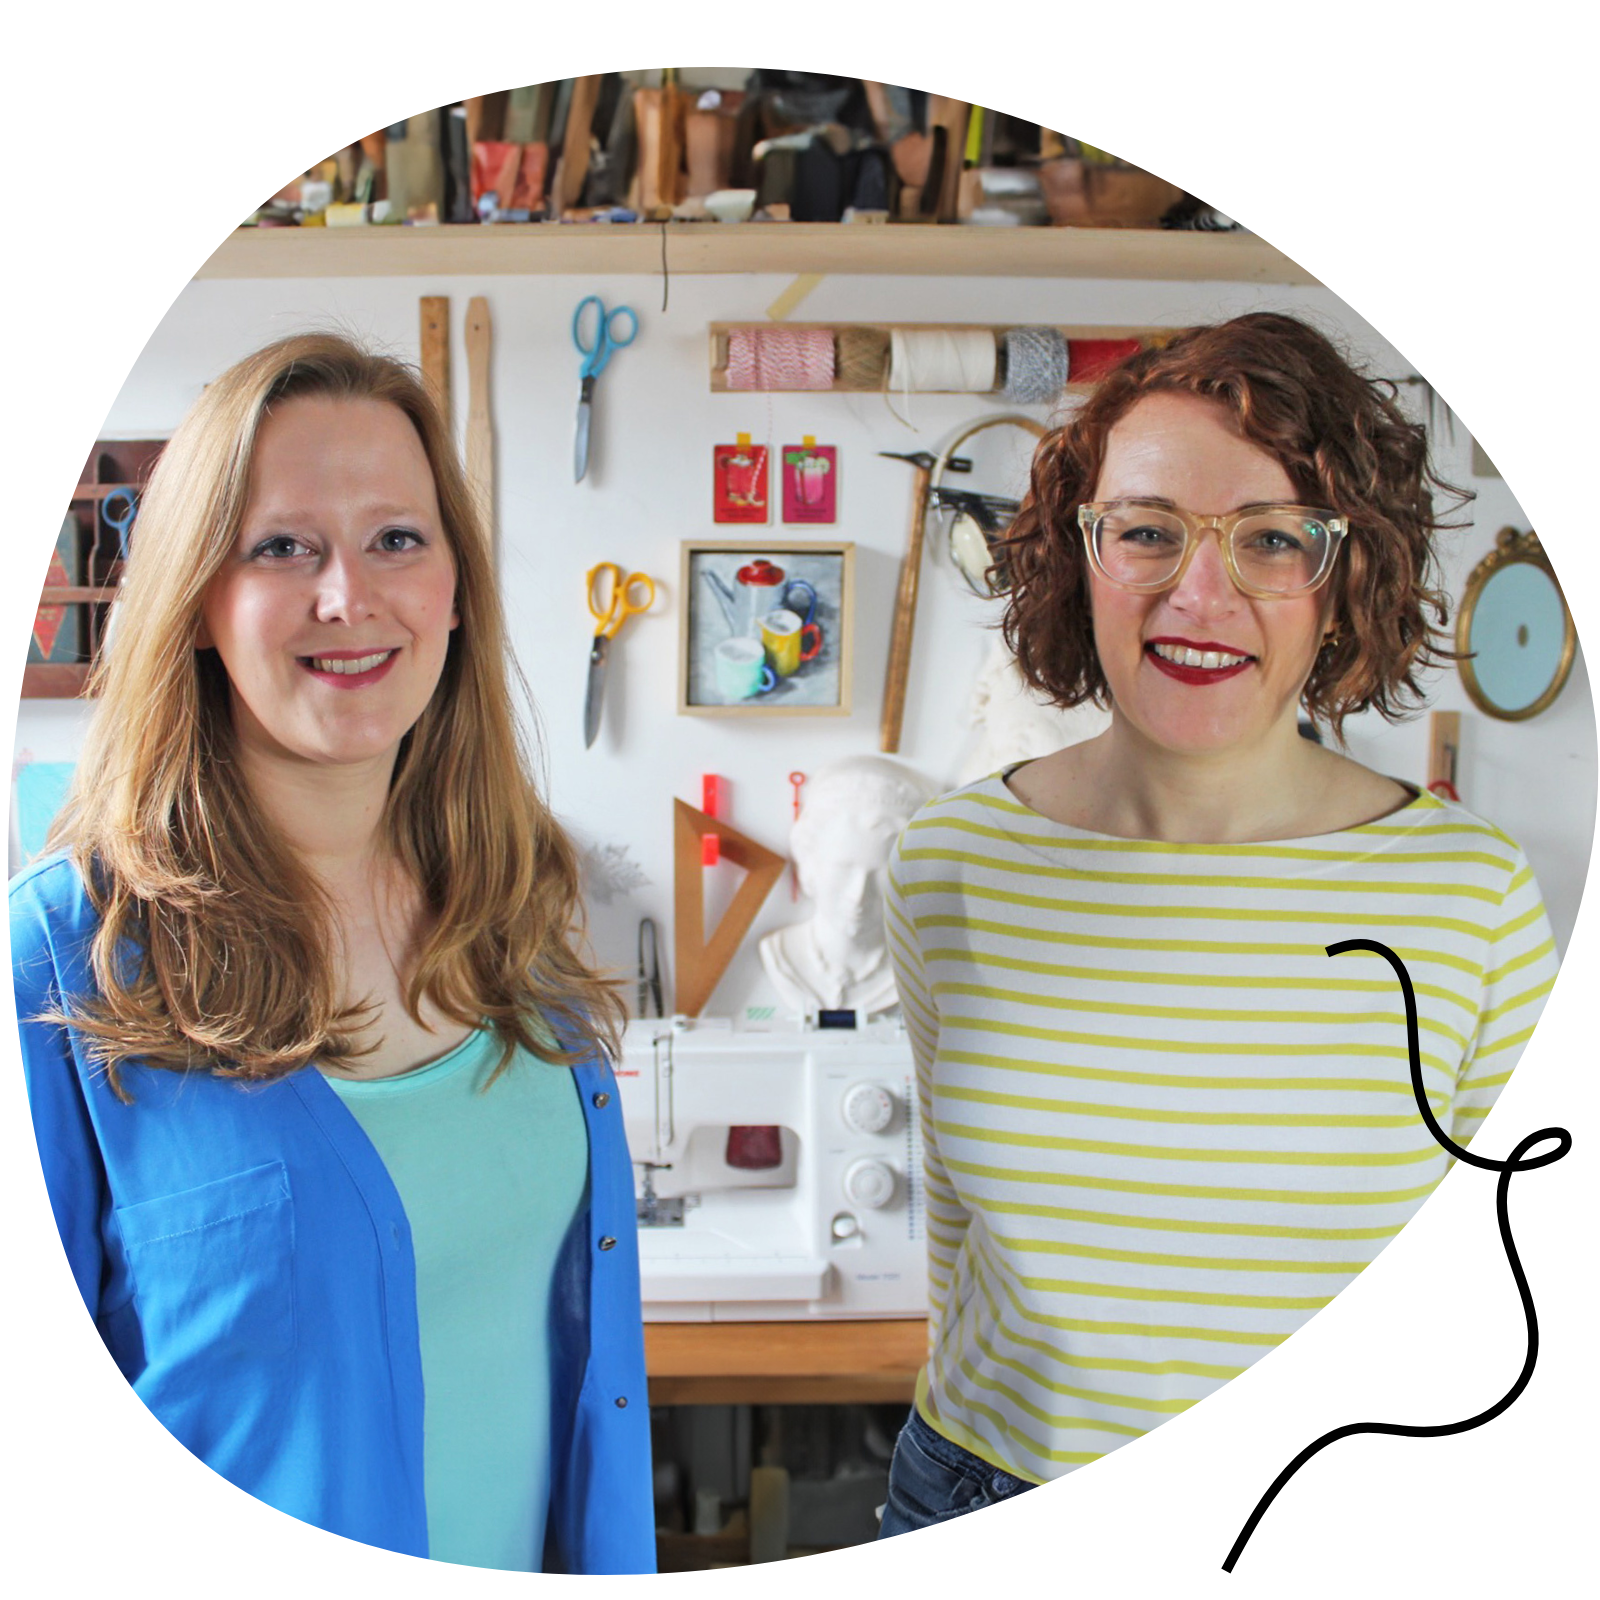
PATTERN EXPERTS
With more than 10 years of experience working with independent designers, we are the sewing pattern experts. With our expert knowledge and award-winning online shop, we are here to help you find the perfect project. Let us inspire your next make with our weekly blogs, vlogs and newsletters, bringing you the latest pattern releases, trends and sewing community news.
Kate & Rachel
OUR VALUES


customers love our patterns
Let customers speak for us
Sara
Fabric choice makes a big difference
I actually love this pattern , I made the first pair - black - in a drapey tencel and cut as per my measurements. Absolutely fine to wear but slightly on the large size. Make number 2 was in denim and I sized down and took some width out of the legs - I much prefer this fit.
I thought the pattern instructions were good . These are some of my first attempts at a zip fly , so I did also find some sew along instructions on you tube , and happy with end results.
The fact that there is elastic at the back also gives some leeway if you are starting out with trouser making as I am.

AnnapolisGirly
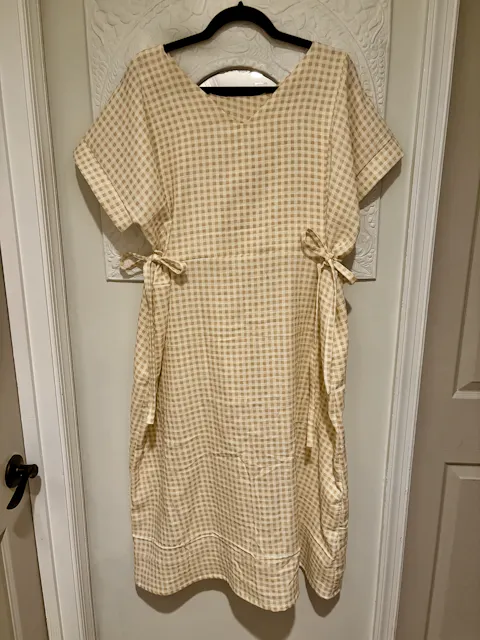
Fun pattern to make and wear!
I took advantage of a rainy day and made the Sewing Therapy tie dress out of a yellow and white checked gauze. It was so helpful to have the full tutorial on YouTube and I switched between that and the written instructions. I look forward to making another version in a washed linen I’ve had my eye on. I think it will drape beautifully.
Ruth
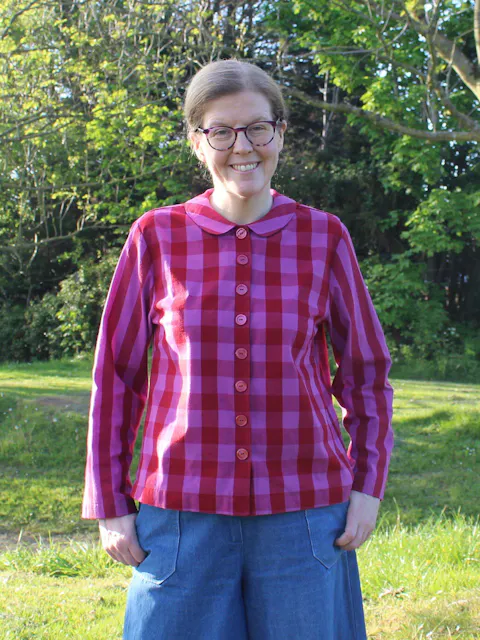
A lovely blouse!
I've been wanting to make a Dukke blouse since the pattern was first released, and I'm glad I've finally got around to it!
The pattern is relatively simple for a button-up blouse, and it came together reasonably quickly. I found the instructions to be clear and easy to follow. My only slight complaint would be that there were quite a few typos/mistakes (I was using the paper pattern), but thankfully it's still easy enough to understand what they're meant to say.
I made the size recommended for my measurements, and used the 7/8 length sleeves. I didn't make any fitting adjustments, and I'm happy with how the fit of the blouse turned out.
The fabrics I used for this blouse are yarn dyed cottons in the same colourway, but with checks on the front and back, and stripes on the sleeves and collar.
I ignored the buttonhole placement from the pattern and used more buttons and placed them in line with the checks – that just seemed to work better for this fabric.
I'm already keeping an eye out for fabric for a second version!
There are more photos and details on my blog here: https://nightingaleanddolittle.blogspot.com/2026/04/wardrobe-by-me-dukke-blouse.html
Mary
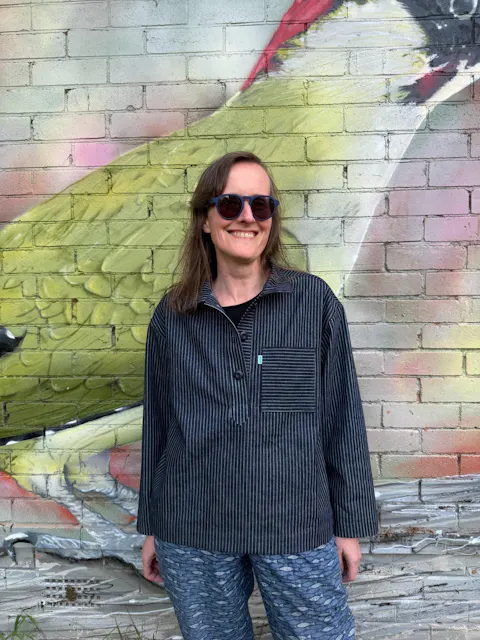
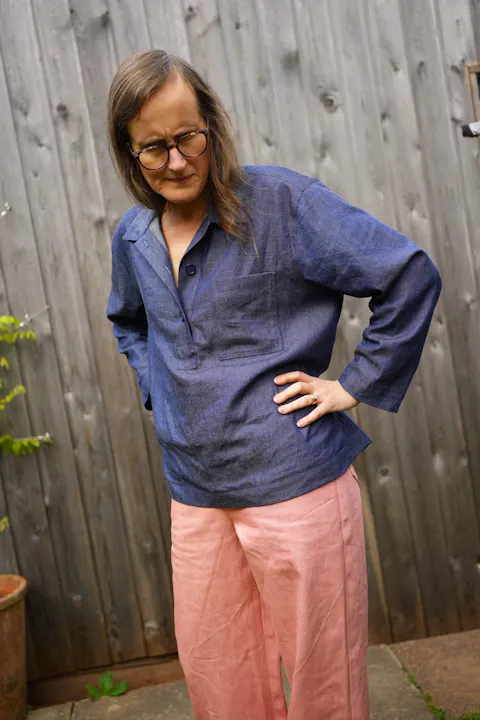
Atlas Overshirt Take 2
My second Atlas Overshirt in just 2 weeks!
I had leftovers of this pinstripe denim and played a game of tetris to get the pattern pieces to fit. I made use where possible of the different stripe directions and used a chambray (from the previous Atlas) for the under collar and back facing. I was a few inches short of one of the under sleeve pieces so lengthened it with a piece of pink denim.
I made style A with the button placket from style B.
This version is heavyweight compared to the chambray one and will be a great additional layer for cooler days.
Sara
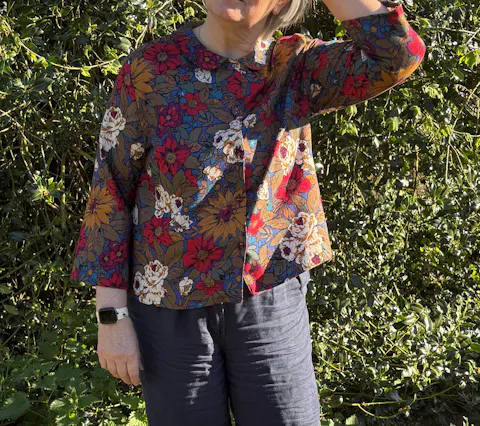
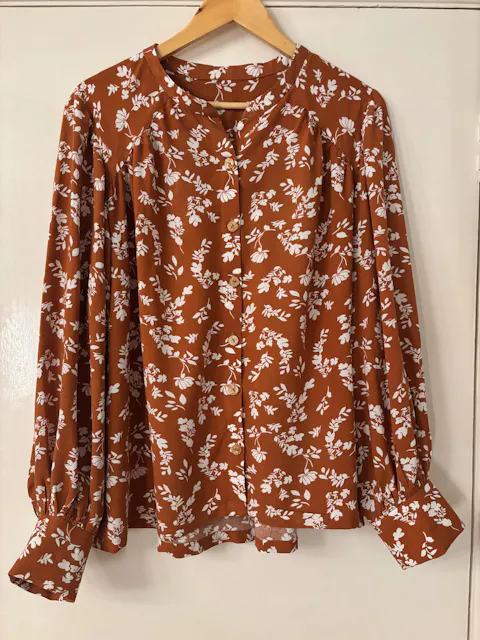
Fabulous pattern!
I have found my new favourite blouse - the Wardrobe By Me Dukke blouse. I made the first one as a wearable toile in a cotton poplin - unintentional camouflage with my daughter’s bedroom wallpaper! The second in quick succession was in a lovely drapy twill fabric picked up from the swaps table at the Shropshire Sews sewing sewcial.
The pattern has a lovely Peter Pan collar , and some shaping at the back from a couple of darts that come down from the neckline. In both versions I took some off the length , and went for a full length sleeve in the black and white version, and more of a 3/4 sleeve in the floral.
Absolutely a pattern I would recommend, the instructions are clear and it comes together quickly.
Mary
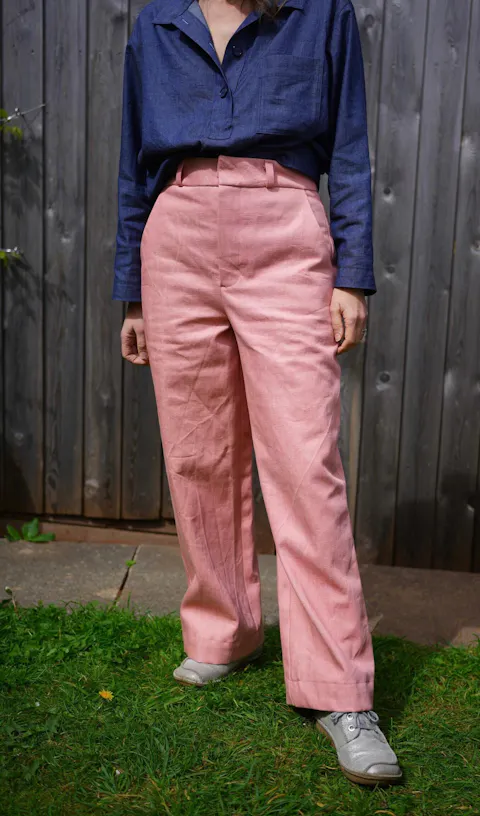
A final version?
Taylor trouser number 4 incoming. I've made these in twill (twice) and a 8oz(?) denim, these are in a heavier weight denim, I'd guess 10oz (but deadstock (Rainbow Fabrics) so no label.
I've not worn them much yet so they need to soften up but I feel like they will become another firm favourite.
Made view B, flat front, no pleat and with patch pockets.
Mary
Atlas overshirt
As soon as I saw this pattern I knew it was for me. I have a Toast shirt from a clothes swap which is very similar in style and I love it, I've been searching for a pattern that meets the need and this is it.
It was straightforward to follow, I made this in a size 12, it comes up pretty loose and would be perfect for wearing a jumper underneath.
I'm not sure about the pockets on style B and how practical they would be however I'm happy with the chest patch pocket.
My next one is almost finished just need buttons.
Mary
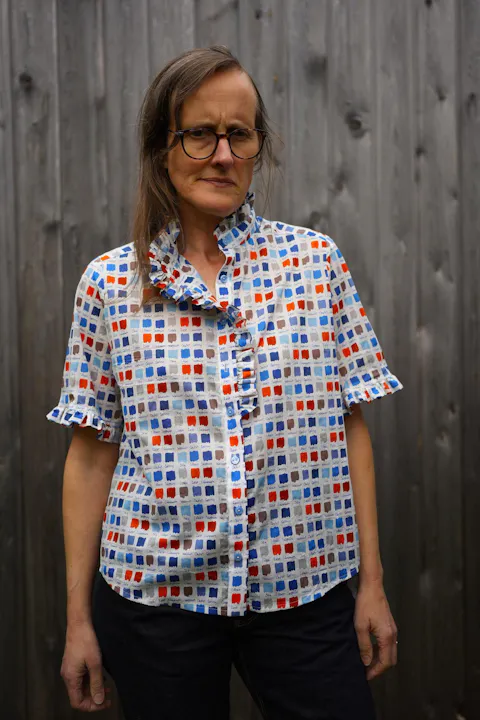
Testing, testing
Hopping on the Carnation Blouse trend. Based on the pattern measurements I made this in a size 12. The pattern is well written and I found it generally ok to follow. I did discover a youtube video sew along which I found really helpful, it added in a few extra tips such as gathering the sleeve head to ease it in: https://www.youtube.com/watch?v=7IgeYM5slKQ
Made in a 'test' fabric, a long stashed Seasalt cotton lawn/voile, it's a lovely weight and worked well. Looking forward to making this again in another fabric.
Mary
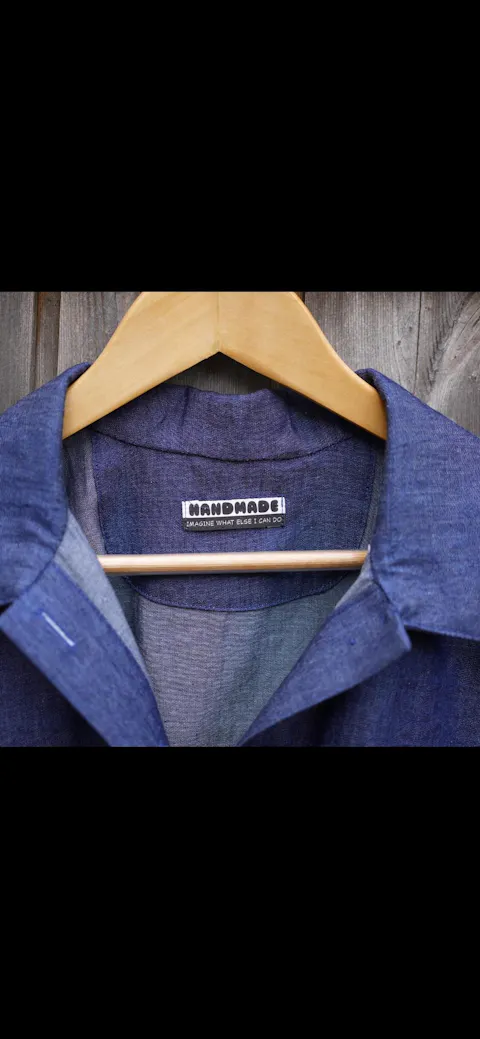
Just imagine
I love these labels, they’re a great addition to handmade items both clothes and bags.
Marie
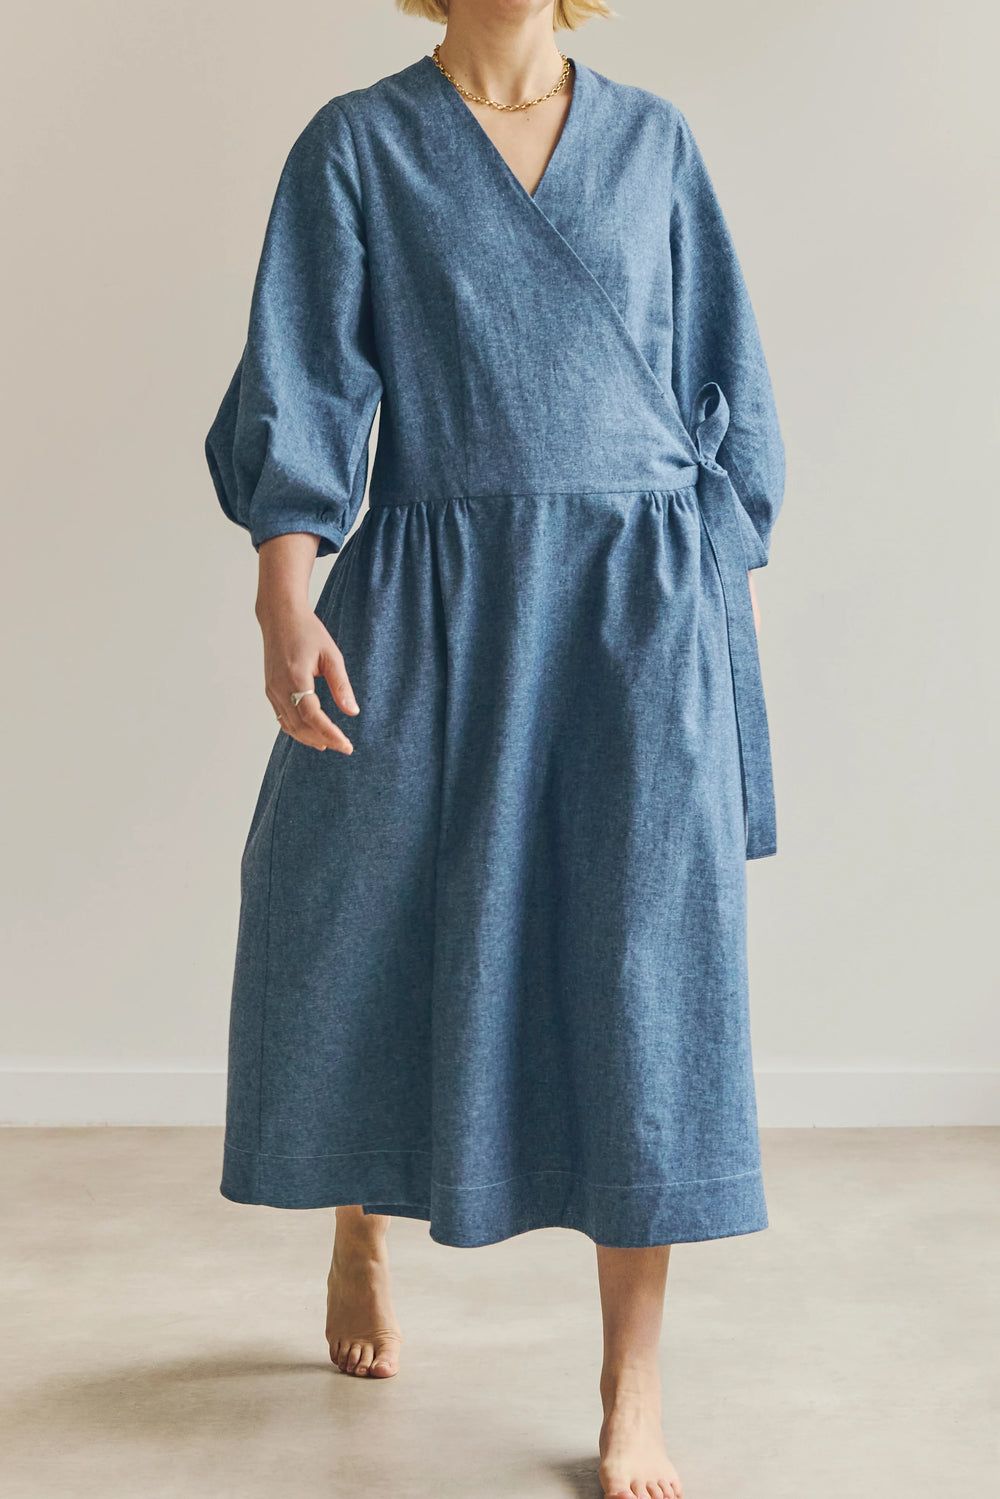
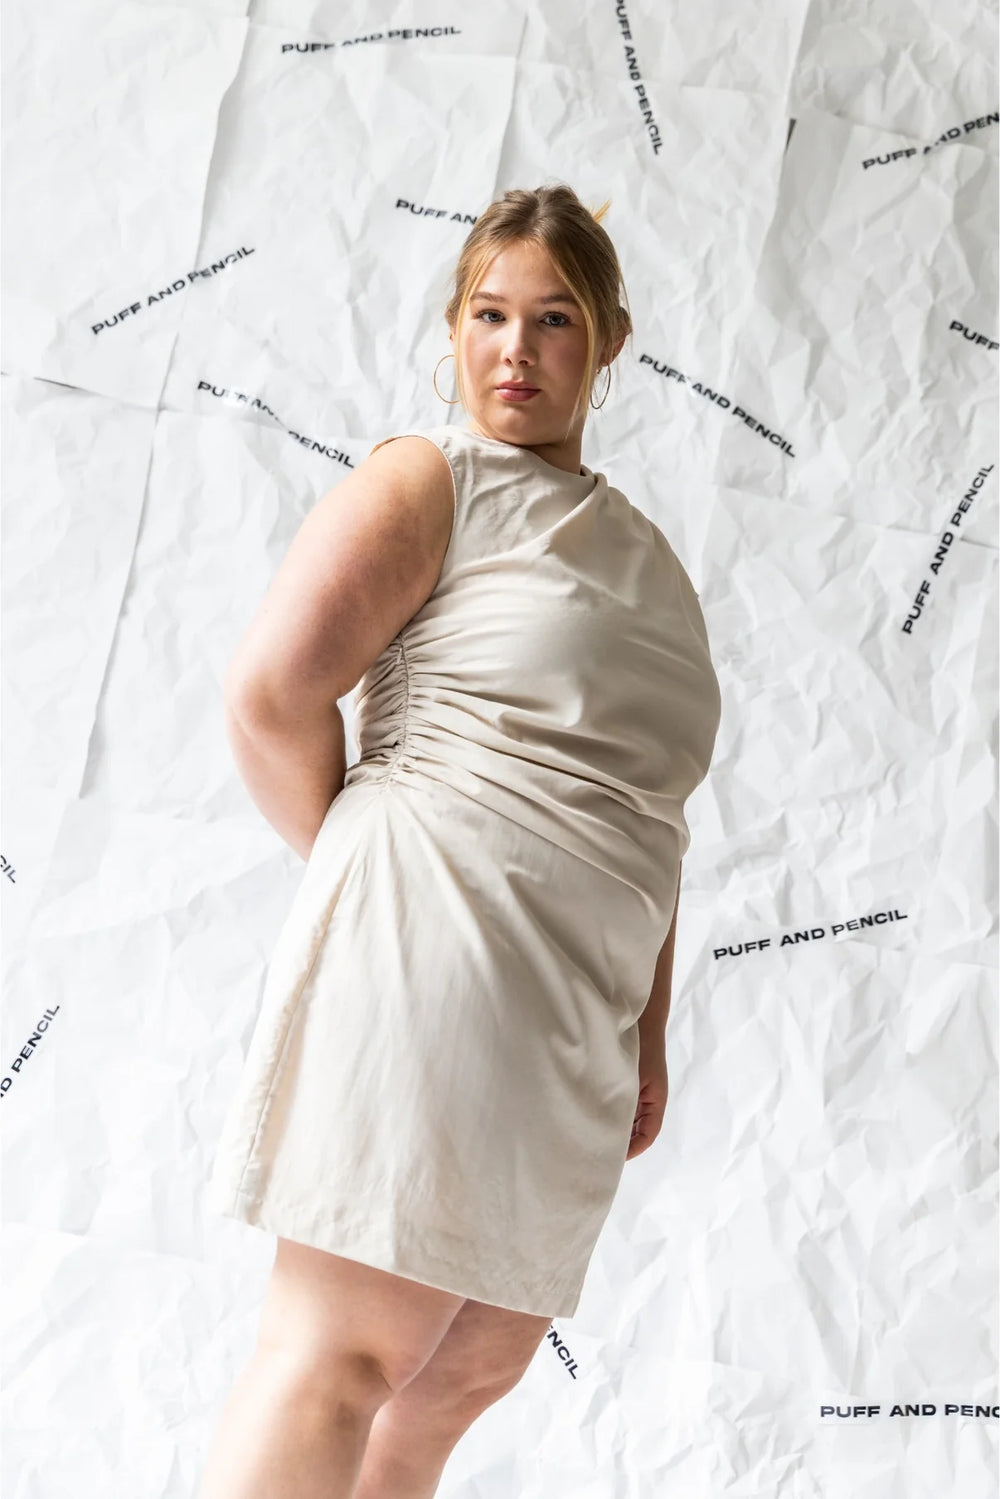
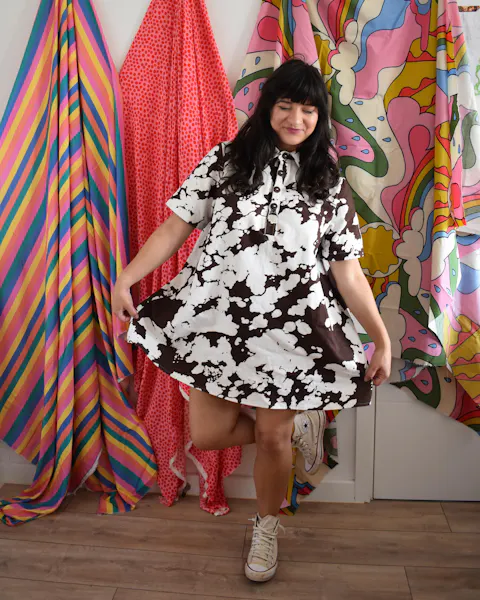
Perfect on trend dress
I made this after seeing so many fun versions popping up on my social media. I’m so glad I did because I am so in love with my version.
I decided to go full cowboy and use this cow print denim fabric. I love the structure it gives.
It was a really fun project, I love working with a more stable fabric but summer doesn’t allow for that as much so I like this pattern because it allows for structured summer sewing.
The instructions are great and the fit is spot on. I would like to make another version in a shorting weight cotton because I think that would work so well.
Marie
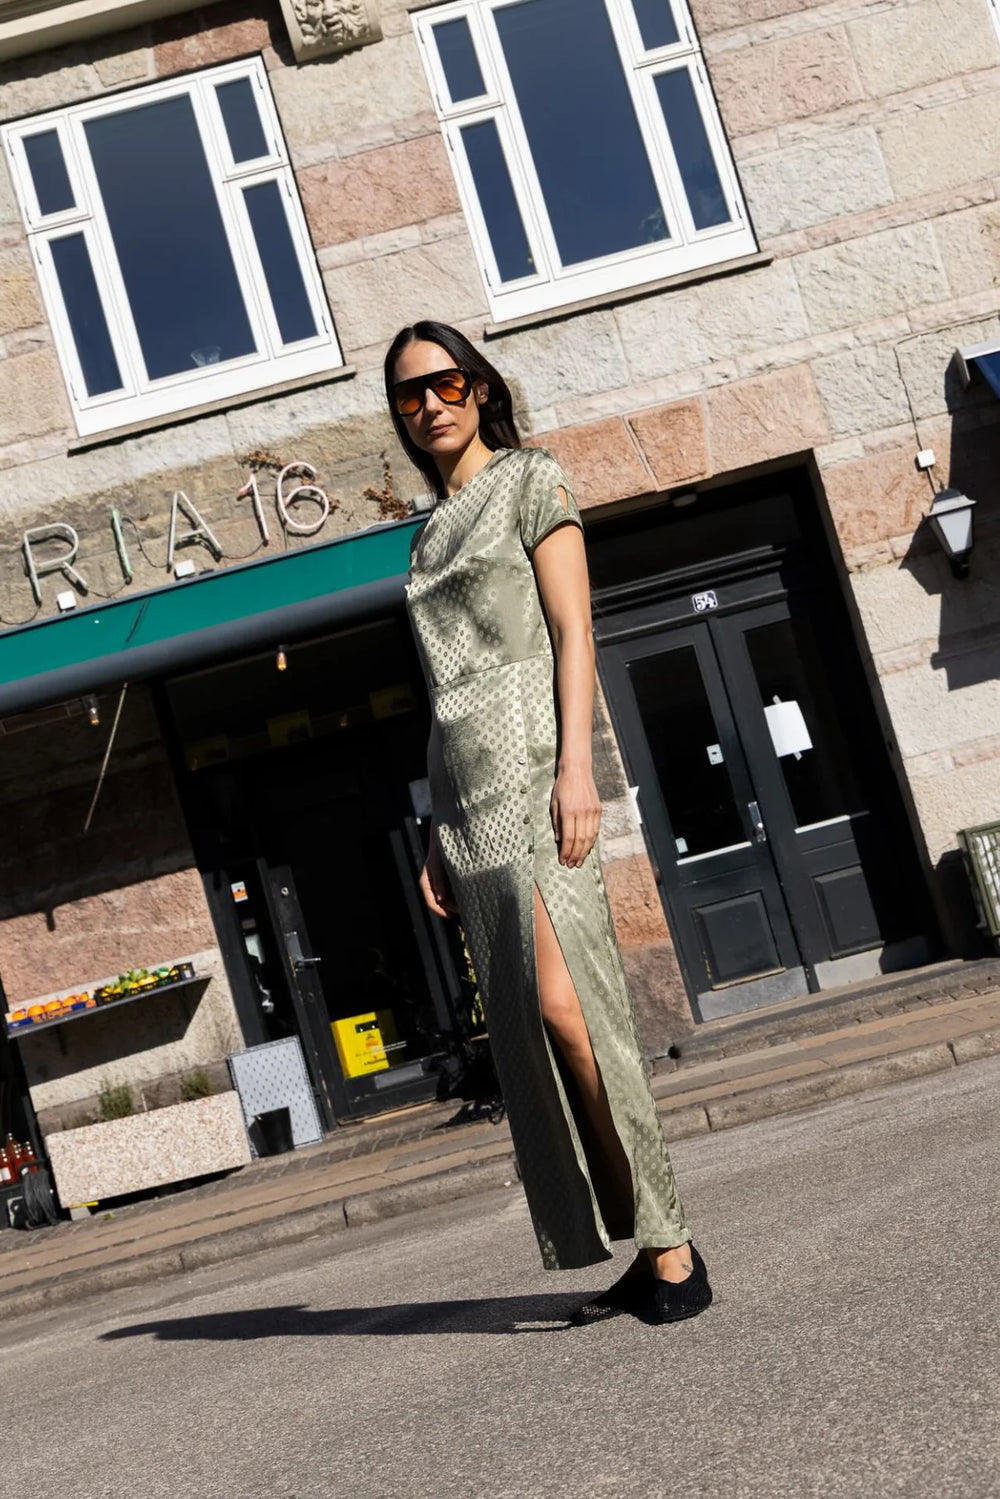
The perfect skirt
I have made 3 versions of this pattern so far and I have no intention of stopping.
I didn’t think I was a skirt person until I made this, it came together beautifully and works so well with so many of my outfits.
I used a midweight linen I had dyed pink and it has the perfect amount of drape and structure. I also made one in a lightweight Drapey cotton and that also works really well.
The instructions are great and this is a super speedy sew, I really can’t recommend it though.

Marie
Perfect summer outfit.
Friday Pattern Company is one of my favourite designers because they always make such beautiful thoughtful patterns and this is no different. I have only made the top as I wanted to pair it with trousers instead of a skirt but it came together beautifully.
The facing finished make it look so clean and professional. The fit is perfect and adjustable because of the strap and I managed to get it sewn up in 5 hours.
I used viscose linen and it’s really Drapey and comfortable. This is my new favourite outfit and I can’t wait to make more!
I made size L with no mods.
Samsam
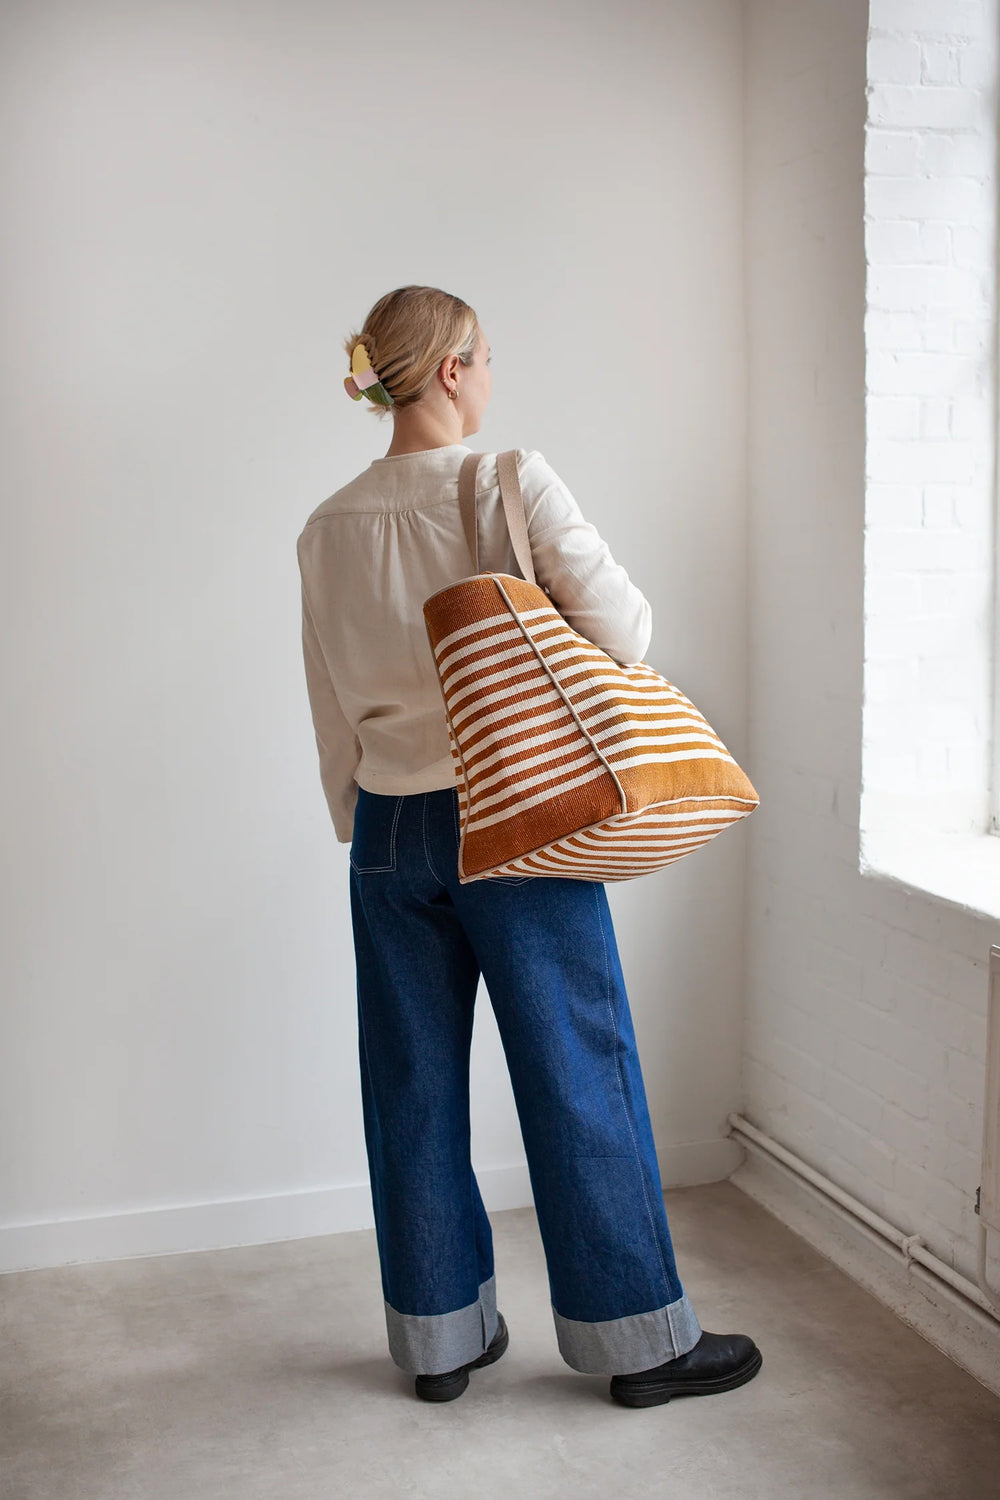
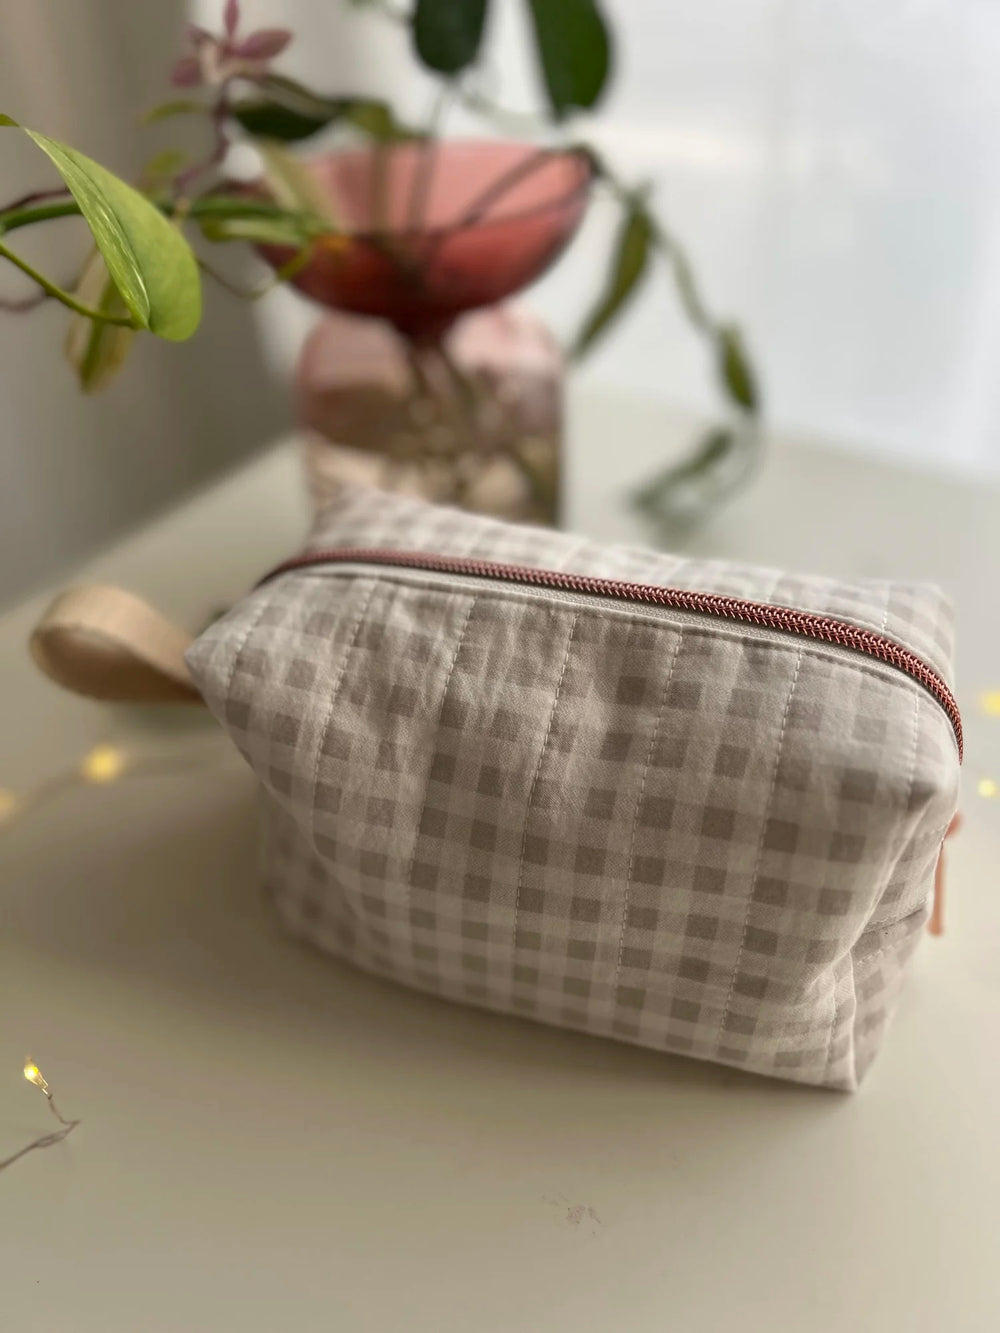
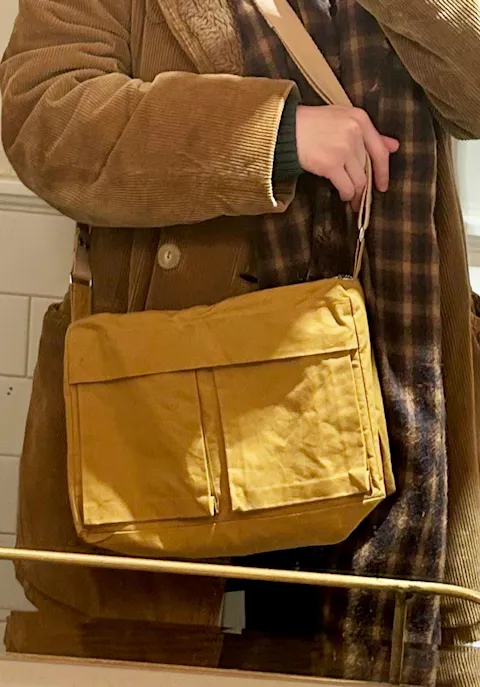
Challenging but worth it
I have made 7 of these bags for family and friends.
I am an advanced beginner/intermediate
It is quite a hard pattern to follow and the adding of the gusset is awkward.
I managed to find a video for £6 on how to make it, (Lauren from sewing bee) I really don’t think I’d have managed it without at my level of sewing.
I used M&M dry oilskin and their lining is lovely to work with
LauraB
Beautiful blouse
I bought this after seeing many vloggers' versions. It went together really easily, and looks fantastic. I love the pleats into the back yoke instead of gathers - a really lively point of difference. The sleeves are fantastic. I feel very special in this shirt! A complex look belies the relatively simple construction
LauraB
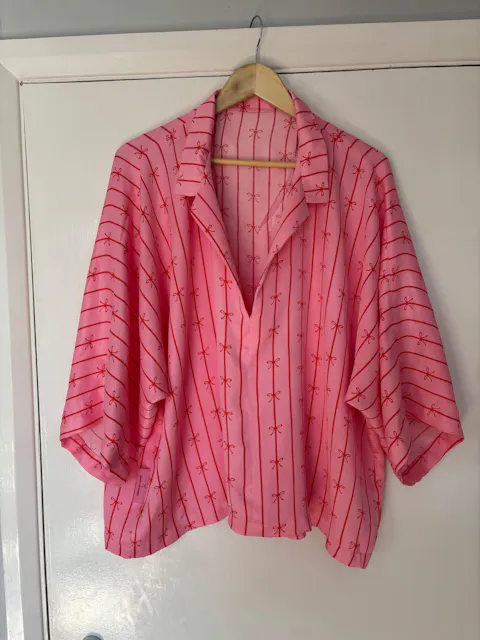
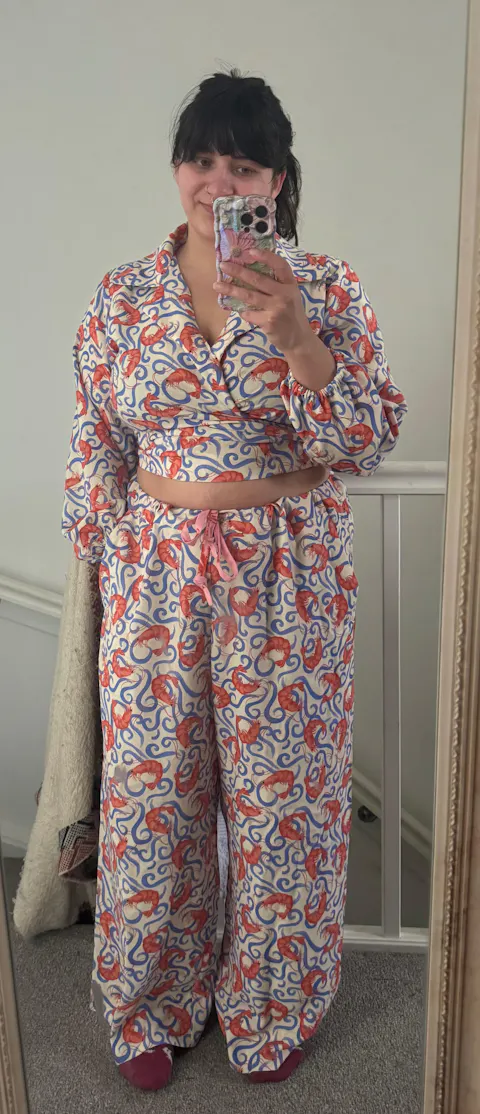
Beautiful glamorous pyjamas
I bought this to make up a fabric I received in an advent calendar and thought they would be a beautiful slinky set. I made both the shorts and the trousers. The finishing of the binding of the shorts was the only part of this pattern that I found confusing to construct. I love the double elastic in the waistband, really comfortable. I would recommend certainly.