


Regular price
£14.00 GBP
Sale price
£14.00 GBP
Regular price
£14.00
Shipping is currently suspended. We hope to resume shortly.

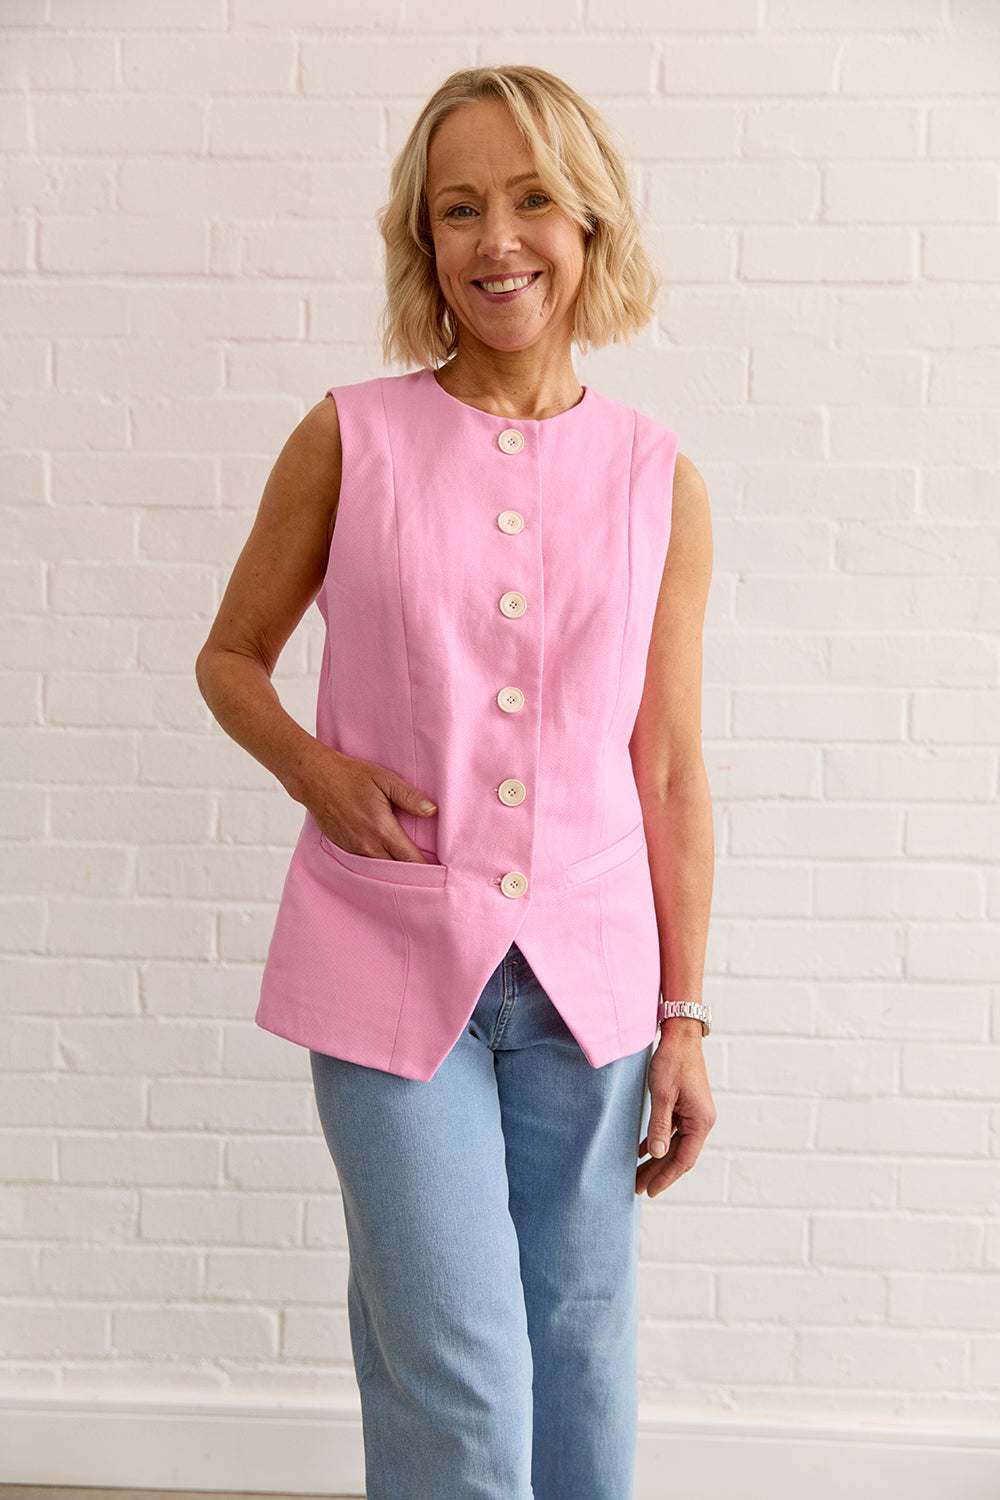
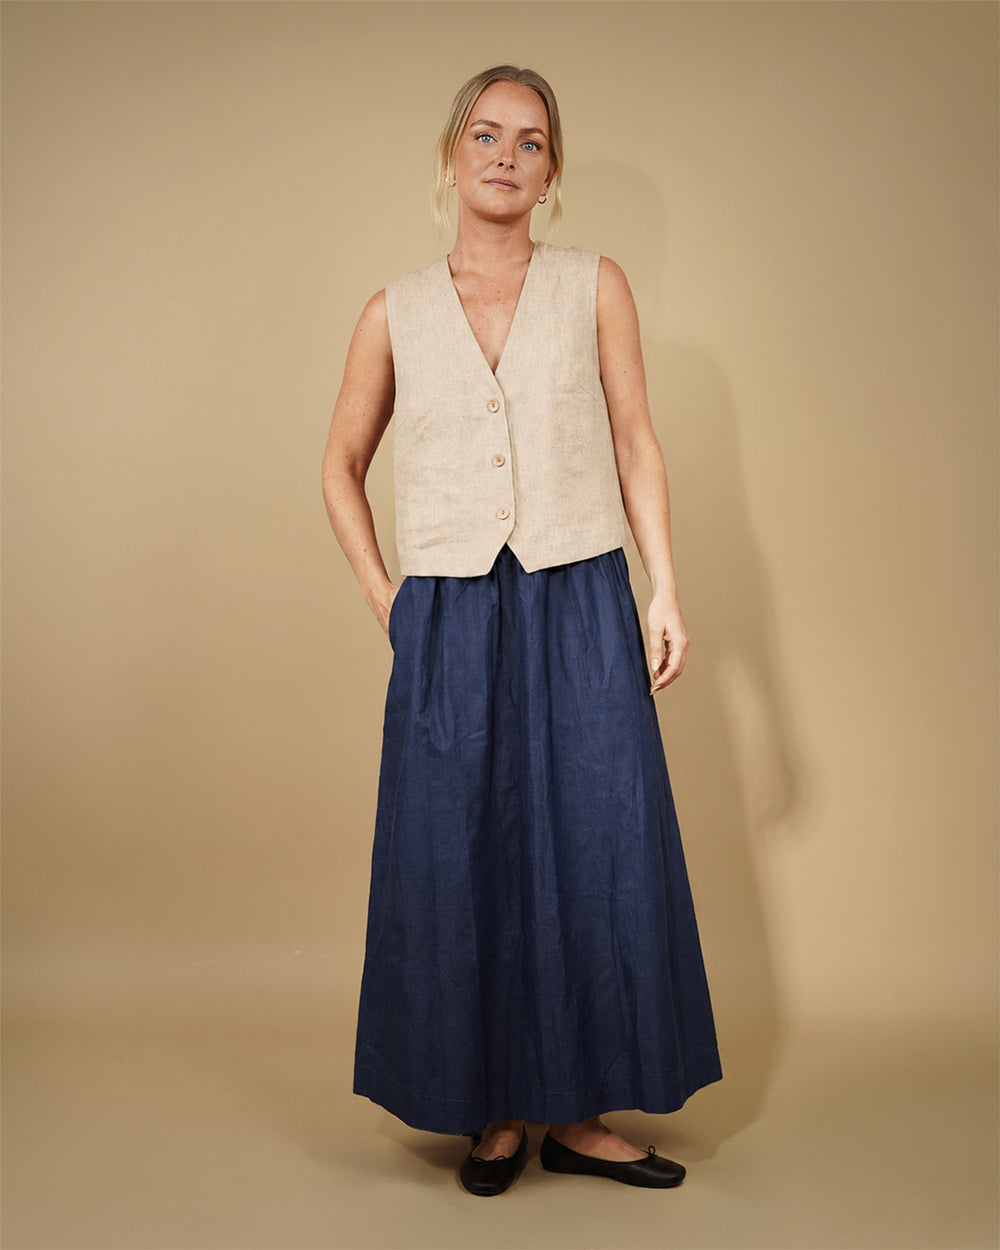
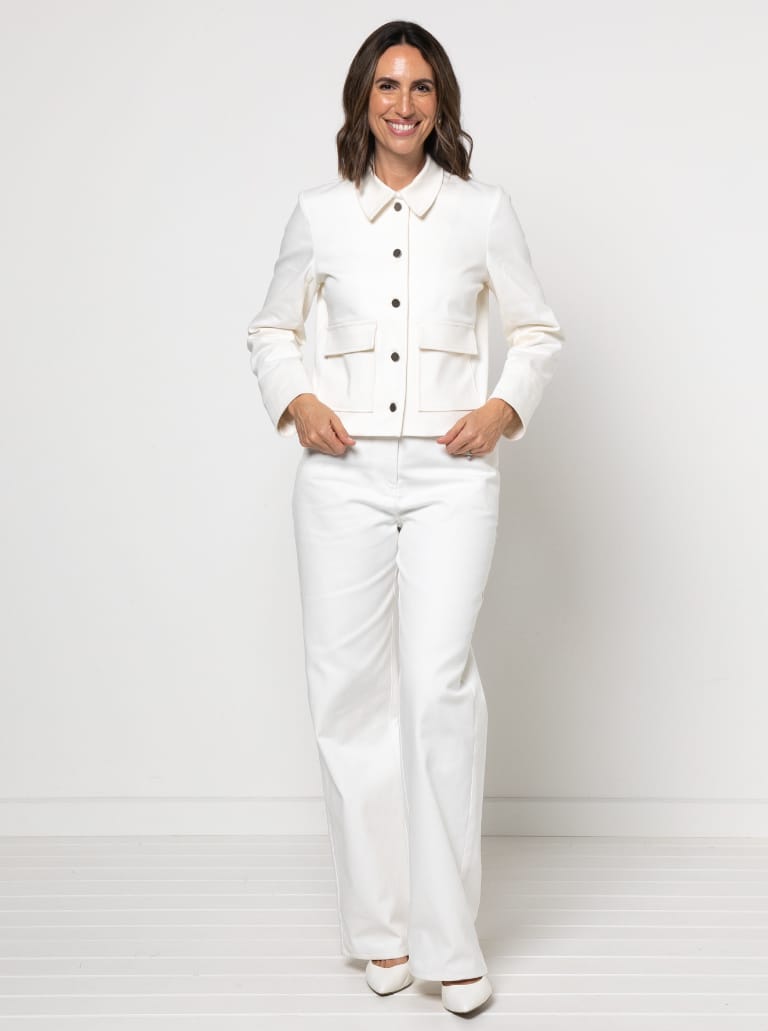
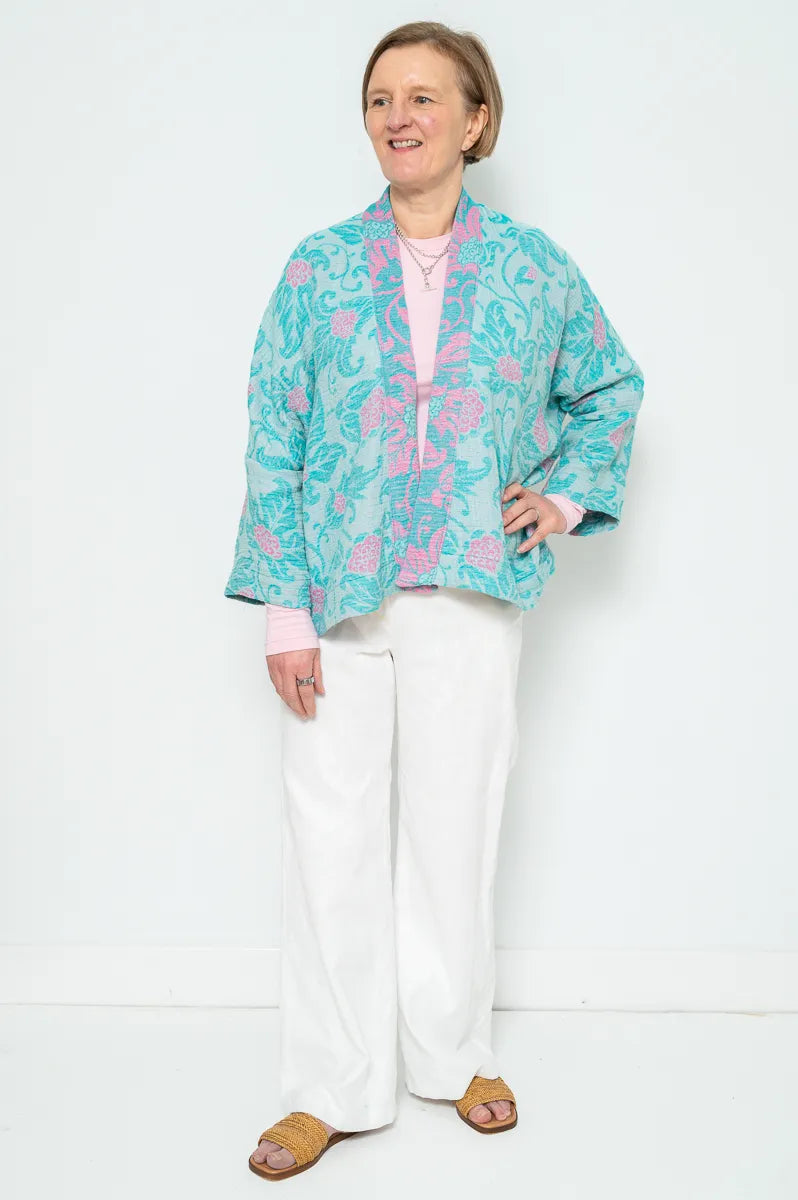
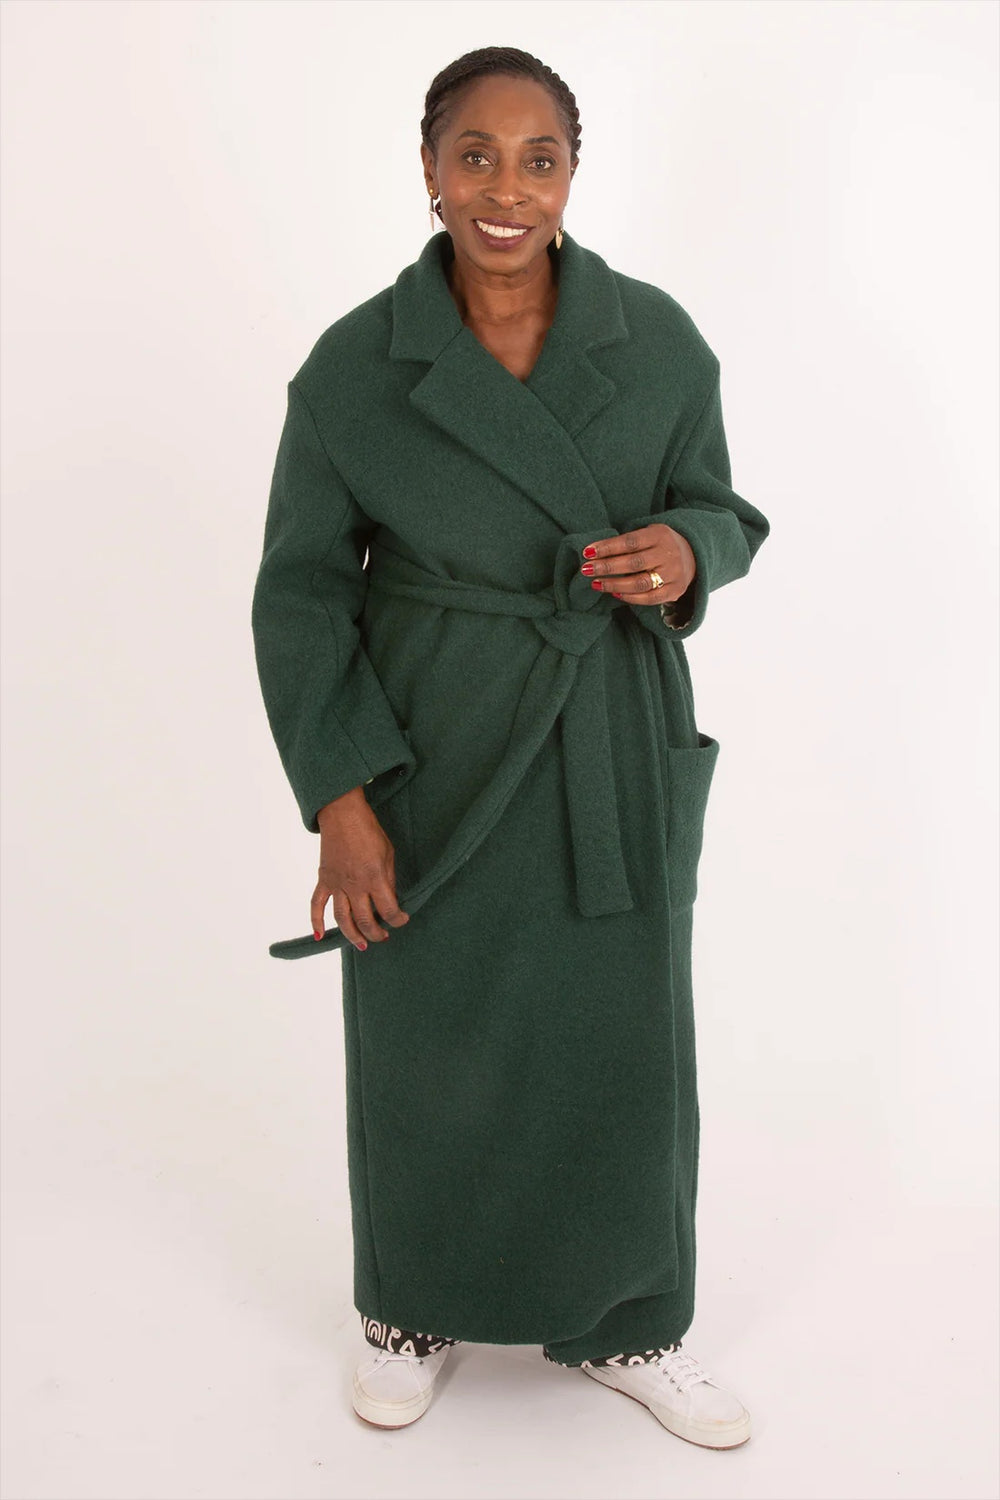
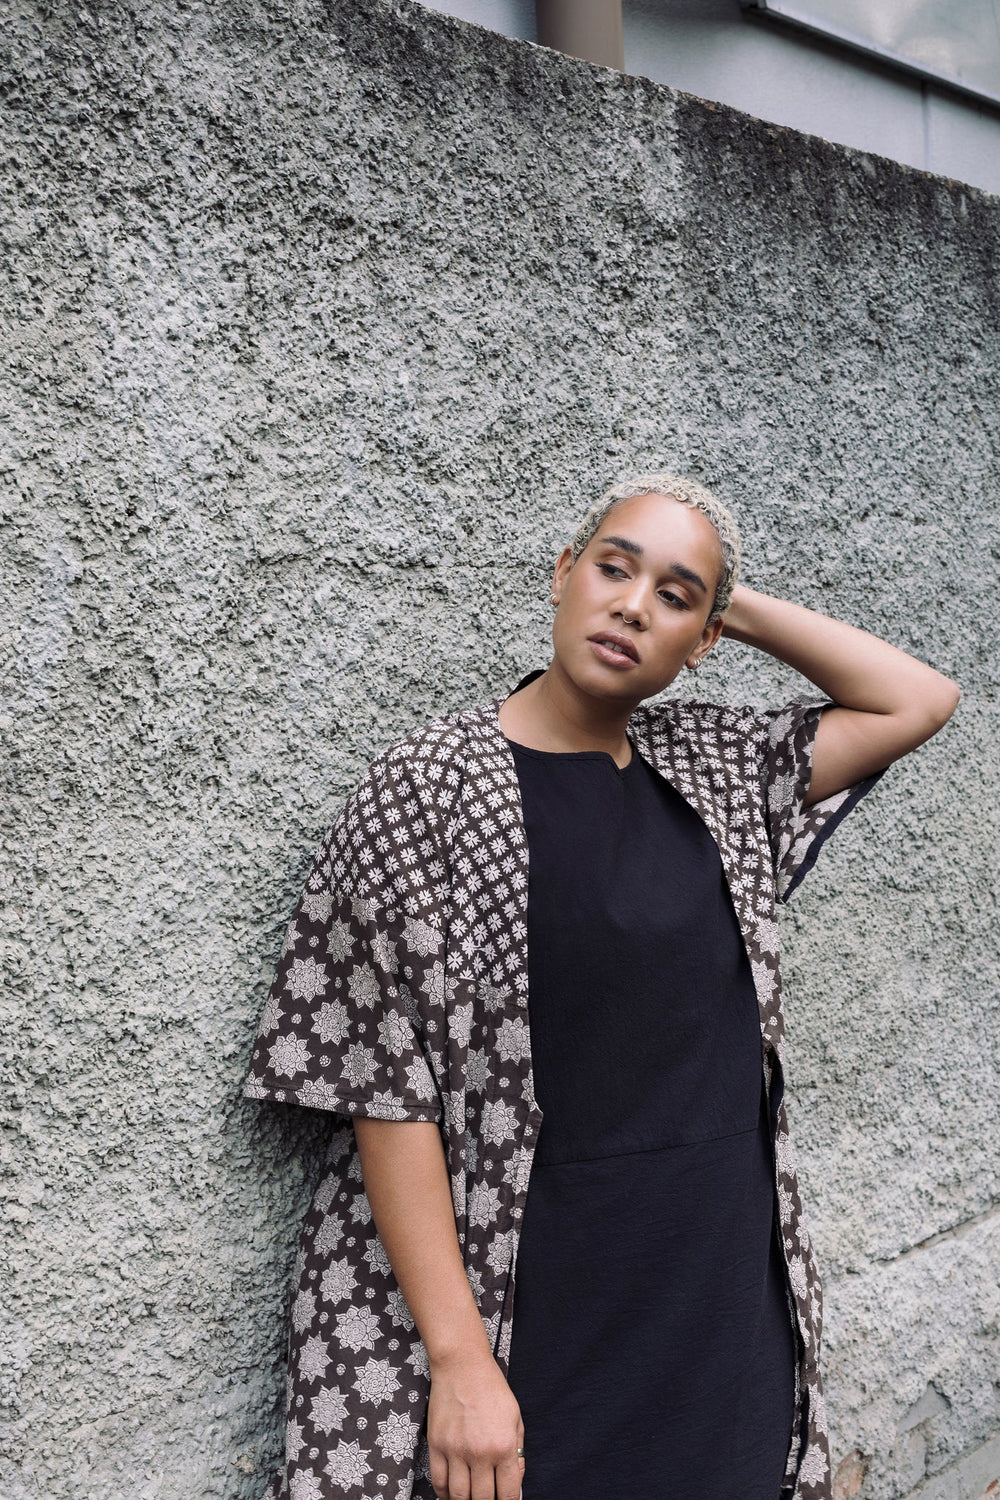
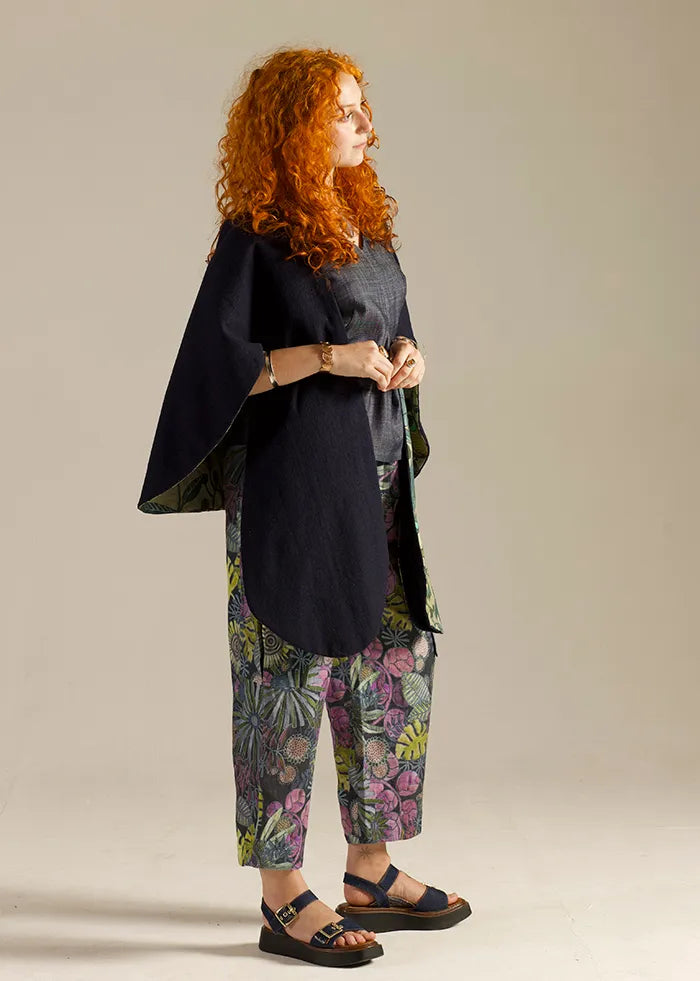
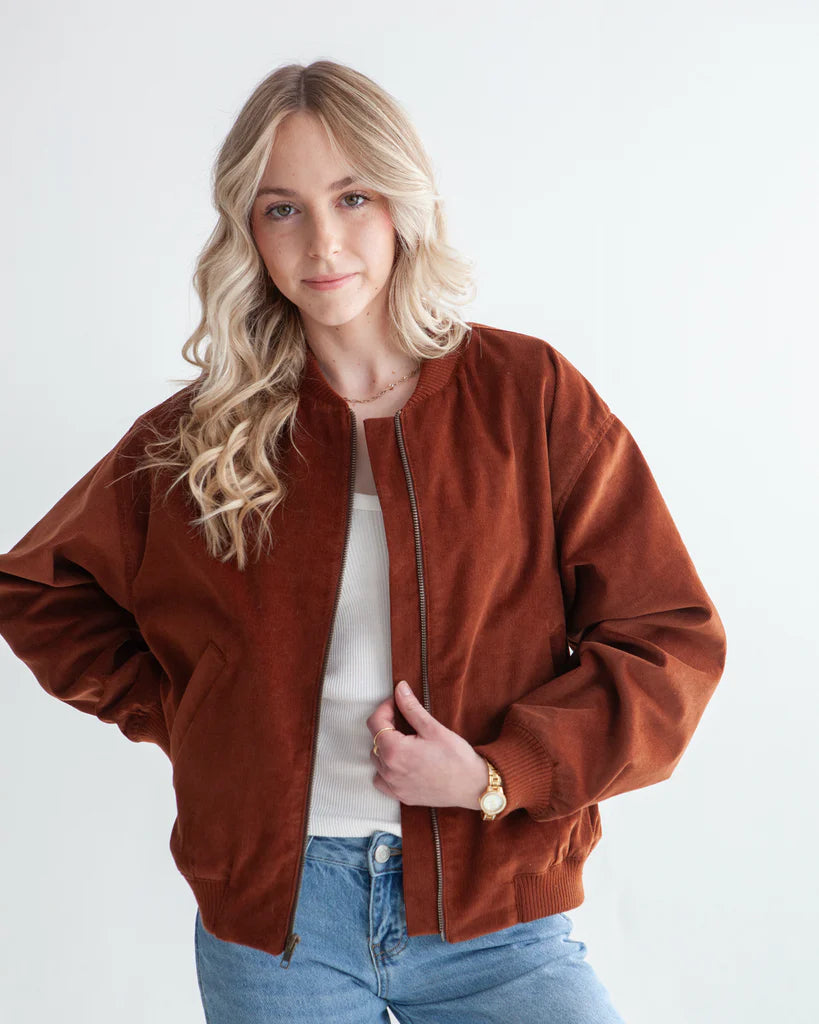
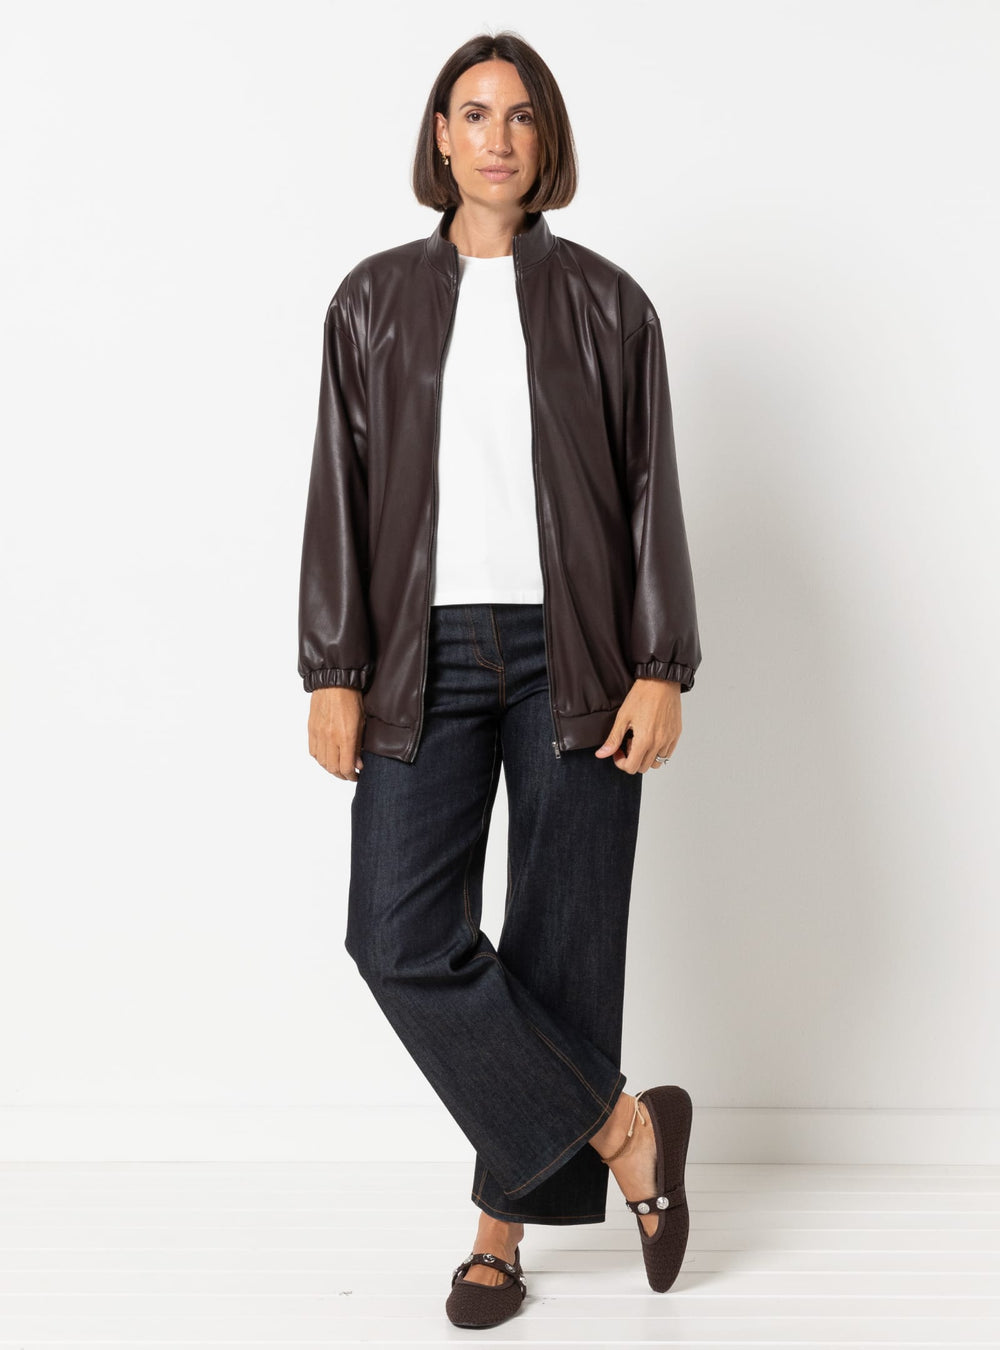
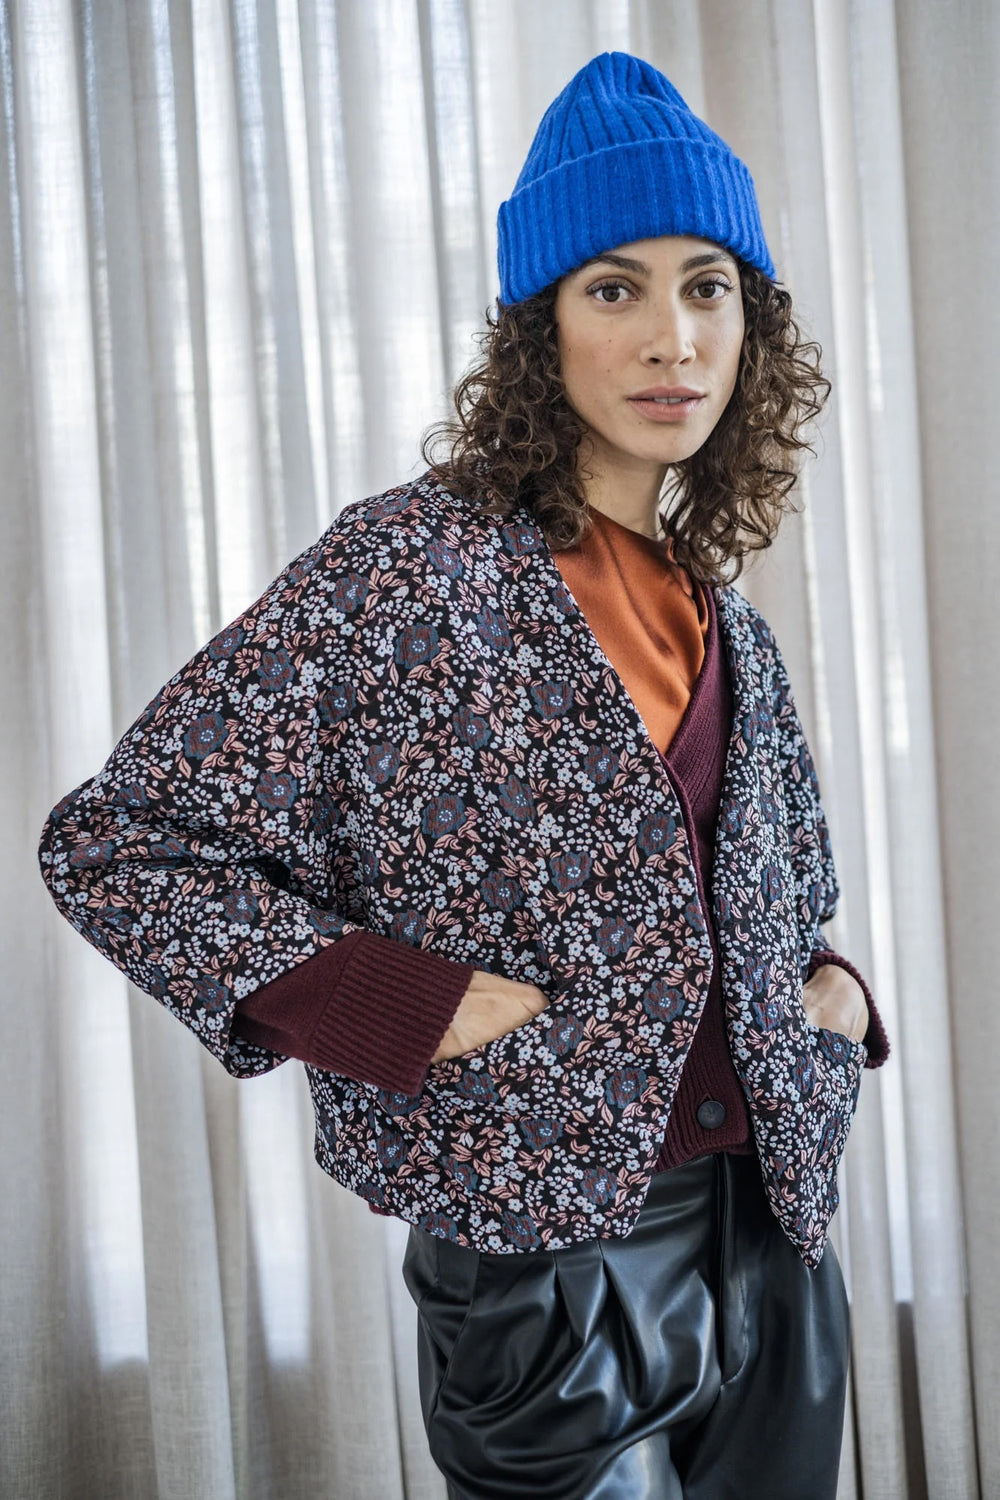
Our collection of coat and jacket sewing patterns for women is extensive and perfect for starting your next sewing project, regardless of whether you're a beginner or a seasoned sewist. We offer a huge number of jacket and coat styles and you are sure to find and outerwear pattern to elevate your outfit. Coats and jackets take you through the seasons providing an extra layer of warmth and style whether it's a thick winter coat, a light jacket for spring and summer, or anything in between. Browse our sewing patterns for women's coats and jackets that include classic blazers that are perfect for work or your next brunch date, cosy quilted jackets for everyday wear and tailored trench sewing patterns for those cold winter days. Our independent designers have created sewing patterns for timeless classics like denim jackets, fashionable outerwear like puffer and down jackets, or even vintage bombers. Depending on the pattern you choose, you may learn some new tailoring skills along the way. Explore the full range of women's jacket sewing patterns below.


Your cart is empty
Spend another £50.00 and get free shipping!
Get a link to access it later
You need to log in to save items to your wishlist.