With 12 Patterns to Sew for Autumn


The Fold Line is an award-winning online sewing pattern shop
We are the home for people who love sewing and making their own clothes. We offer an extensive range of paper and digital PDF sewing patterns plus copy shop printing services, shipping worldwide.
shop by category


Shop our latest patterns








Read our blog


OUR BRANDS






PATTERN EXPERTS
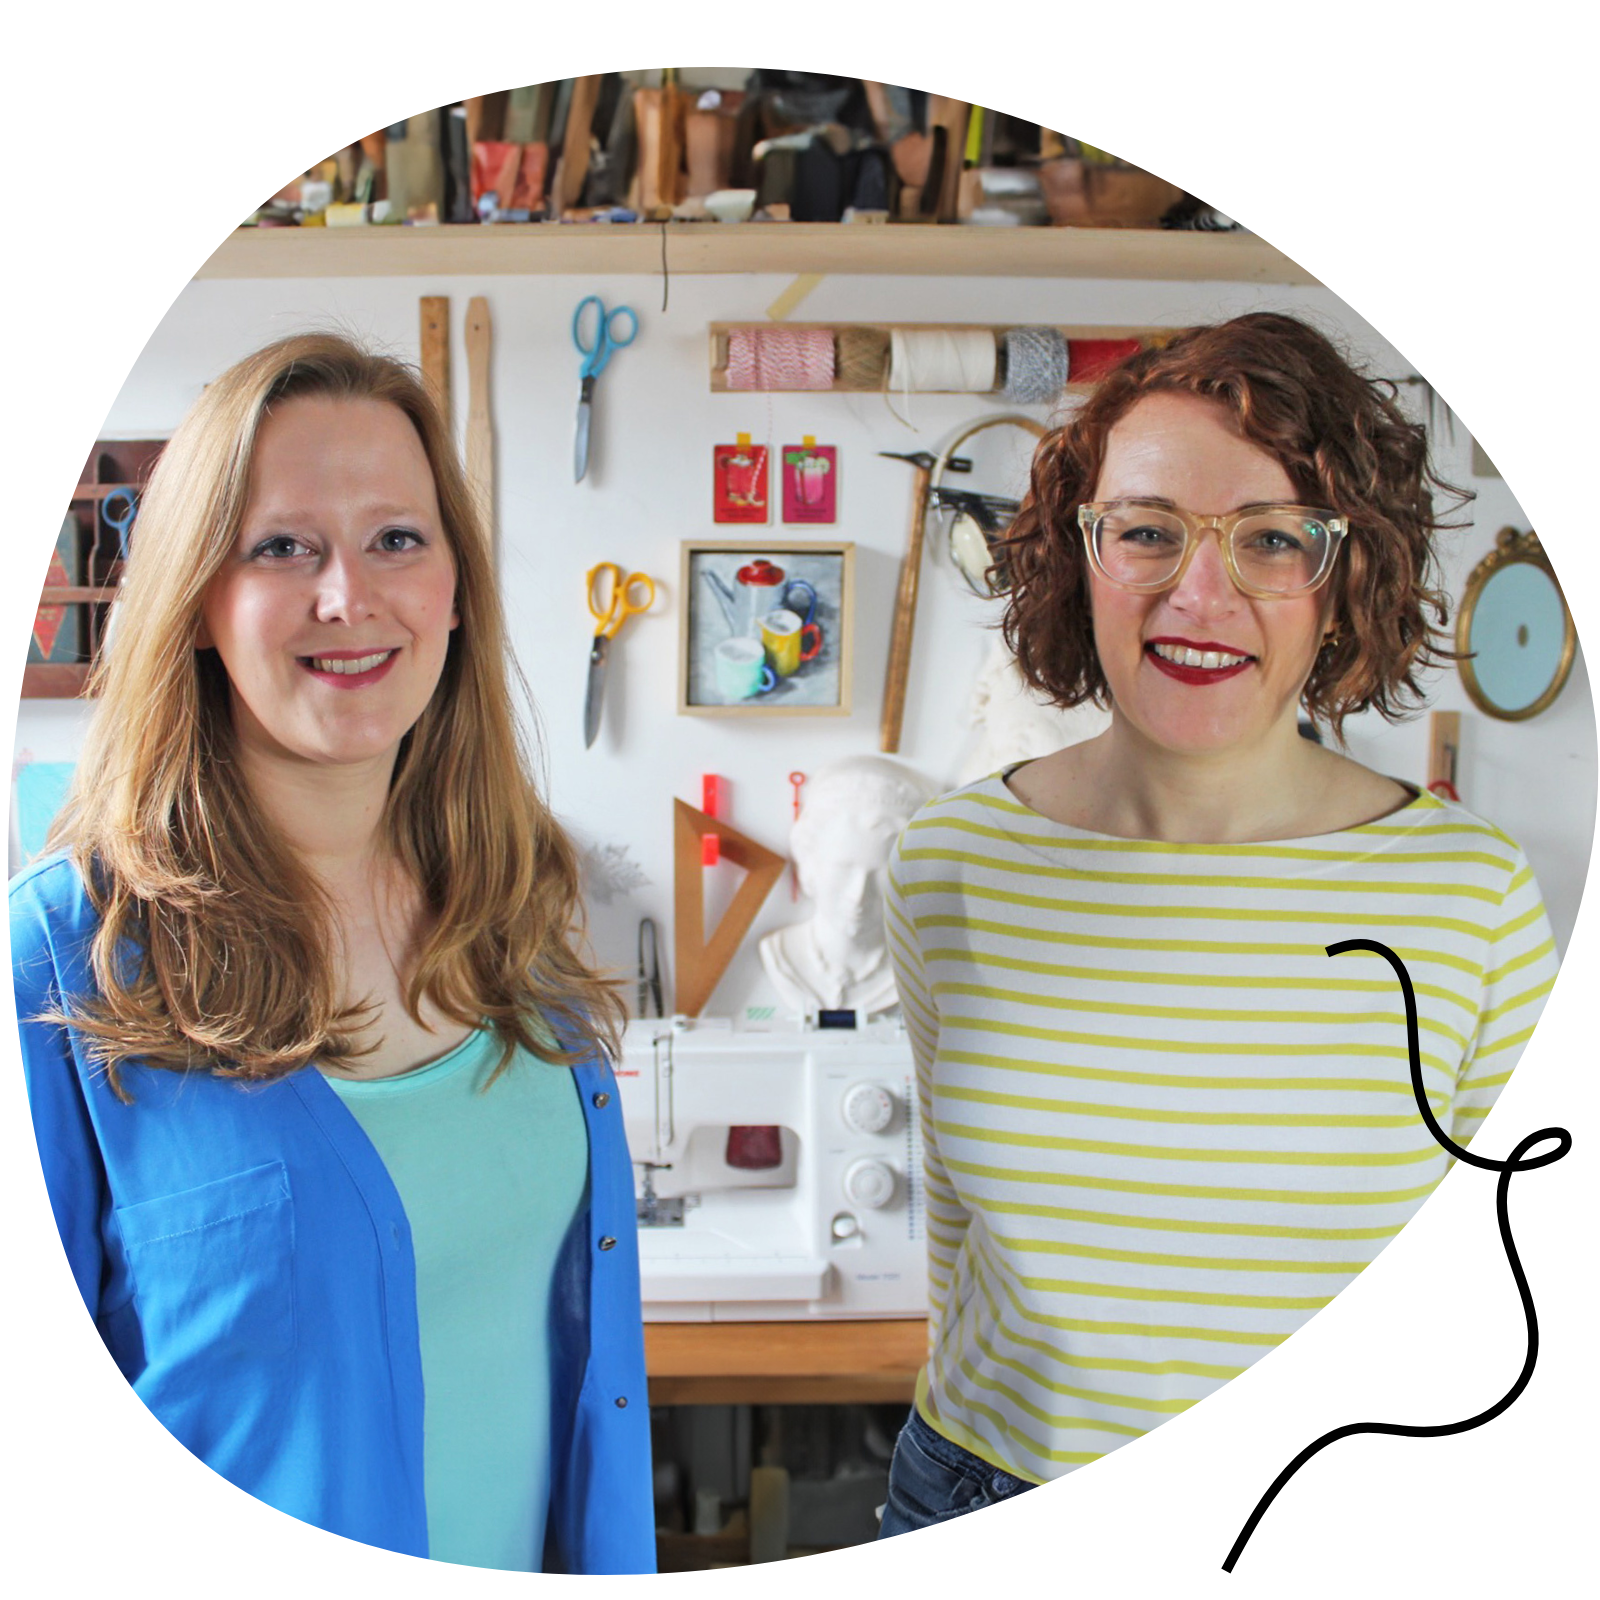
With more than 10 years of experience working with independent designers, we are the sewing pattern experts. With our expert knowledge and award-winning online shop, we are here to help you find the perfect project. Let us inspire your next make with our weekly blogs, vlogs and newsletters, bringing you the latest pattern releases, trends and sewing community news.
Kate & Rachel
OUR VALUES



customers love our patterns
Let customers speak for us
Lindy Stokes
Good style
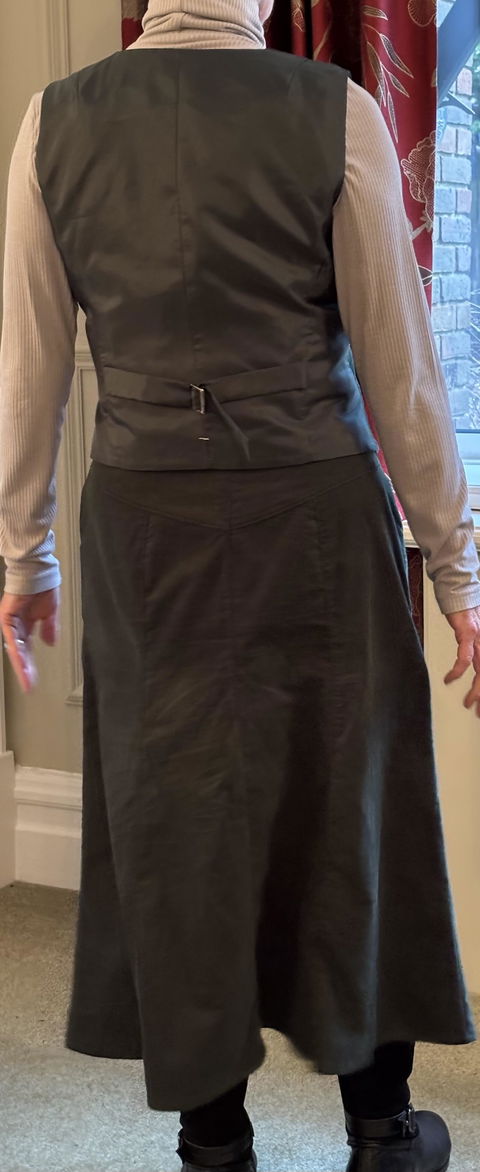
Chose size 10 for the waist and hips with a slight increase of a 1/4” on the waist only and everything below that size 8. I chose a rather lightweight Needlecord which I felt required a lining. By joining the front pieces of the pattern together I was able to draft a rough pattern for the lining. I then removed the yoke piece from my draft and drew a line to the waist. This eliminated the yoke section and allowed the lining to align with the fly.The back lining was made up of the same pieces of the back pattern.
I followed a sew along for the front sections and yoke of the main skirt but reversed the extension of the fly to be on the right hand side which I think is better.
I teamed it up with the Bennie Vest made up of a small piece of fabric I had left.
I think it is a great skirt and would look good in denim.
Lindy Stokes
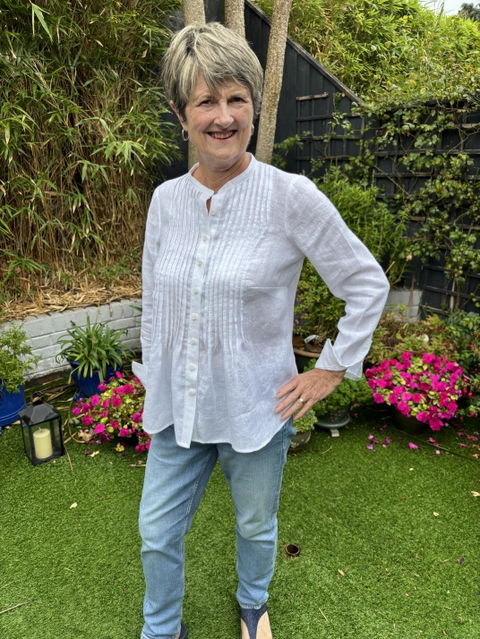
Beautiful Shirt
I made version B with the tuxedo style pintucks and the standard sleeve instead of the bishop style version.
I made 3 toiles before settling on size 8D for the main body and size 10 for the armscye and sleeve head plus reshaping the pattern below the waist to remove some of the flair as it stuck out too much for me. I lowered & reshaped the bust point, normal practise for me.
I used a very fine linen from the Minerva Core range in white. The amount I used in the end was 1.6 Mts instead of 2.3 stated on pattern. The pin tucks are the trickiest to get right. I basted the lines in contrasting thread and used the Clover roller to press the folds. The first line was marked using the centre fold as a starting point. The 1/4” stitching lines must be precise otherwise it will cause problems.
The dart was made AFTER the pintucks. I used the sewalong and the written instructions however the sewalong differed in places. The collar was confusing so I used my own method. I was really thrilled with the result and have received many compliments. It’s a lovely pattern.
Lindy
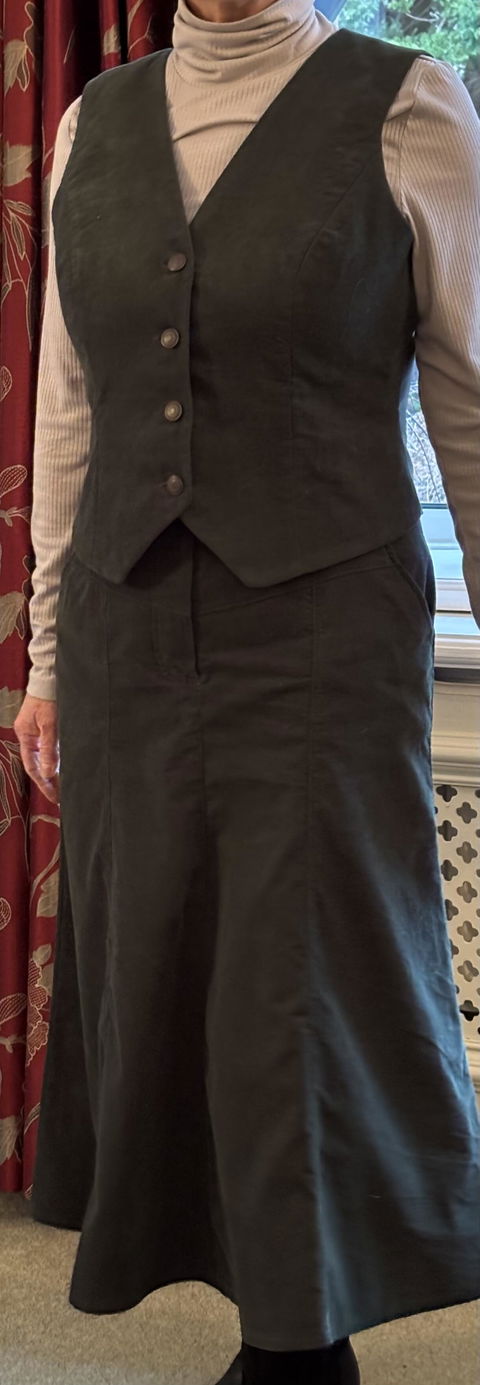
Neat Little Vest
Made this vest using leftover green Needlecord. Not enough to make the entire vest so I used green viscose satin to make the back section as well as the lining. I used silk organza to give body to the back section and used tailor tacks when frixion pen failed and tailor chalk left residue which was difficult to remove. After some consideration I decided to leave out the welt pockets. I purchased the video sewalong after reading reviews and together with the written instructions I followed the method however my one big gripe is the photographs which proved too grainy at times to see whether I was on the right or wrong side of the fabric. The instructions use a combination of couture and regular sewing methods which I like . Instead of tying the ribbon ties at the back I used a metal clasp which was more in keeping with this style.
It was an excellent fit with no alterations and looks fabulous with my Salida Skirt in the same fabric.
Georgia
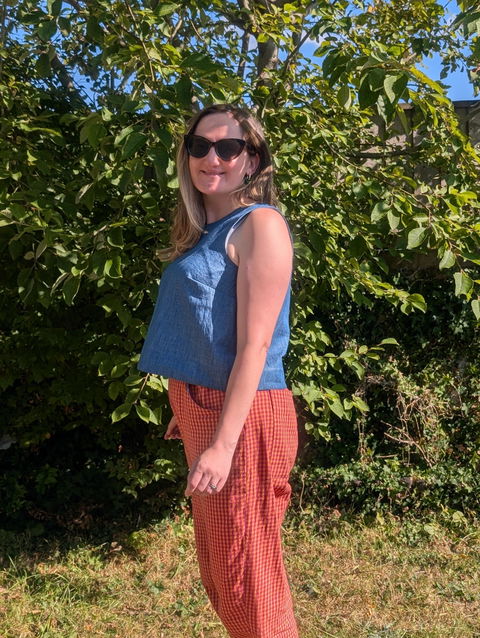
I've now made 3 versions of this in very different fabrics - a poplin, a lightweight viscose and a denim and I adore all 3. They had so much wear over the warm summer
Anita
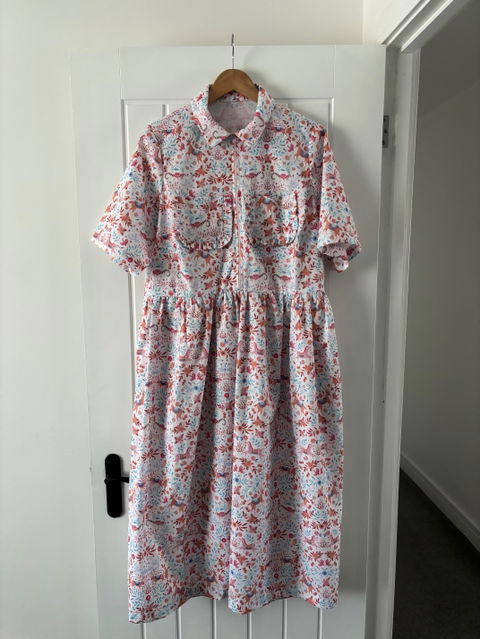
Really pretty dress, fairly easy sew
I was really excited about sewing this dress and it didn’t disappoint. I used a cotton print and went for the short sleeved version with ruffle pockets. I have to say though if you have a medium/large chest stay away from the ruffle pockets, they are really prominent and look silly. That’s the only thing, in hindsight I should have gone for no pockets or the bigger plain one.
Anita
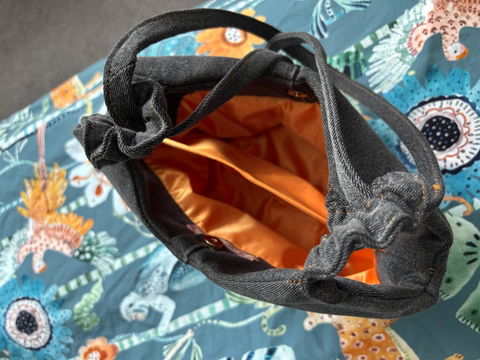
Such a lovely little bag
I got the pattern with the sewing weekender and made it straight away. I used an old pair of black jeans as the main fabric and an orange fabric I got off from Vinted that turned out to be pretty plasticky…. Anyways, I’m in love with the end result!
Annie
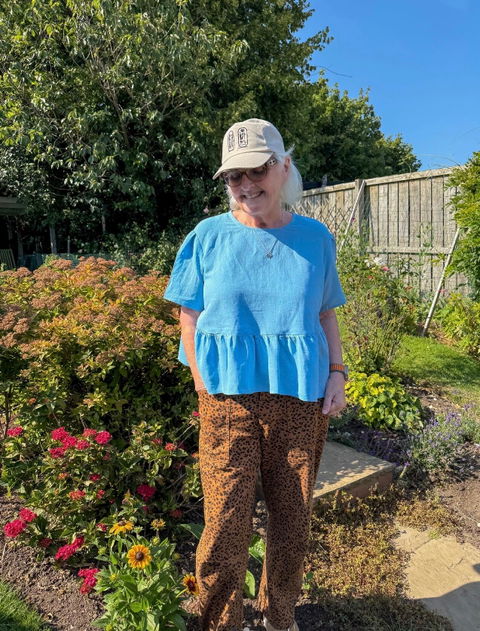
I love it!
I truly love this top. I’m not sure if the dress will be ‘too much’ for me, but the top 👌 The blue one is my first. I made it up having taken account of both my measurements and the finished garment measurements. Despite this, it’s a little big, most noticeable on where the shoulder seems land. The cream version, I made in a size down and it’s a better fit. I haven’t had time to photograph it on me yet, but I love it!
Sarah Wild
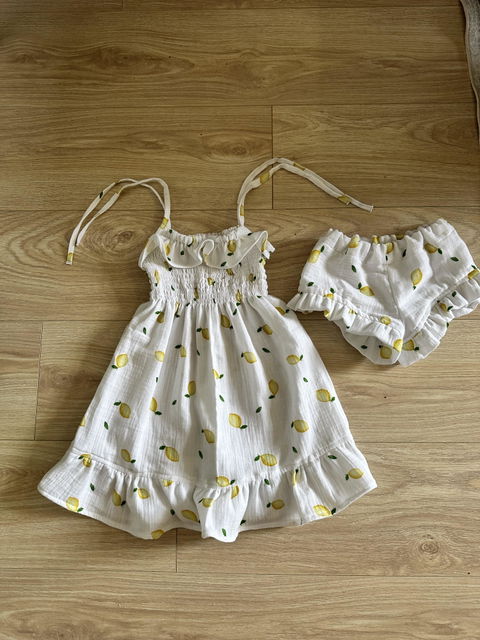
Another brilliant pattern
Loved this so easy to follow and outfit turned out beautiful
Sarah Wild
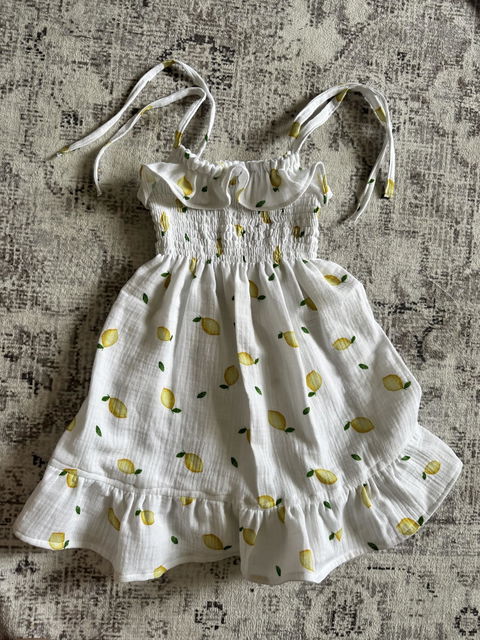
Fantastic pattern
Loved using this pattern it was so easy to follow and sizing was perfect. I can’t wait to make another
PippaC
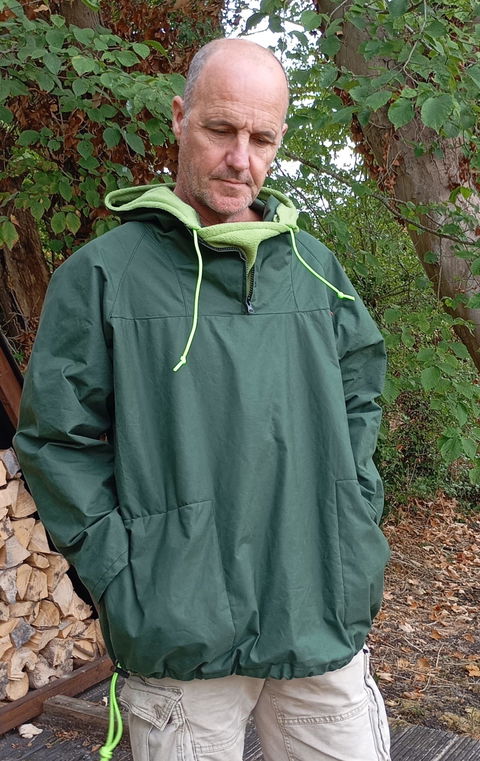
Already planning the third...
Lovely pattern, made the first one in canvas for hubby - I made Large but it's a bit tight over a jumper and would size up next time. Made the second one in dry oilskin which I found novel to work with but loved it by the end! This one was XL for my son. I left out the waist cord but made the bottom hem into a channel, and love the final shape this gives. Fleece for the pockets made it very cosy. I wouldn't say it's straightforward - the zip arrangement was a bit challenging so I would advise doing a toile first. But well worth it!
Kathryn Maguire
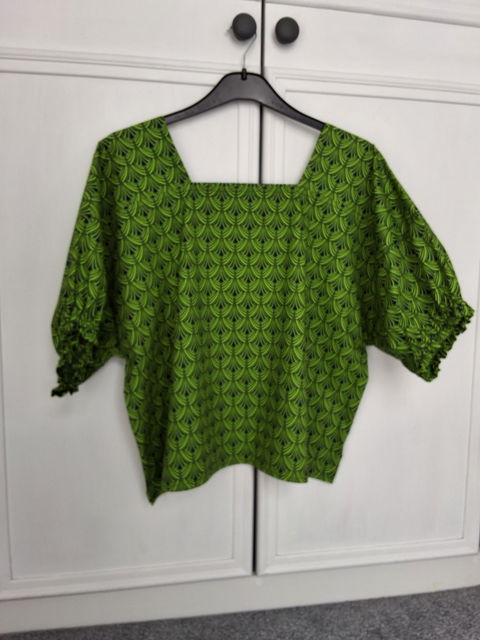
So easy
So easy to cut out and sew, I wasn't sure if it would suit my body shape so used some fabric from my stash, It came together so quickly and the video instructions were great to follow. The first one I made (green/black cotton) was perhaps a little too short but not unwearable. The second one (cream/black) I made a few inches longer and finished the side seams off with a slit at the hem which made a nice touch. The fabric was heavier and had a slight stretch which made it very comfortable to wear. However the plain sleeves wern't sitting very well at the front due I think to the heavier weight, so I decided to insert elastic at the sleeve hem and this pulled them in and solved the problem so did the same on the green one. I will make more of them as so easy to wear amd made up in just a couple of hours. I am going to try out the Tie Dress next as it looks very interesting and hopefully if will be as easy as the top.
Tay Zoey
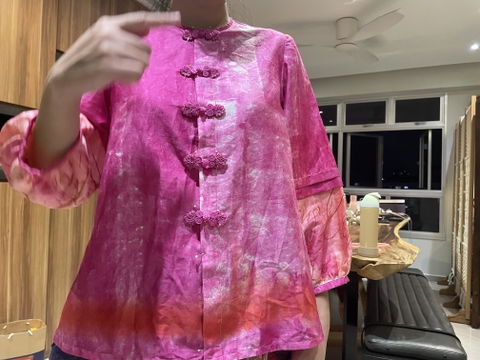
love it
the instructions were easy to follow, i made it using cotton sateen and chinese frog buttons for my mum to wear during Chinese new year.
Alison Patrick
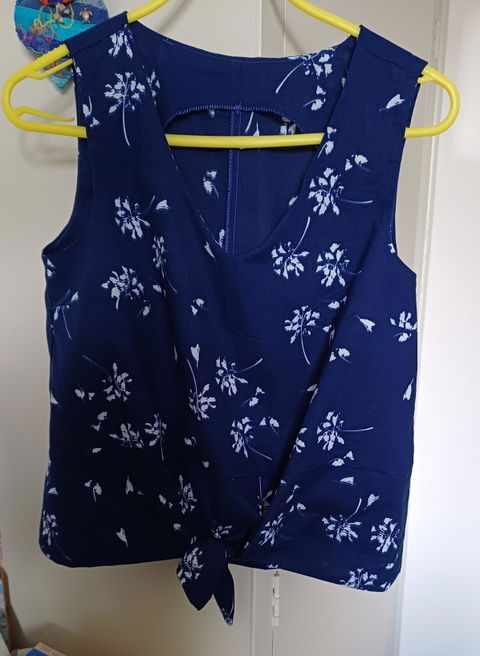
Nice Summer Top
The neckline on the Jily is lovely and the tie front option makes it a bit different. I cut a 36 based on the size guide. The bust darts are a bit high for me but it was a good fit overall. I found the method for attaching the neck facings a bit fiddly but the instructions are good and it worked fine. Fabric is a light cotton.
Jill S
Great jacket - best thing I've ever made :)
This is a versatile jacket pattern with four different collar and cuff variations. I chose to make the collarless version with cuffs. The pattern instructions are clear and comprehensive, plus there is a video tutorial available in French with English subtitles. I found it useful to play the video at half speed because it’s not easy trying to watch the demo and read subtitles at the same time.
I chose this pattern because it’s constructed of many separate fabric panels in the front and back bodice and the sleeve. In total, I cut out 25 pattern pieces across the main fabric, interfacing and lining. Tracing the pattern from the PDF onto pattern paper alone took a few days.
That said, I wanted a pattern with lots of pattern pieces because I had a variety of smaller pieces of fabric to use in the construction of this jacket. I pieced the jacket outer together from calico, corduroy, and an old tablecloth from my stash.
I liked that each notch is given a letter, which helps with matching when sewing seams. There were also some clever devices to help the lining fit and hang better within the jacket. There was just one step I could not get to grips with in either the written or video instructions; how to handle the top of the button placket. I decided to miss this step and managed to get the placket neatly aligned and secure without it.
I usually try to make a toile for a pattern I haven’t tried before, but I didn’t bother this time and just went by my measurements against the pattern chart (UK14 (42) and I’m 5’5’’) – the fit is true to size, and the length is great (mid-hip).
I didn’t use snaps; instead I used Kylie and The Machine Jacket buttons. They look fab, but because the button placket is quite narrow, I would probably go with snaps next time.
Overall, an excellent pattern for a biker-style jacket and a good one if you have fabric pieces in your stash you want to use up. It is a time-consuming make because with all the pattern pieces there are a lot of seams to sew and a lot of topstitching. It might be a while before I tackle this pattern again, but I would like to make the version with collar and cuffs.
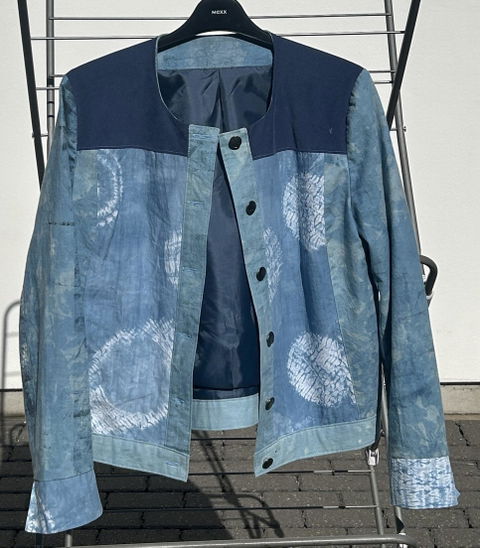
S Cussons
My go-to woven T-shirt for the hot summer
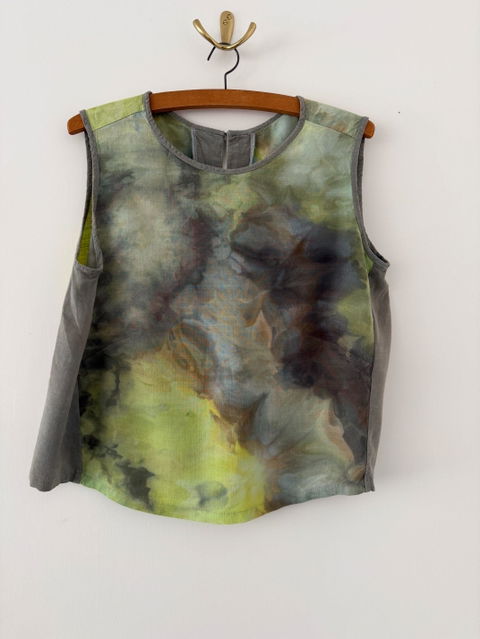
I have now made four of these and love them all. You know that a garment is a hit when you wear it over and over and are waiting for it to come out of the wash. I have made the pattern in remnants of indian cotton and in ice-dyed viscose, mixing the designs on the bias tape and on the side panels. It uses very little fabric so is great for using up left fabric. The Ts have been great for traveling too, packing flat and weighing next to nothing.