THE SEWING PATTERN TUTORIALS 15: HOW TO CUT OUT SEWING PATTERNS AND FABRIC

A BEGINNER’S GUIDE: CUTTING OUT SEWING PATTERNS AND FABRIC
How should I prepare my sewing pattern?
Traditionally sewing patterns are printed on large sheets of thin tissue type paper, which you can cut straight out or trace off. In recent years the sewing industry has been transformed with the emergence of independent designers who often print their patterns on thicker white paper or offer them as digital sewing patterns in PDF format. For help with printing out PDF patterns, take a look at our previous blog post in the series. Whether you have printed out your own pattern at home or bought a paper pattern that is ready to go, follow these tips for an optimal making process.

Pressing
Pressing is not just for fabric! If your paper pattern has been crumpled or folded in any way, press it first with an iron on low heat. This will help get a much more accurate cut of your fabric. A fold here and there can reduce the pattern piece by several millimetres, affecting the fit of your garment. Make sure you do a small test on the pattern first, some inks on pattern pieces can smudge under the heat. Also avoid doing this if you have taped your PDF pattern together as the heat will melt the tape. Alternatively if you are not in a rush, you can flatten pattern pieces under a large book.
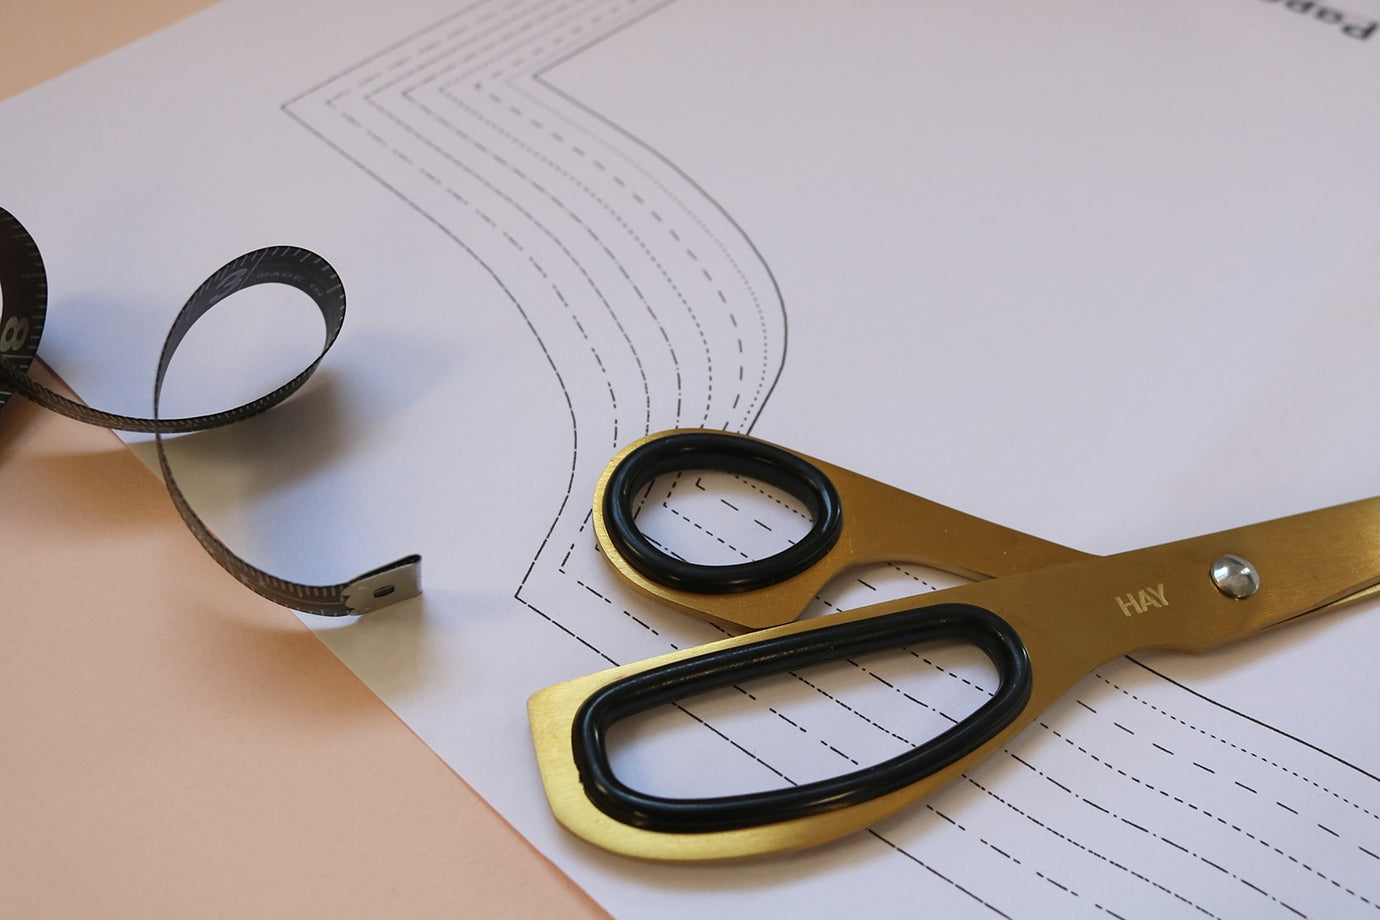
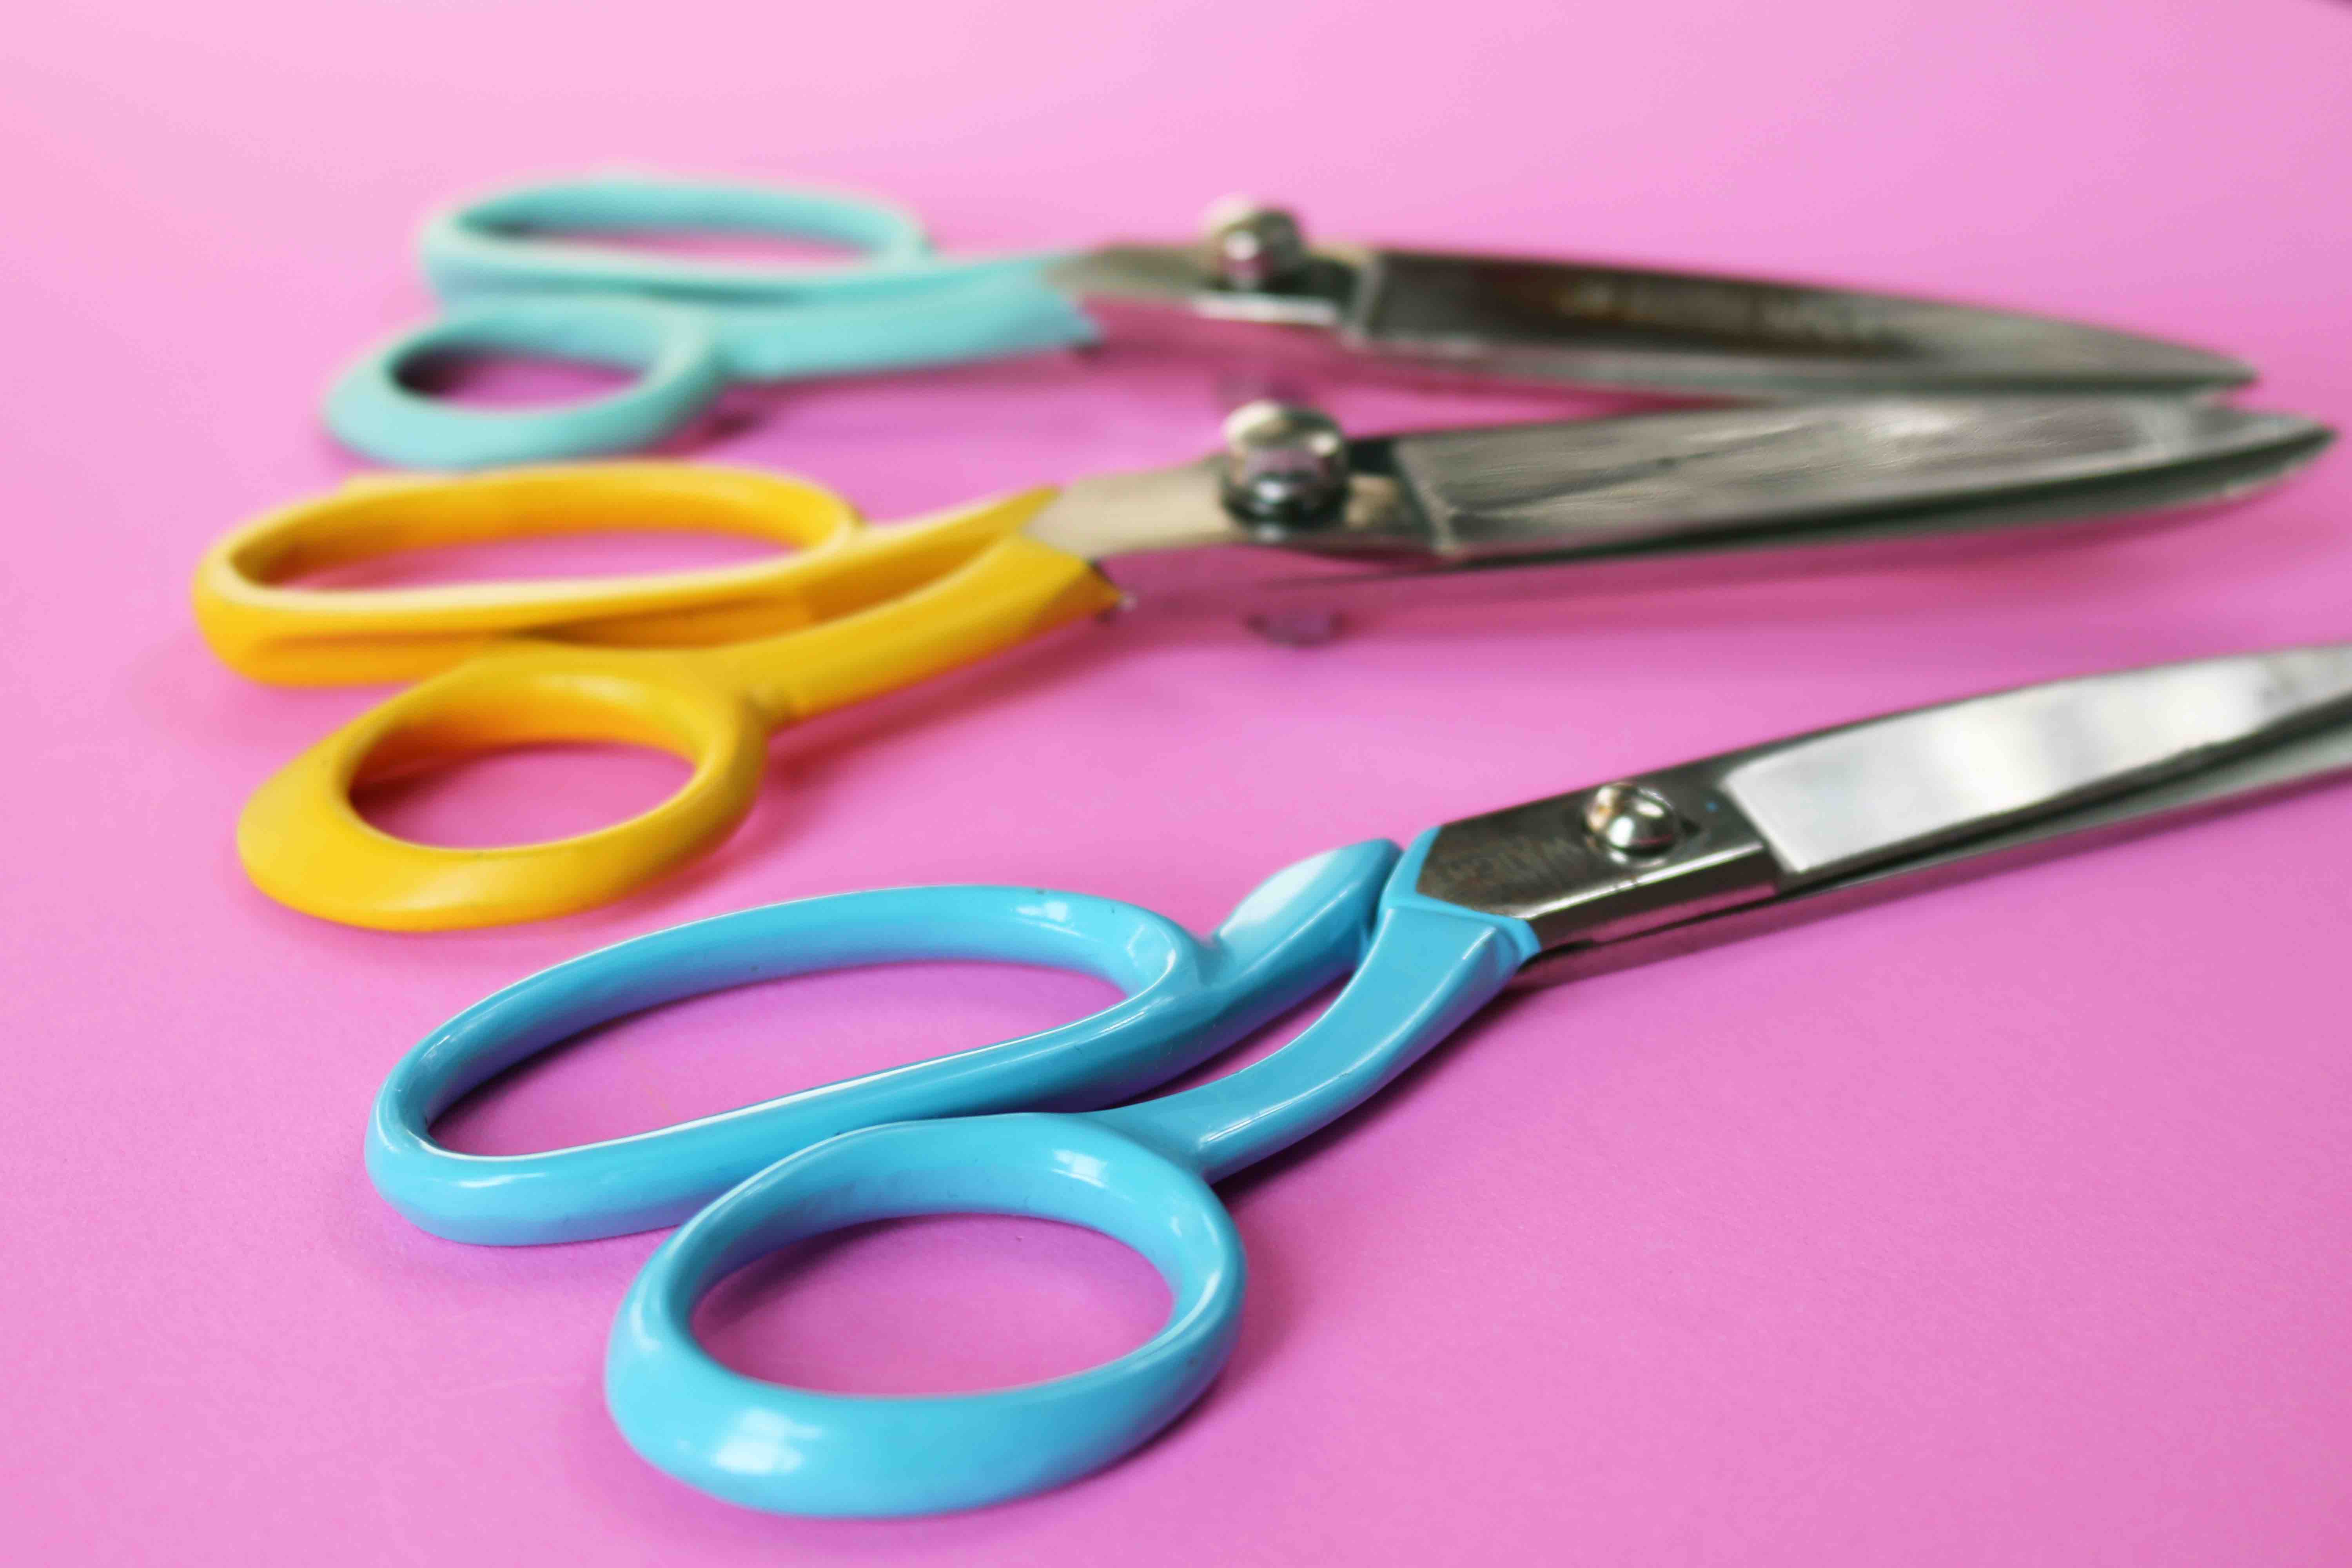
Paper scissors
When cutting out paper patterns, use a sharp pair of scissors. Make sure these scissors are only used for cutting out sewing patterns and nothing else. Using these for other tasks will blunt the blades and make cutting out future patterns less accurate.
Cutting method
There are two options for cutting out your pattern pieces, accurately or the ‘quick cut’ method. If you decide to cut out the pattern pieces accurately, make sure you cut along the pattern line carefully. If you fall either side of the line this can add or remove a few millimetres. On the fold this could be as much as half a centimetre and this will begin to impact the accuracy of your fit at the end. The ‘quick cut’ method involves cutting out the pattern pieces roughly leaving extra paper around the pattern pieces. This method means you don’t cut around the pattern pieces accurately until after they have been pinned to the fabric. The advantage is that this saves time and can improve accuracy but the disadvantage is you will be using you fabric scissors to cut out paper and fabric, which will blunt them more quickly.

Tracing
If you have the time and think you may need to make alterations to you pattern, we would definitely recommend tracing out all the pattern pieces first and not cutting into your paper copy. This is less of a problem for PDF patterns as you can print this out again (but you might not want to stick all the pages together again!)
I have both a single and double tracing wheel – the single is useful for tracing patterns and the double for adding seam allowance onto a pattern. A tracing wheel is ideal for doing this as you can accurately trace over the pattern lines for your size onto the paper beneath. The double tracing wheel is the most recent addition to my pattern cutting tool box and I don’t know how I lived without it! If you have a sewing pattern without seam allowances then you can trace it while adding them at the same time. It’s also useful to add seam allowances once you’ve made alterations to patterns such as grading between sizes. For tracing dot and cross paper is great, as the names suggests it has little dots and crosses on it, spaced out usually by 2.5cm or 5cm intervals. You can use these to draw lines at 45 degree and 90 degree angles quickly. As the paper is lightweight it’s ideal for tracing and pattern alterations. It comes on a long roll for easy storing.
Do you need to add seam allowances?
Before moving onto the next stage, read through the instructions for your pattern and check how the pieces are laid out on the lay plans. It’s always worth doing this to make sure that you haven’t missed anything, such as instructions to add seam allowances to your pattern pieces or extend a pattern piece such as a gathered skirt. There is nothing worse than cutting out your fabric to find out it needed the seam allowances adding first! If you do need to add seam allowances the designer may have left enough space around each pattern piece to do this. I would recommend using a double tracing wheel to add seam allowances (remember you don’t need to add them to edges of the pattern pieces that are cut on the fold). If there isn’t room around the pattern piece on the existing paper, cut each piece out and glue down onto a larger piece of paper before using the double tracing wheel to add the correct seam allowance. If you don’t have a double tracing wheel, you can also use a tape measure and pencil, carefully marking the seam allowance as you go around each piece.
How should I prepare my fabric?
The pre-wash
Probably the most boring step of sewing, pre-washing fabric! We know that feeling, you are desperate to get started but it’s so important to prewash most fabrics using a home washing machine. Depending on the fabric it might be better to steam or dry clean it. The reason why this is so important is because fabric can shrink, sometimes up to 5%. You should wash the fabric on whatever setting you plan to wash your finished garment on, this way the shrinking will happen before you sew, rather than to your beautifully finished garment (which then won’t fit anymore!) It might not just be shrinkage either, other properties of the fabric can change such as the drape and this could affect how the garment fits you as well. Once it’s washed, make sure the fabric dries thoroughly before putting it away in your stash. If you pre-wash your fabric ahead of time, why not mark it with a label so you know that’s already been done?

Ironing
Take you time ironing your fabric to make sure that all the creases have been removed. This is the best way to ensure that you don’t end up with pattern pieces that are bigger than they should be. Each crease can add a couple of millimetres to the size of your garment. Be careful to use the correct heat setting for your fabric. To check this test a piece first and make sure it doesn’t leave a mark or melt the fabric, if it’s synthetic.
Top tips for pinning and cutting out you pattern pieces

Space
It’s much easier to pin and cut out your pattern pieces with plenty of space. Make sure you lay out your fabric on a large smooth table, where you can move all the way around to get the best angle for pinning and cutting. Ensure the table is dust free and remove any items to give you as much space as possible. If this isn’t any option cutting out on a hard floor also works or you can invest in a cutting mat.
Folding your fabric
Read the instructions and check whether your pattern pieces are cut singularly or ‘on the fold’. If the pattern pieces are cut ‘on the fold’ then you will need to fold your fabric in half. It’s best to fold it ‘right sides together’, this means folding the nice side that usually has a print on it, in on itself. The reason we do it this way is so that if you need to mark anything onto the fabric, such as notches, you do this on the ‘wrong side’ of the fabric (this will be on the inside of your garment, so no one will see). Sometimes on plain fabrics it can be tricky to tell which side is which. Look at the selvedge (edges of the fabric) and you should see small holes where the fabric has been attached to the cutting machine. These small holes are raised on the ‘right side’. When folding the fabric ‘right sides together’, the easiest way to do this it to match selvedge to selvedge along the edges. The benefits of cutting your pattern pieces out of fabric that has been folded right sides together, is that you can cut out a pair at the same time e.g. a pair of sleeves. You can also cut out a pattern piece ‘on the fold’, where the centre front or back of the pattern piece is placed along the fold of the fabric. When you cut it out and open it up, you have a full symmetrical pattern piece. Once your fabric is laid out, smooth out any creases or folds so it is completely flat.
Laying out the pattern pieces
It might seem obvious, but the first thing to do it to roughly lay out your pattern pieces according to the lay plans to make sure that they actually fit. There is nothing worse that starting to cut out and realising at the end you didn’t leave enough space (especially when you can no longer get anymore of that fabric!) If you don’t have room try to move the piece about a bit, keeping the graininess parallel to the selvedge. I often find there is more fabric than I need when using lay plans, so if you haven’t already ordered your fabric or are hunting through your stash for options, this can save you some pennies.
Pinning or using weights
Use dressmaking pins and make sure they are sharp. If you are using a delicate fabric such as silk, you can get special pins for this. There is a balance in how many pins to use, too many distorts and pulls the fabric or bunches it in place and too few means your cutting won’t be accurate. Alternatively you can use pattern weights, which are much faster to apply and keep the fabric flat against the surface of the table but if the fabric is slippery then you might not get an accurate cut.
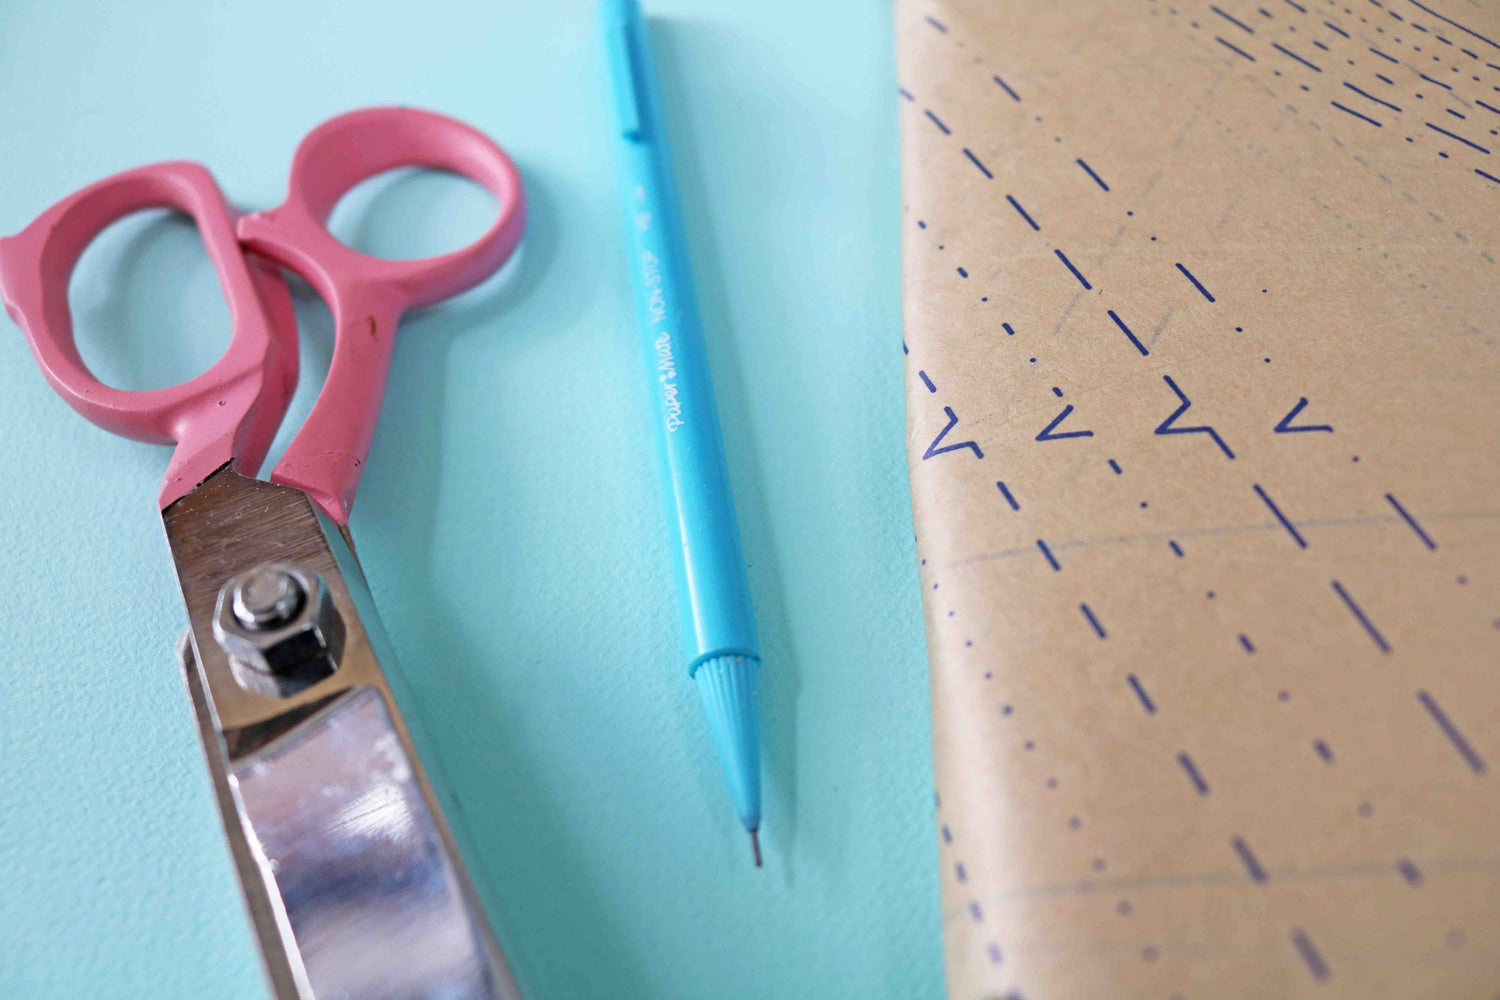
Reading pattern symbols
Interpreting symbols on sewing patterns can feel overwhelming at the start, especially when they are often different between designers. Why are they important? By transferring the symbols from your pattern to the fabric, it will make sewing the different pieces together much easier later on. They also provide reassuring confirmation that you are following the sewing stages correctly, for example, when your seams and notches line up. For help on interpreting pattern symbols, take a look at a previous blog post we did on this here. Make sure you lay the pieces out according to the instructions e.g. ‘cut on the fold’ or ‘cut a pair’.
Checking the grainline
Each pattern piece should have a grainline, which tells you the orientation of the pattern piece against the selvedge (edges of the fabric). Lay your pattern piece onto the fabric and using a tape measure, measure from one end of the grainline to the selvedge and the other end of the grainline to the selvedge, these two measurements should be identical. If they aren’t, adjust the pattern piece carefully until they are. Our top tip is to place a pin through the top and bottom ends of the grainline, which hold the pattern piece with the fabric and stops it moving about (be careful on more delicate fabrics).
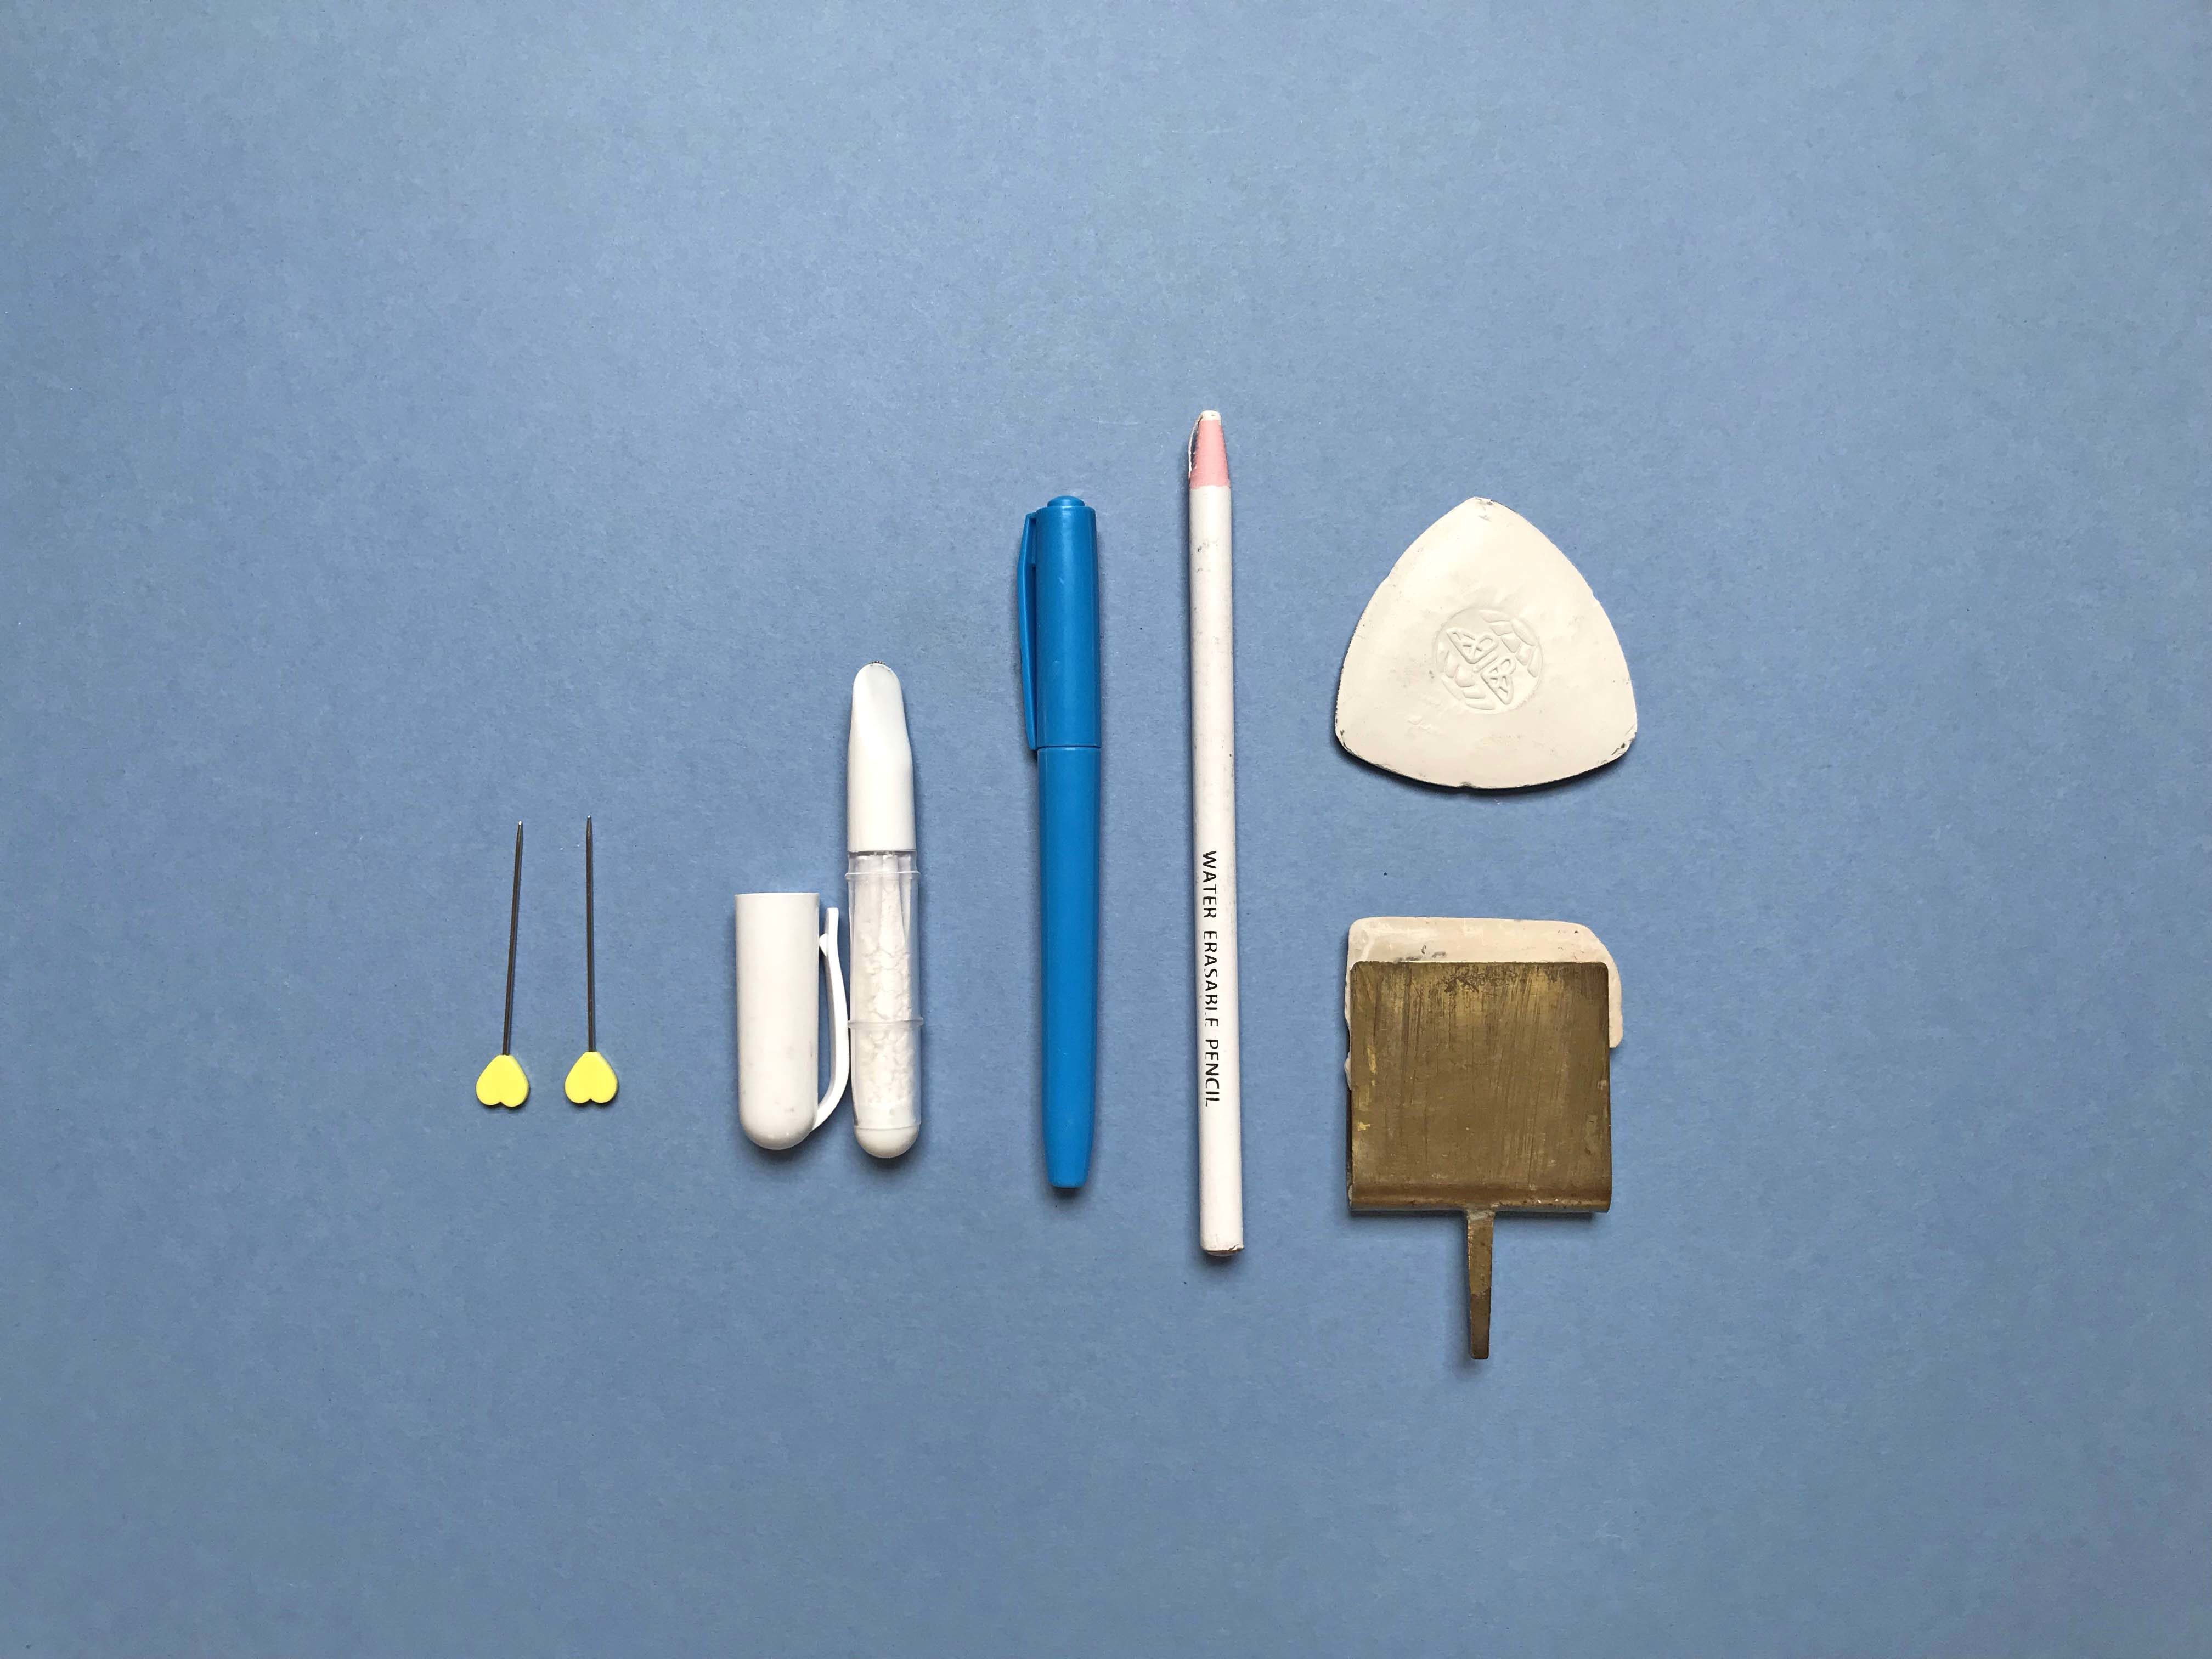
Marking symbols onto your fabric
Sewing a garment is much easier if you have marked any symbols on your fabric before cutting out the pattern pieces. The sort of symbols you might want to mark include darts, buttons, buttonholes, notches and stitch points. There are a number of different ways to do this:
Marker pens – always choose a water soluble or disappearing in pen. The advantages to these are you get exact marks and they are easy to see on your fabrics. When using pens always test these on a scrap of your fabric first and give it a wash or iron, you need to make sure that it will disappear! Also be mindful of the disappearing pens, if you get interrupted in your sewing plans then these may have gone when you still need them.
Tacks – these are achieved by using a needle and thread to creating a knot at the exact point that needs marking. It is very accurate and they won’t disappear easily but it takes the most time and they need removing afterwards.
Chalk and chalk pens – when we first discovered chalk pens it was an exciting day! You can use these by rolling the pen up and down over the fabric and it leaves an accurate line of chalk, magic! If you prefer the traditional methods then you can get a smooth line using tailor’s chalk, which can be dusted off the fabric easily. The downside of tailor’s chalk is that bits can break off if you press too hard and you need to keep the edge sharp to get a clean line. Plus when you have your pieces of fabric against each other this can brush the chalk off completely.
Snips – These are small sharp edged scissors and they are ideal for quickly and accurately cutting into fabric to mark notches at the raw edges. Be careful not to cut too far into the fabric (just 3mm should do it), especially in case you need to make adjustments later on.
Cutting out
Use a pair of good quality fabric scissors, that you don’t use for anything else. Make sure you keep the blades sharp. When cutting around each pattern piece, don’t lift the scissors off the table, keep them flat with the lower blade of the scissors against the surface below. Alternatively you can use a rotary blade cutter, which is smoother and faster than cutting with scissors, minimising any fraying. You just need to be careful it doesn’t slip and you cut yourself or your pattern piece! When using a rotary blade cutter along straight lines, a metal ruler can help you get a better cut. For really slippery fabrics, such as silk, place the fabric between sheets of tissue paper as this will help to keep it in place.
Keeping your pattern pieces organised
After you have cut out all your pieces, don’t handle them too much as this may cause any curved edges to stretch. It’s also worth marking the wrong side of each piece (if it’s not obvious from your print) so that you don’t get these confused at a later time.
Previous article