A BEGINNER’S GUIDE: SEWING PATTERN SYMBOLS AND FABRIC MARKING TOOLS
A BEGINNER’S GUIDE: SEWING PATTERN SYMBOLS AND FABRIC MARKING TOOLS
The Sewing Pattern Tutorials is a year-long FREE sewing course where we will demystify dressmaking patterns. We’ll begin with the basics so that if you are new to sewing you can join in from the start. We also know that lots of you want to learn new sewing skills so as we progress we’ll begin to cover more complex topics so that you will finish with the skills needed to deal with fitting problems too. In each post we will also have a sewing jargon busting section explaining any terms used that might be confusing. We’ve already covered the pattern envelope, now we are moving onto using and fitting your sewing patterns. This week we talk through how to understand all the different symbols on sewing patterns. Catch up on previous posts in the series here.
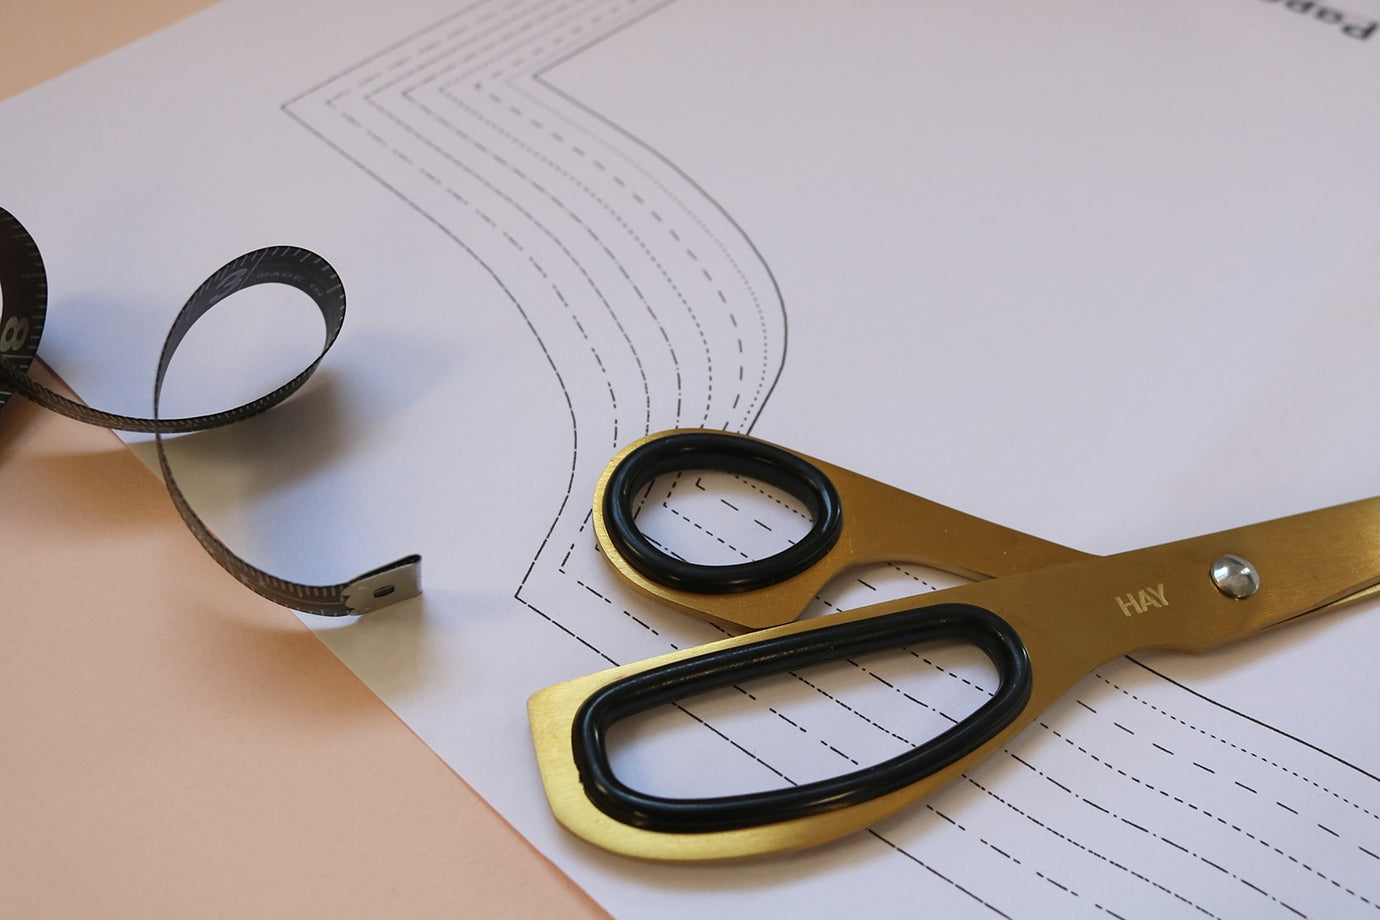
Pattern Symbols
Interpreting symbols on sewing patterns can feel overwhelming at the start, especially when they are often different between designers. Why are they important? By transferring the symbols from your pattern to the fabric, it will make sewing the different pieces together much easier later on. They are provide reassuring confirmation that you are following the sewing stages correctly, for example, when your seams and notches line up.

Here are the most common sewing pattern symbols you will come across.
Size lines – almost all dressmaking patterns will have a cutting or size line. Use the accompanying chart from the designer to determine your size and cut along this line.
Centre Front / Centre Back lines – often illustrated with a dashed or dotted line, the centre front or centre back is usually marked to help you line up pattern pieces, for example overlapping the front bodice pieces of a shirt at the button stand.
Notches – these are usually triangles or dashes on the edge of a pattern piece. They allow you to match up different pattern pieces at the correct points. Some people cut outwards but other choose to snip inwards where these points are marked. Be careful not to cut too far into the fabric (just 3mm should do it), especially in case you need to make adjustments later on.
Grainlines – These are single or double ended arrows that run the length of the pattern piece. The grainline should be used to position the pattern piece parallel to the fabric selvedge. Measure from the top of the grainline across to the selvedge and the bottom of the grainline to the selvedge, these two numbers should match. If it is a single arrowed grainline, the arrow should point upwards in the same direction of the fabric print. If it is a double arrowed grainline, the pattern piece can be orientated in either direction, parallel to the selvedge.
Foldlines – a fold line may be marked with just the words or a boxed arrow and indicates that this edge of the pattern piece should be placed along the folded edge of the fabric (where right sides of the fabric are folded against each other with selvedges matching). There is no seam allowance along a fold line. This is typical for a bodice, skirt or facing piece.
Cutting line – this will usually be illustrated with a dotted or solid line with a scissors icon. It indicates where you should cut along fabric.
Adjustment lines – these are single or double lines running across pattern pieces that signify the best point to shortening of lengthen the pattern pieces depending on your body shape. Cut along these lines and these move apart or overlap the two pieces to get the desired length. These are often marked as ‘shorten or lengthen here’.
Darts – these are usually shown as dotted or solid lines in a triangle/diamond shape. They indicate where you should stitch to create shape at the bust, waist and shoulders.
Buttonholes and Buttons – these can be illustrated in lots of way, from dashes to circles, dots or barred lines. One side of the bodice will be for buttonholes, the other side buttons.
Zipper mark – often illustrated with a notch or line and arrow, it marks where a zipper should be inserted.
Stitching lines – these are usually dashed lines that indicate where you should topstitch, for example to attach pockets or a trouser’s fly front.
Shapes – a wide variety of shapes are used on patterns from circles to dots and crosses to indicate important points on the pattern. These will help you to match pattern pieces together at the correct point and stitch accurately. These are often included for design features such as in seam pockets, bust points or to show you where to start and stop stitching.
Dart lines – either marked with lines or notches and arrows, darts are marked to show where and in what direction to fold the fabric.
Here is an example bodice pattern to show most of the pattern symbols above.

Marking symbols on your fabric
Sewing a garment is much easier if you have marked any symbols on your fabric before cutting out the pattern pieces. The sort of symbols you might want to mark include darts, buttons, buttonholes, notches and stitch points. There are a number of different ways to do this:

Pins – we find that sometimes when you are keen to get a project started using pins to mark fabric can be a quick and effective way. Just be careful when moving your pattern pieces about that they don’t fall out and also on delicate fabrics that they don’t mark it permanently.
Marker pens – always choose a water soluble or disappearing in pen. The advantages to these are you get exact marks and they are easy to see on your fabrics. When using pens always test these on a scrap of your fabric first and give it a wash or iron, you need to make sure that it will disappear! Also be mindful of the disappearing pens, if you get interrupted in your sewing plans then these may have gone when you still need them.
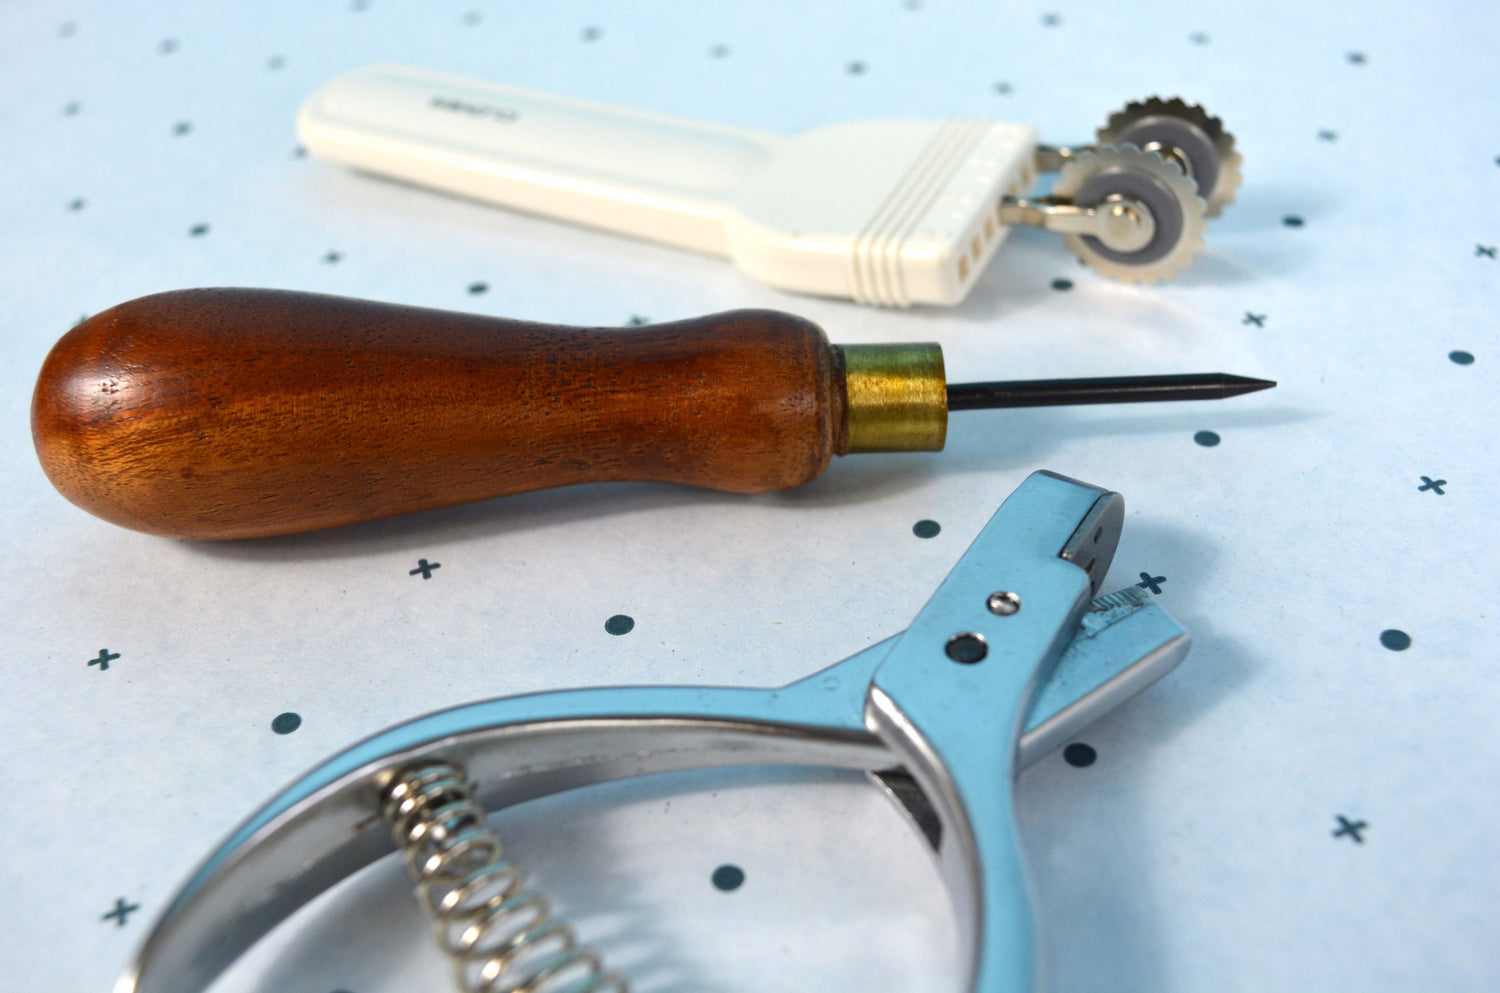
Tacks – these are achieved by using a needle and thread to creating a knot at the exact point that needs marking. It is very accurate and they won’t disappear easily but it takes the most time and they need removing afterwards.
Chalk and chalk pens – when we first discovered chalk pens it was an exciting day! You can use these by rolling the pen up and down over the fabric and it leaves an accurate line of chalk, magic! If you prefer the traditional methods then you can get a smooth line using tailor’s chalk, which can be dusted off the fabric easily. The downside of tailor’s chalk is that bits can break off if you press too hard and you need to keep the edge sharp to get a clean line. Plus when you have your pieces of fabric against each other this can brush the chalk off completely.
Snips – These are small sharp edged scissors and they are ideal for quickly and accurately cutting into fabric to mark notches at the raw edges. Be careful not to cut too far into the fabric (just 3mm should do it), especially in case you need to make adjustments later on.

Next article