THE SEWING PATTERN TUTORIALS: 3. LINE DRAWINGS
THE PATTERN ENVELOPE: LINE DRAWINGS & FEATURES OF YOUR PATTERN
The Sewing Pattern Tutorials is a new year-long FREE sewing course where we will demystify dressmaking patterns. We’ll begin with the basics so that if you are new to sewing you can join in from the start. We also know that lots of you want to learn new sewing skills so as the year progresses we’ll begin to cover more complex topics so that you will finish with the skills needed to deal with fitting problems too. In each post we will also have a sewing jargon busting section explaining any terms used that might be confusing. In the first few posts we will explain what all the information on the back of the pattern envelope means and in this post we focus on interpreting line drawings and pattern style. Catch up on previous posts in the series here.
What are sewing pattern line drawings?
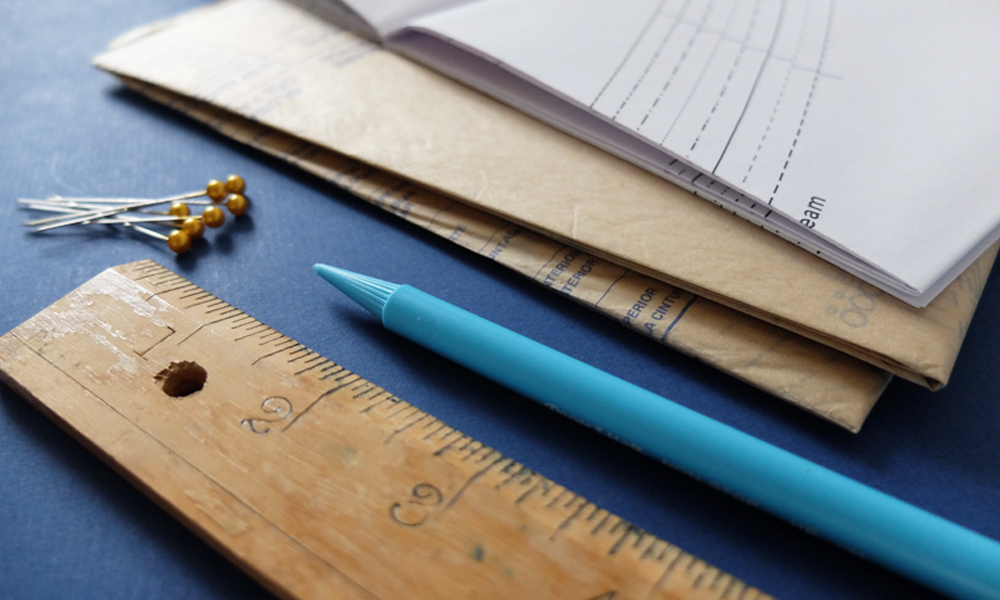
The line drawing is usually found on the back of the pattern envelope and is a visual description of the pattern style showing the design features. They aren’t present on all patterns but can be really useful in understanding the style of the pattern, as opposed to photos or illustrations on the front cover. They will also show you the differences between versions of the pattern, when a single photo or illustration on the front can’t do that.
Take a look at the Closet Case File’s Carolyn Pajamas below. The cover photo is great because it shows you all the versions you can make and details such as the button up front, collar, patch pocket and piping are clear. From this you have a pretty good idea of the pattern design. If you take a look at the detailed line drawings for the pajamas you will notice even more pattern design features such as the elasticated waist, top stitching at hem and faux fly-front.


What do line drawings tell me about the pattern style? How does it differ from the front cover photo or illustration?
Line drawings tell you what style features the pattern has, for example, does it have a zip at the back or the side seam, does it have a full or fitted skirt and are there details such as cuffs, buttons and gathers or pleats. Depending on the style, these can be difficult to see on photographs of models or illustration. Photographs in particular make it difficult to see the specific design features whereas on illustrations these are usually more pronounced. Also photos of a design look very different depending on the type of fabric used and how the model is posed (and in some cases might put you off making that pattern altogether!) Illustrations can be beautiful, particularly vintage ones but these can also be misleading as they don’t show how the garment would look on a real body (i’m thinking the tiny waists of 1950s pattern front covers here!). This is why an accurate line drawing, although not inspiring, is a great tool for picking the right pattern to make. I’ve got to the stage now where the line drawing is the first thing I want to see when looking at a new pattern because it gives you so much information.
How do I interpret the features of a line drawing?
Here are some illustrations showing examples of the different types of features you might see on a line drawing and what they are. All are available to download.
Gathers and Pleats -


Darts and necklines –

Collars and Zips –

Sleeves –

Pockets –

Sewing jargon explained
Pleats
How to create: Pleats are created when fabric is folder, right sides together before pressing and stitched flat. Usually pleats at the front are pressed towards the side seams and pleats at the back towards the centre back. Learn how to sew box pleats with this tutorial from Gather.
Position:Pleats are commonly found at the waist to increase the amount of fullness in the fabric without increasing the size.
Gathers
How to create: If you stitch along the edge of a piece of fabric with a long stitch length and pull the ends of the thread it will ruche up the fabric and create very small gathers. Make sure these are even before stitching. Read By Hand London’s nerdy sewing tips on 3 ways to gather.
Position: These can be found most commonly at the waist, shoulder and neckline.
Darts
How to create: Darts are created when a triangular piece of fabric is stitched, right sides together. It starts at the edge of the fabric and reaches the dart tip where the stitching ends. Read Tilly and the Button’s tutorial on several ways to sew a dart.
Position:Darts create a cone shape to the garment and are found at the bust area.
Cowl
How to create: Cowls are created when instead of a curved neckline, a straight line is drawn from the shoulder to the centre front. This increases the amount of fabric in this area of the garment. When wearing the garment the extra fullness at the neckline causes the fabric to drape. Bluprint have a free tutorial on how to create a cowl neck bodice from a standard bodice pattern.
Position: Cowls are most often designed for the front and back necklines.
Armseye
The armseye is another term used for the armhole, where the sleeve is attached to the bodice.
Fly-front
How to create: Fly-fronts are used to insert zips into trousers and sometimes skirts where the zip is covered by a pattern piece called the ‘fly’. Read this tutorial from Colette about how to sew one in place.
Position: Fly-fronts are found on the front of trousers and shorts (and sometimes skirts).
Welt pocket
How to create: A welt pocket provides a neat design detail to a garment, without the bulk of pocket flaps. Check out this tutorial from Jennifer at Workroom Social.
Position:Welt pockets are found in the inside and outside of jackets and the front and back of trousers and shorts.