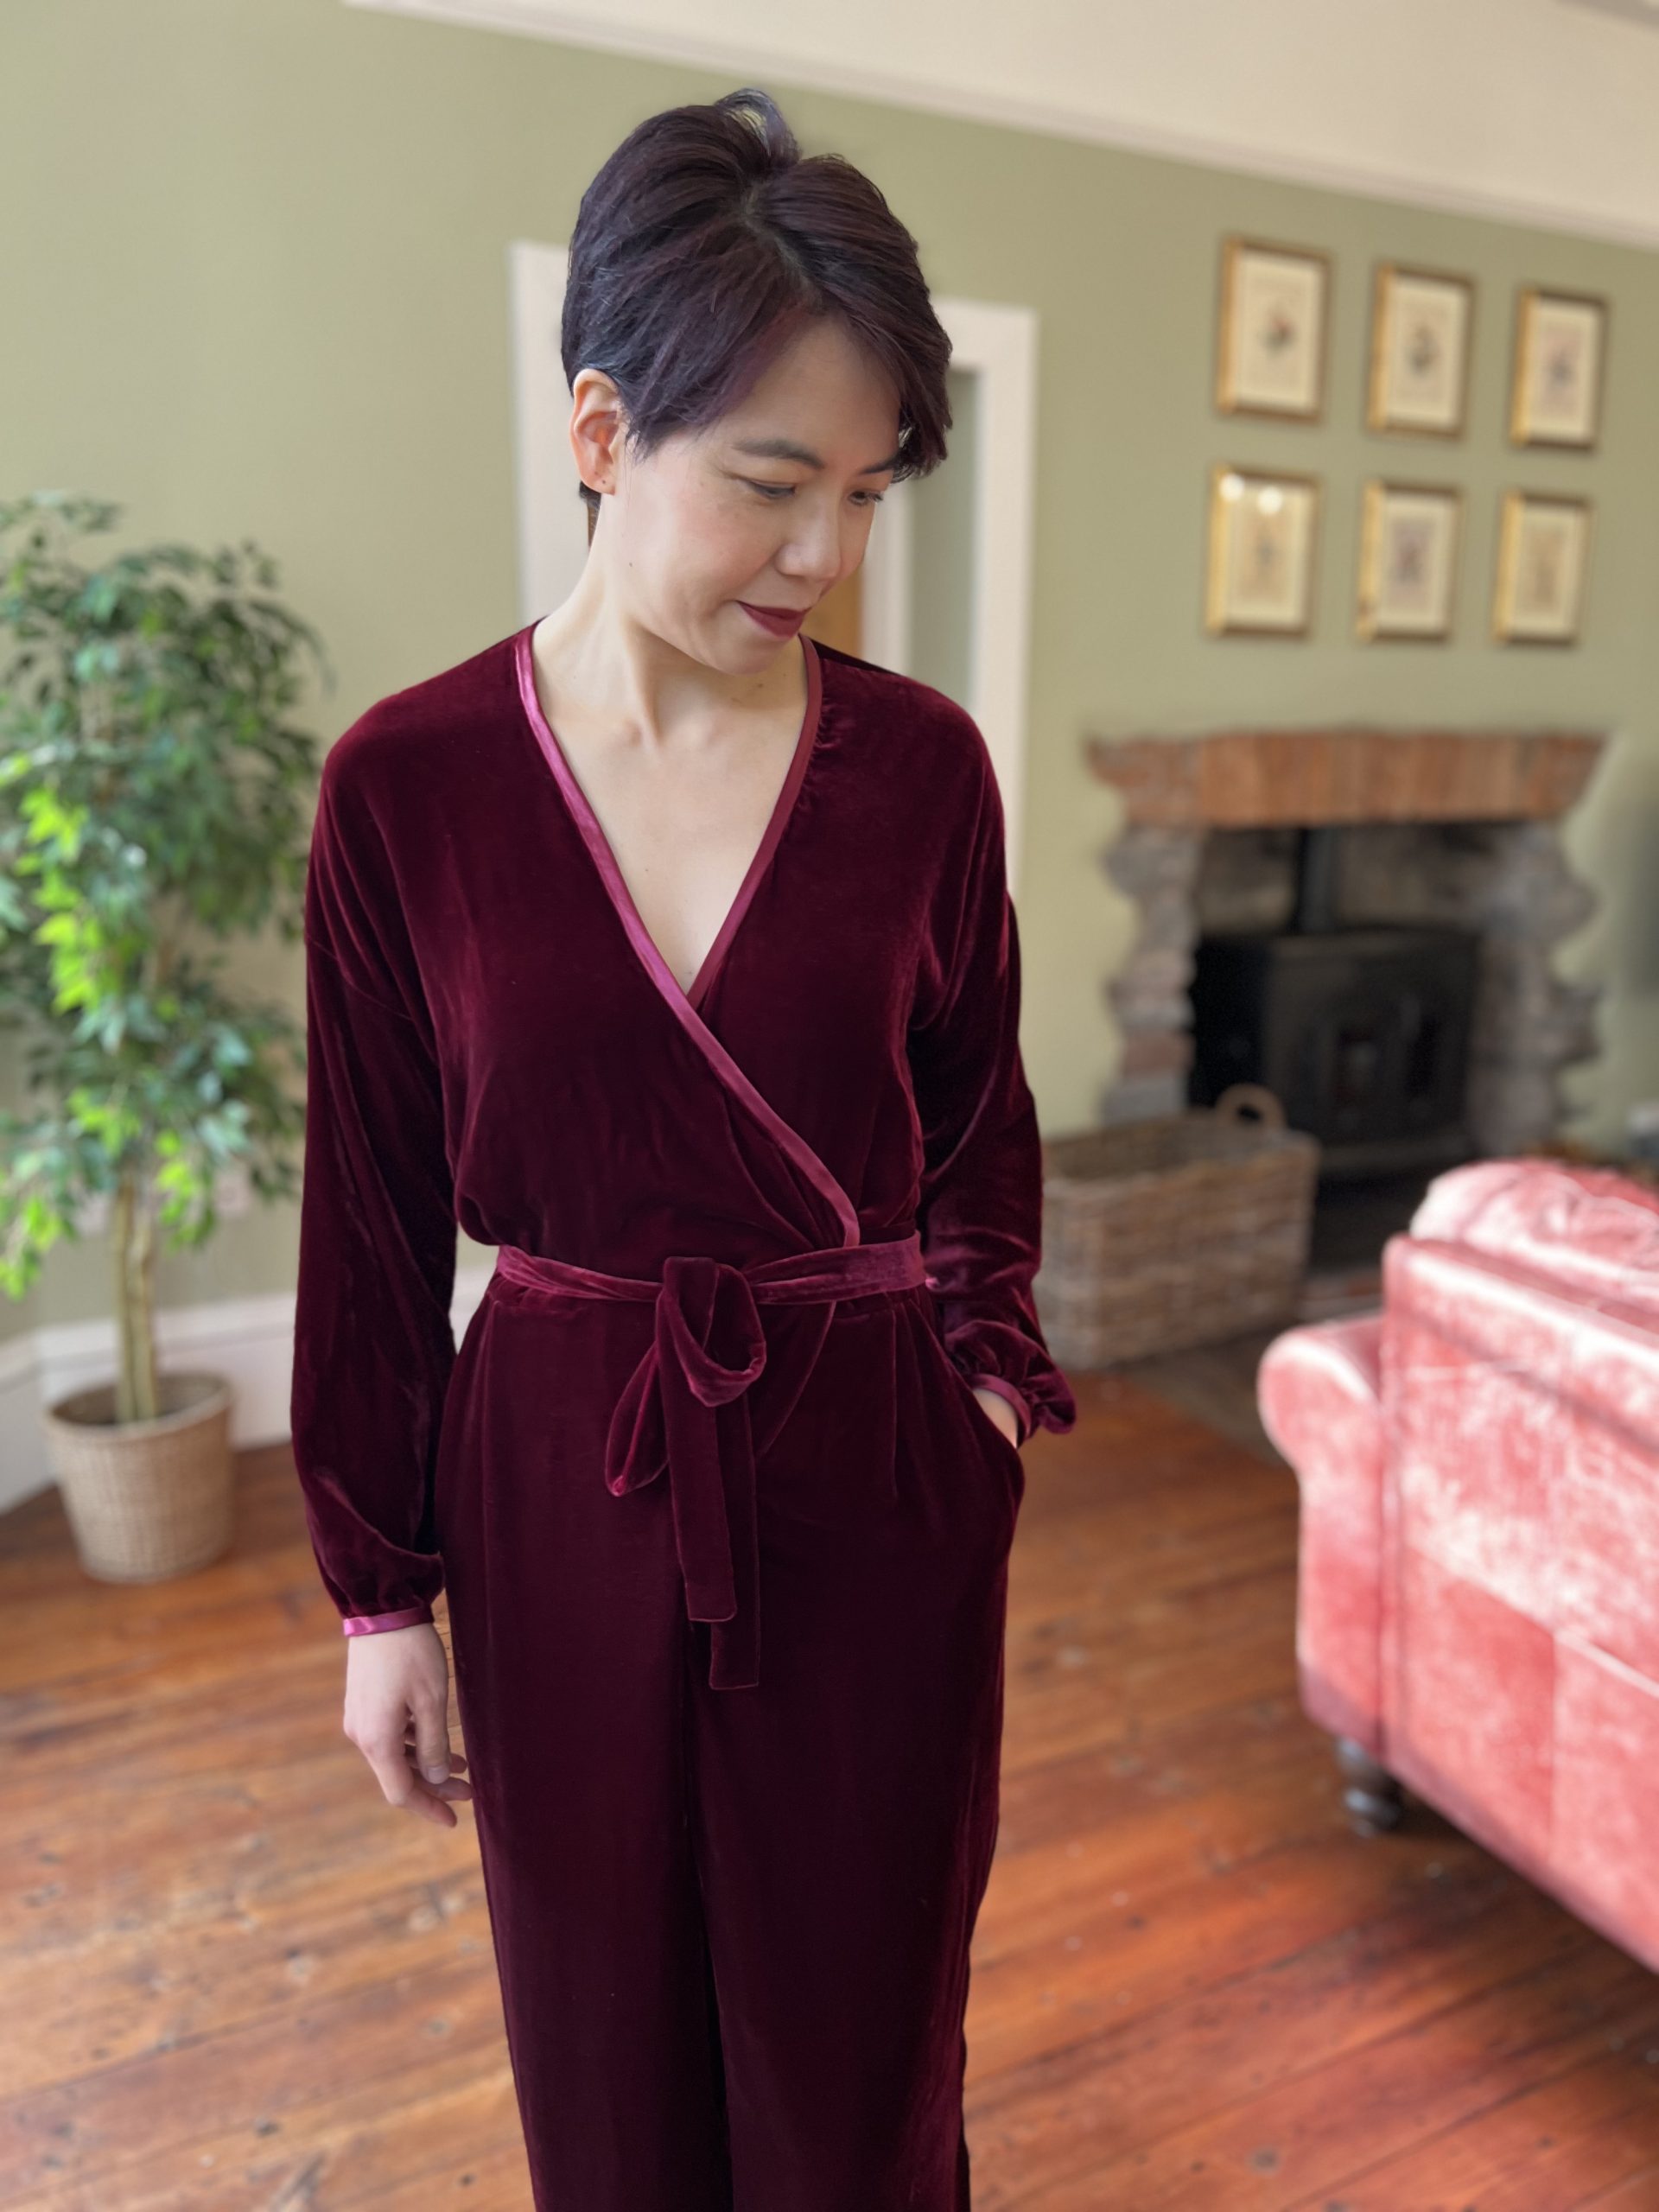
Velvet gorgeousness transforms this pattern!
A review of Paper Theory Patterns Zadie Jumpsuit
Reviewed by MingMakes on 6th January, 2024
Yowsers, this turned out so much better in real life than I could even imagine. This was my first time sewing with velvet which was really shifty to cut and sew with, but this pattern is not particularly fitted so any dodgy bits are not obvious.
Fit
My measurements matched size 8 at the bust, 12 at the waist and 10 at the hips. I knew from my first Zadie that there’s a fair amount of ease at the waist so I went with 10 at the waist, and 8 for the hips/legs to slim it down a little.
Details on how I fit my first Zadie are here, but I added an upper rounded adjustment to this one.
Fabric
Silk viscose velvet. Oh my goodness, this felt absolutely gorgeous. The silkiness against my skin felt luxurious and the velvet pile was so soft. I put it in the washing machine on the woollens cycle at 30 degrees, spin at 600 and into the tumble dryer on the smoothing setting – an 8 min cycle at low temperature to remove creases, and then air dried. It came out absolutely fine. (I don’t have the patience for hand washing!).
General advice seemed to be to have the nap running down the garment, but I preferred the look of it running upwards giving it a deeper and more uniform colour.
Pattern changes
I did change the order of construction because I wanted the satin binding to only go round the bodice, and not down the trousers to avoid it ‘pointing’ to the crotch. This is the order I sewed it in:
1. Before attaching bodice to trousers, sewing the binding to the bodice neckline, leaving gap for where the tie belt attaches.
2. Sew the leg pieces together including the crotch. I finished the wrap edge of the trousers with binding folded to the inside (having already cut this section 1cm wider to allow for the binding to be folded under)
3. Attach bodice to trousers at the waist seam.
4. Attach belt ties to bodice with hand stitching.
I overlocked all the pieces before sewing the seams as they would be pressed open to reduce bulk.
Other changes I made:
1. Used the satin binding to finish the raw edges on the wrap section of the trousers and hem, by folding it to the inside.
3. Lengthened the sleeves by 7cm (but no hem allowance needed in this due to the binding finish rather than folding it under)
4. Cut and spread the sleeves to give an extra 6cm in width for the gathering at the wrist, using satin binding as a cuff.
5. Made the trousers full length.
Conclusion:
I am totally in love with this version of the Zadie. The fabric and pattern combo is such a winner for me, and I love that a few changes have made a more casual outfit into occasion wear. I love the wrap front and tie belt to give shape. The wrap front gives me enough coverage and it feels so chic yet very comfortable to wear. This is my second Zadie and it won’t be my last.
Loads of photos, details of the changes I made and the tips I used for cutting/sewing/pressing velvet are in my blog post here.