Straight-forward coat making
A review of Grainline Studio Yates Coat
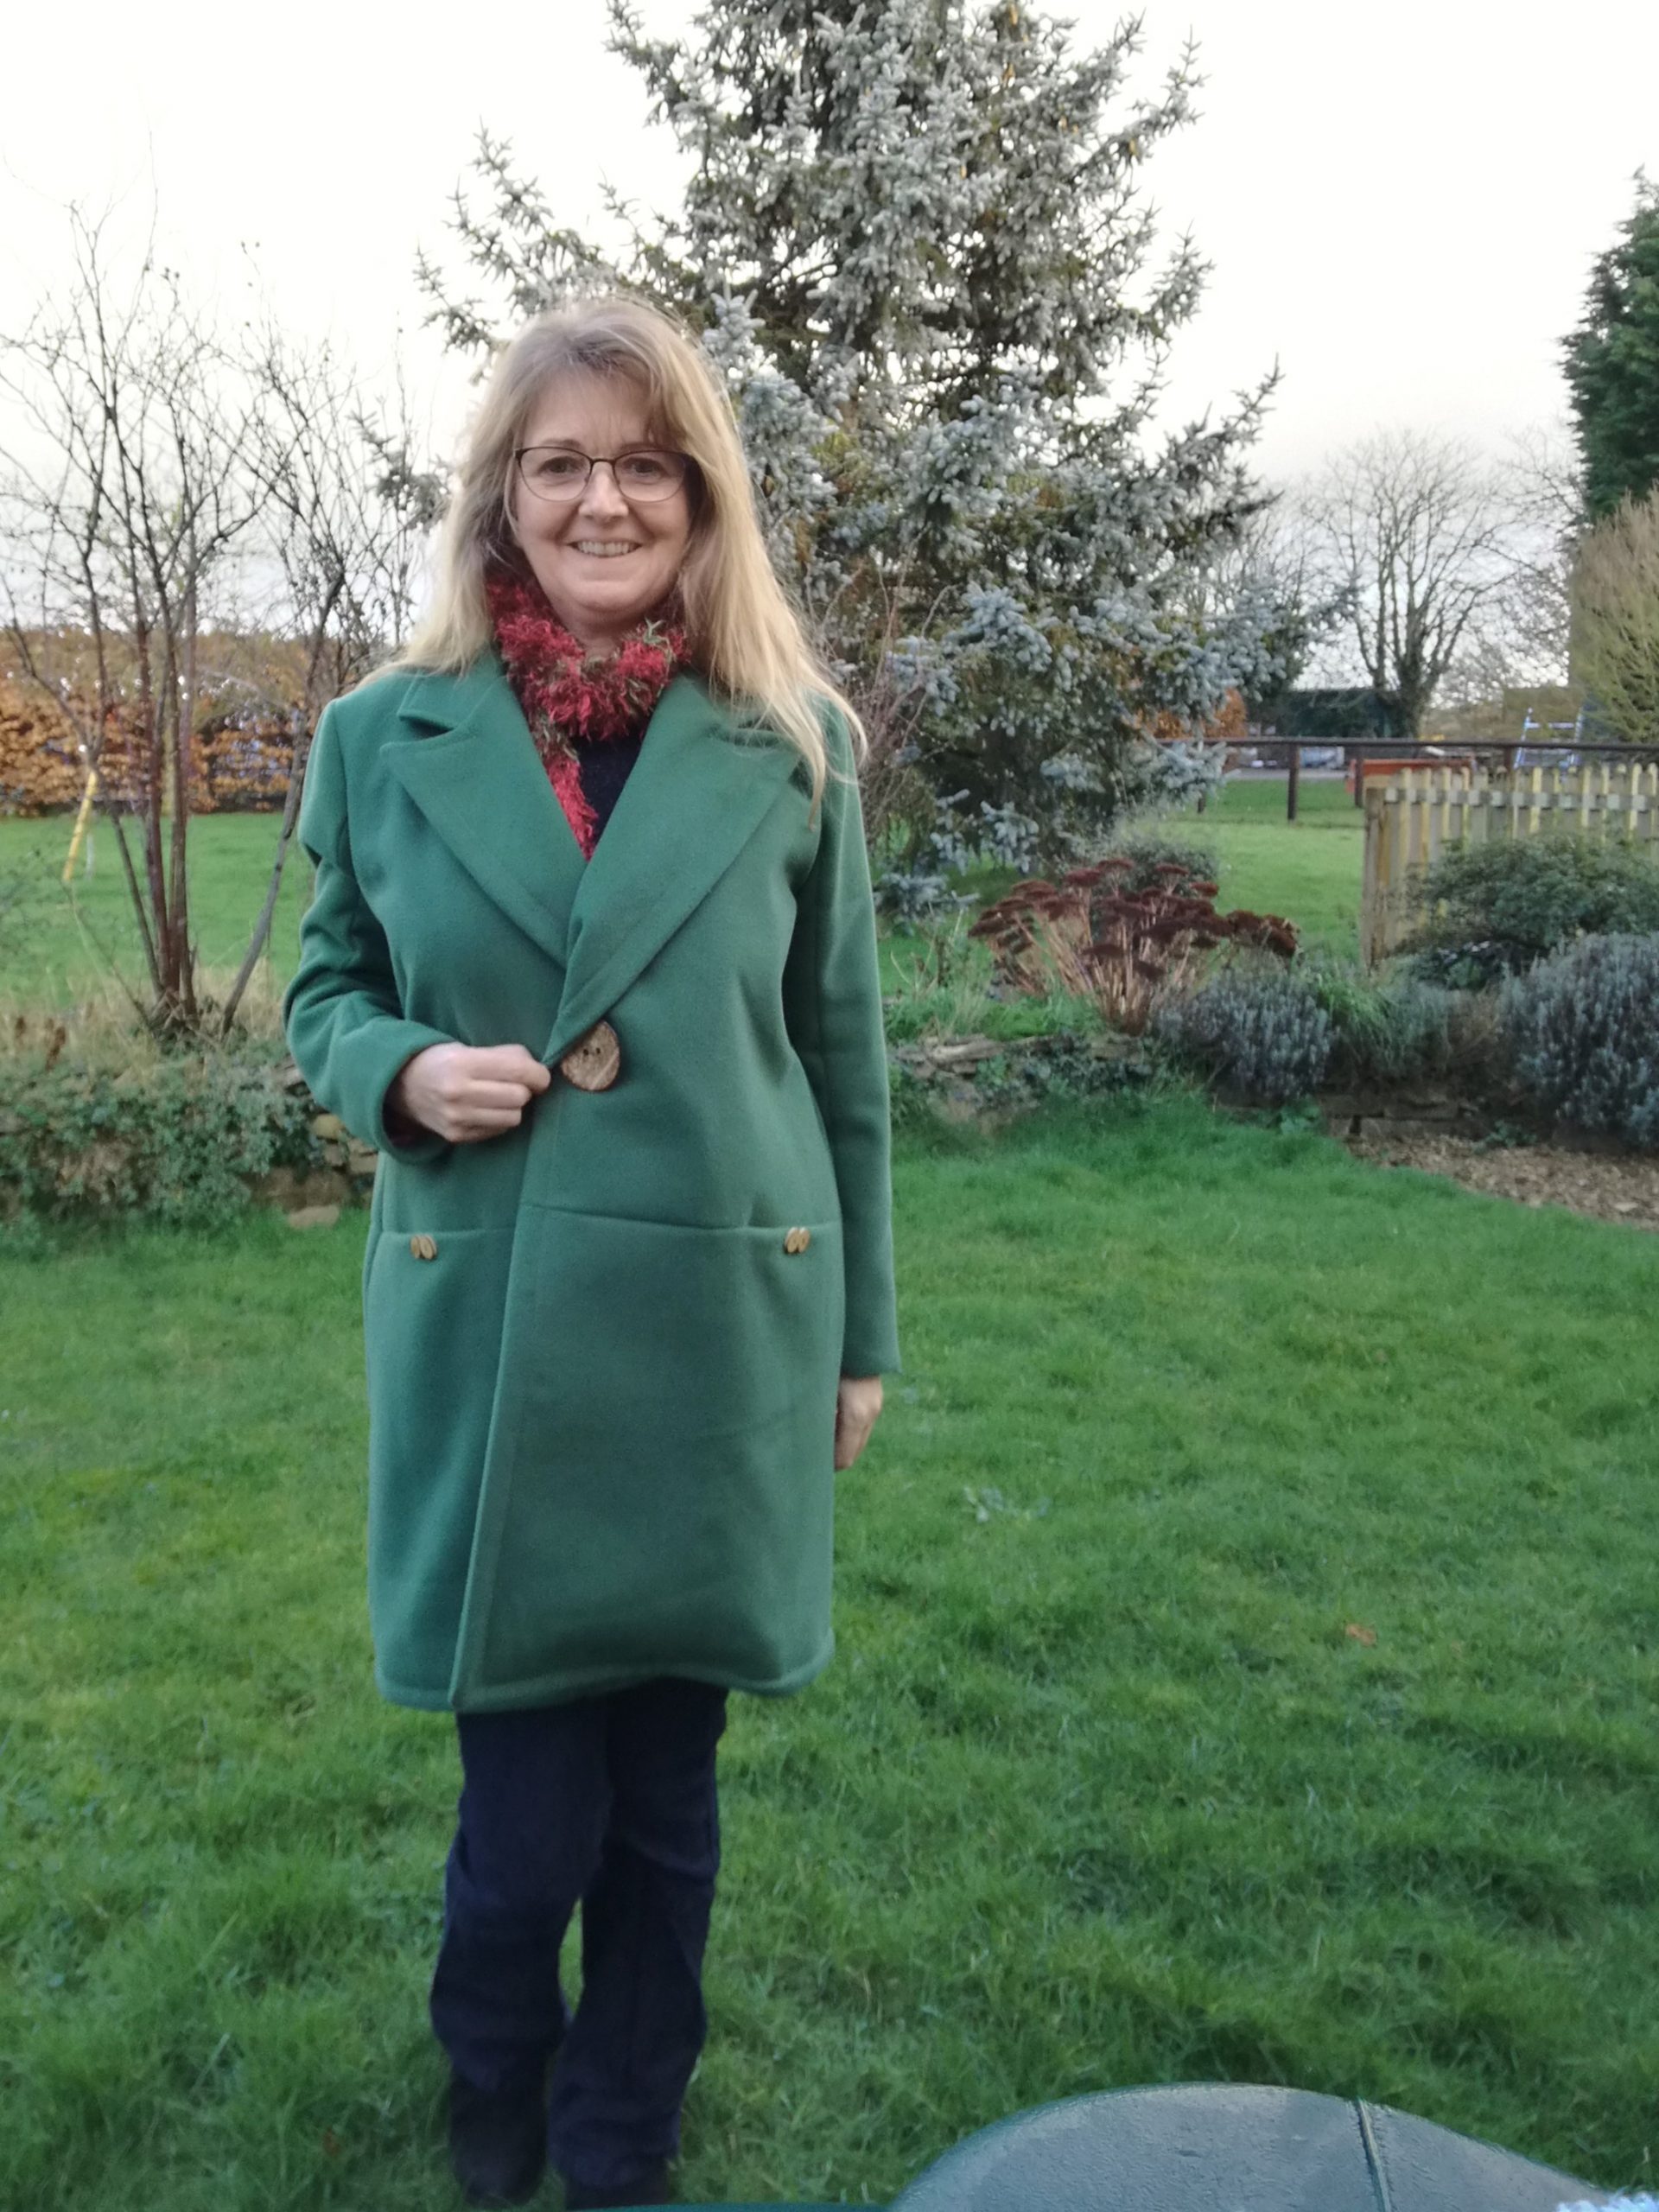
Reviewed by pam_parsnip on 10th February, 2021
I chose this pattern to use up some Melton Wool I bought 2 years ago, intending to make a dress. But later realising it was really coat-weight and a dress wouldn’t work. It needed to be a coat.
Im a novice coat-maker (Ive made one coat before), so chose this pattern on the basis of
– popper snaps instead of buttonholes
– pockets, but no welts
– fully lined
– and the pattern has good reviews online, as being suitable for novices.
I made it exactly as the pattern said, the only changes being shortening of the sleeves and some decorative buttons. I used 2 poppers instead of 4.
There are a lot of pattern pieces – 22, including facings and lining. The fusible interfacing requires 25 separate pieces to be cut out, due to cutting 2 of most pieces, separately, and 4 of number 11.
The cutting-out took me a whole day.
The instructions come as a 32 page printed leaflet, but are really clear, with good diagrams.
Everything went swimmingly until Page 21 of the instructions:-
‘ Note: The next steps of attaching the sleeves and sleeve linings together can be a bit confusing, but trust that it will come out alright in the end’.
I trusted. I got the situation of sleeve spaghetti where the coat wont turn through the lining properly and cuddles itself with its own sleeves. Solution – unpick lower edge of sleeve. Slip stitch by hand. No-one knows apart from me and you.
Step 35 is to topstitch all round at ¼ inch. I did this, but found it really emphasized that my front edge wasnt completely straight, and just looked horrible. I unpicked it and did it again. No better. Unpicked. Sewed by hand using embroidery thread. No better. Unpicked and hung in wardrobe to decide if topstitching was really needed. Three months later, when coat-mojo returned, decided, yes. Bought Machine Topstitch Thread, and needles with larger eyes to accommodate thread thickness. I set my line much further back, from ¼ inch to about an inch/2cm, to disguise the wobble. This took about 10 minutes to do! Better. Consider that finished!
Things I would do differently next time :
– Not size up – I thought Id need a large size to fit jumpers underneath. But no.
– Cut out using a rotary cutter not scissors, for increased accuracy, which would mean the topstitching is easier too.
– Put a hanging loop in at CB when sewing the collar (the pattern doesnt include that).
– There is a lump at the hem where the front edge facing meets the lower edge facing. Partly I put this down to cutting inaccuracies but also being a novice 🙂 and not achieving as polished a result as Id hoped for, I wasn’t entirely sure how it was supposed to be, so Id definitely want to do a better job of that next time.
It was as big a project as I expected, but even going slowly (very slowly) I was able to finish this in 2 weekends, and produce a coat that I like wearing. Im definitely warmed up to coat making now, and its not as scary as I thought.