Sewing rite of passage?
A review of Megan Nielsen Ash Jeans
Reviewed by Eversewoften on 21st February, 2022
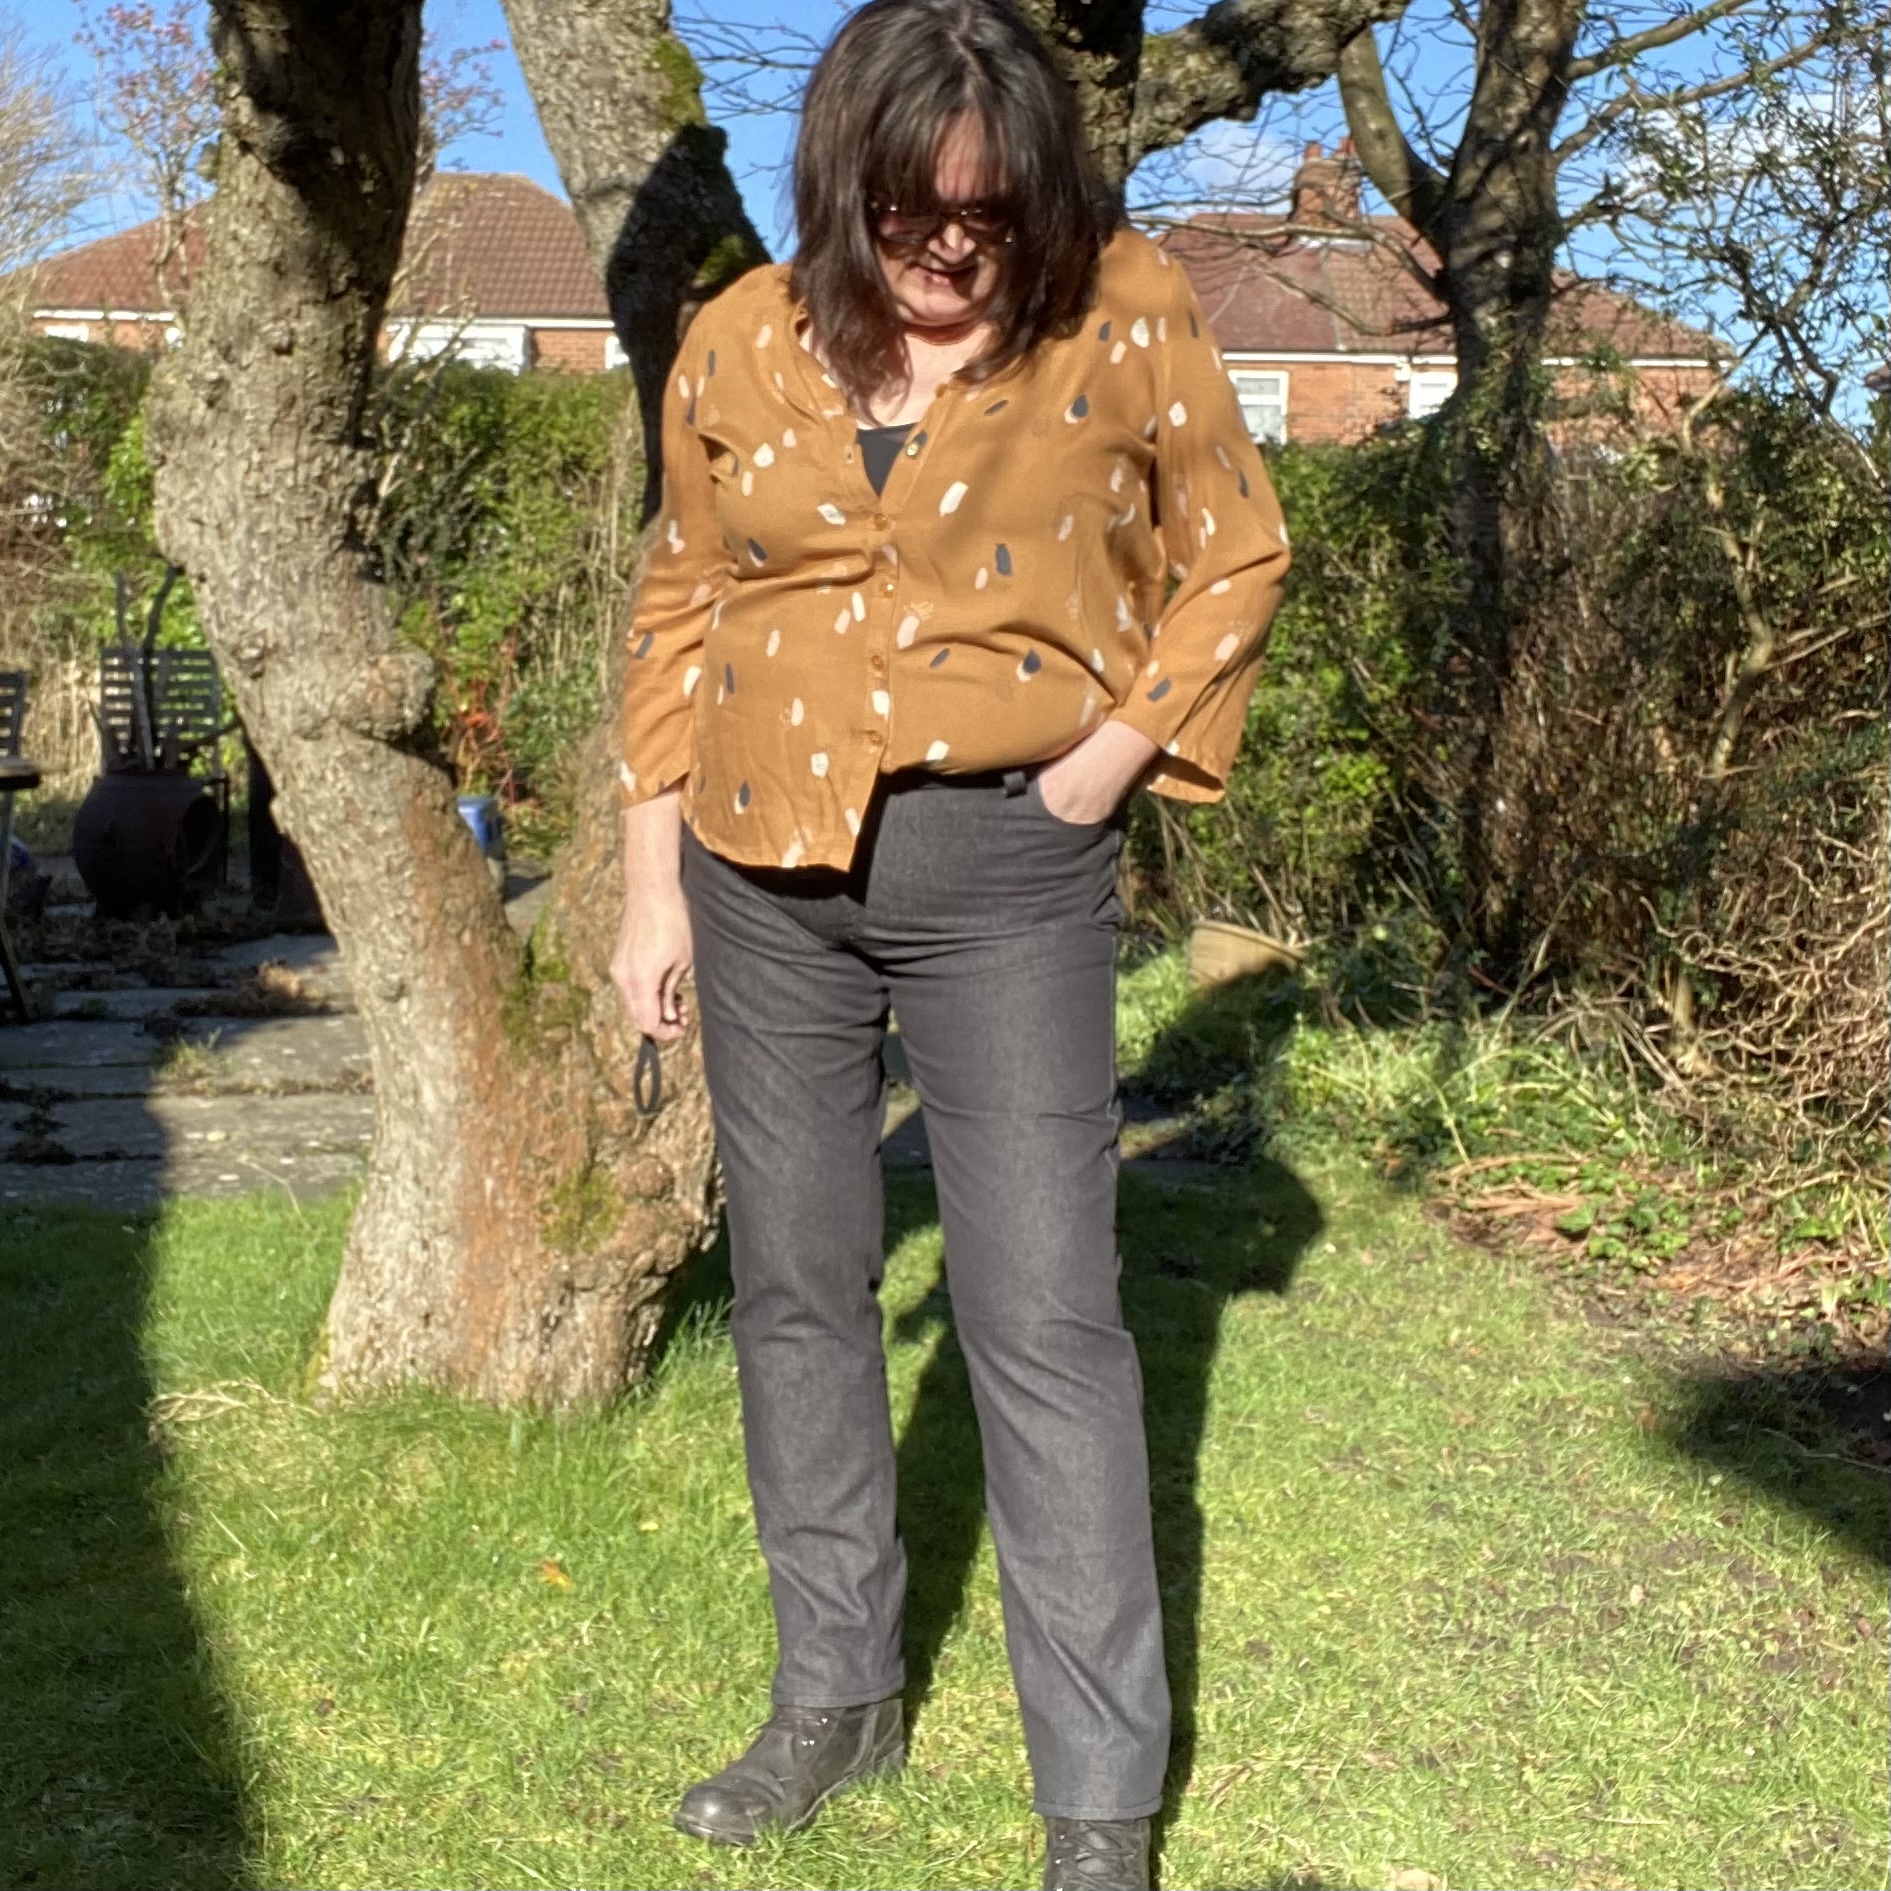
It somehow seems that jeans making is a rite of passage in the sewing world and this wasn’t my first pair of jeans, but it’s the first pair that I have been really happy with. I knew I wanted a slim leg, high rise (to my waist) pair of jeans and appreciate the extra bit of comfort of stretch denim, so having done my research, I invested in the Ash Jeans patter by Megan Nielsen. This is a versatile pattern with four different leg styles: skinny, slim, flared and wide-leg and tall, regular and cropped lengths. Megan Nielsen patterns are leading the way with size inclusive patterns with their Curve range covering sizes 14-30 and, although I am towards the top of their regular size range, I wanted the option of being able to make jeans for my daughters in future so chose the regular pattern.
The pattern booklet imparts loads of advice in preparation for making the jeans, including guidance on the amount of stretch in the fabric, tips on choosing the correct size and inspiration for customising your jeans. Having cut out the pattern pieces from a single layer of denim, in order to avoid the risk of cutting one of the legs off grain, which may result in twisting, I got to work, dutifully practising my top stitching and bar tacks on scrap pieces of denim.
As a previous pattern tester for Megan Nielsen patterns, I have always found their instructions very thorough and this pattern is no exception. While other patterns may seek to avoid the sewist changing from regular to top stitching thread by jumping from one part of the pattern to another, the Ash Jeans work logically through the process of installing the zip fly then constructing the front pockets to complete the front of the garment before moving on to the back. It is always madeclear which type of thread to use and though this changes frequently, it only takes a moment or two to rethread a machine.
With the jeans in essentially three pieces – front back and waistband, I moved on to the fitting. Rather than complete the inside leg seams, I basted both inner and outer leg seams before trying on. Luckily, there were only minor adjustments to make to the outer leg seams and so the unpicking didn’tdelay me much.
The game changer for me was the curved waistband, whichreally helped to give the finished jeans a close fit at the waist. Sandwiching the bottom of the belt loops in the seam between the waistband and legs made for a lovely neat finish. I also appreciated the attention to detail regarding sewing a keyhole buttonhole and came up with a beautiful practice buttonhole. My sewing machine was less co-operative with the real thing. The jeans shank button went on at the third attempt but I chickened out of installing rivets.
The label inside the waistband sums up my thoughts about this make; I am proud as punch and can’t wait to get started on another pair.