Great SBC (Smart but Casual) trousers
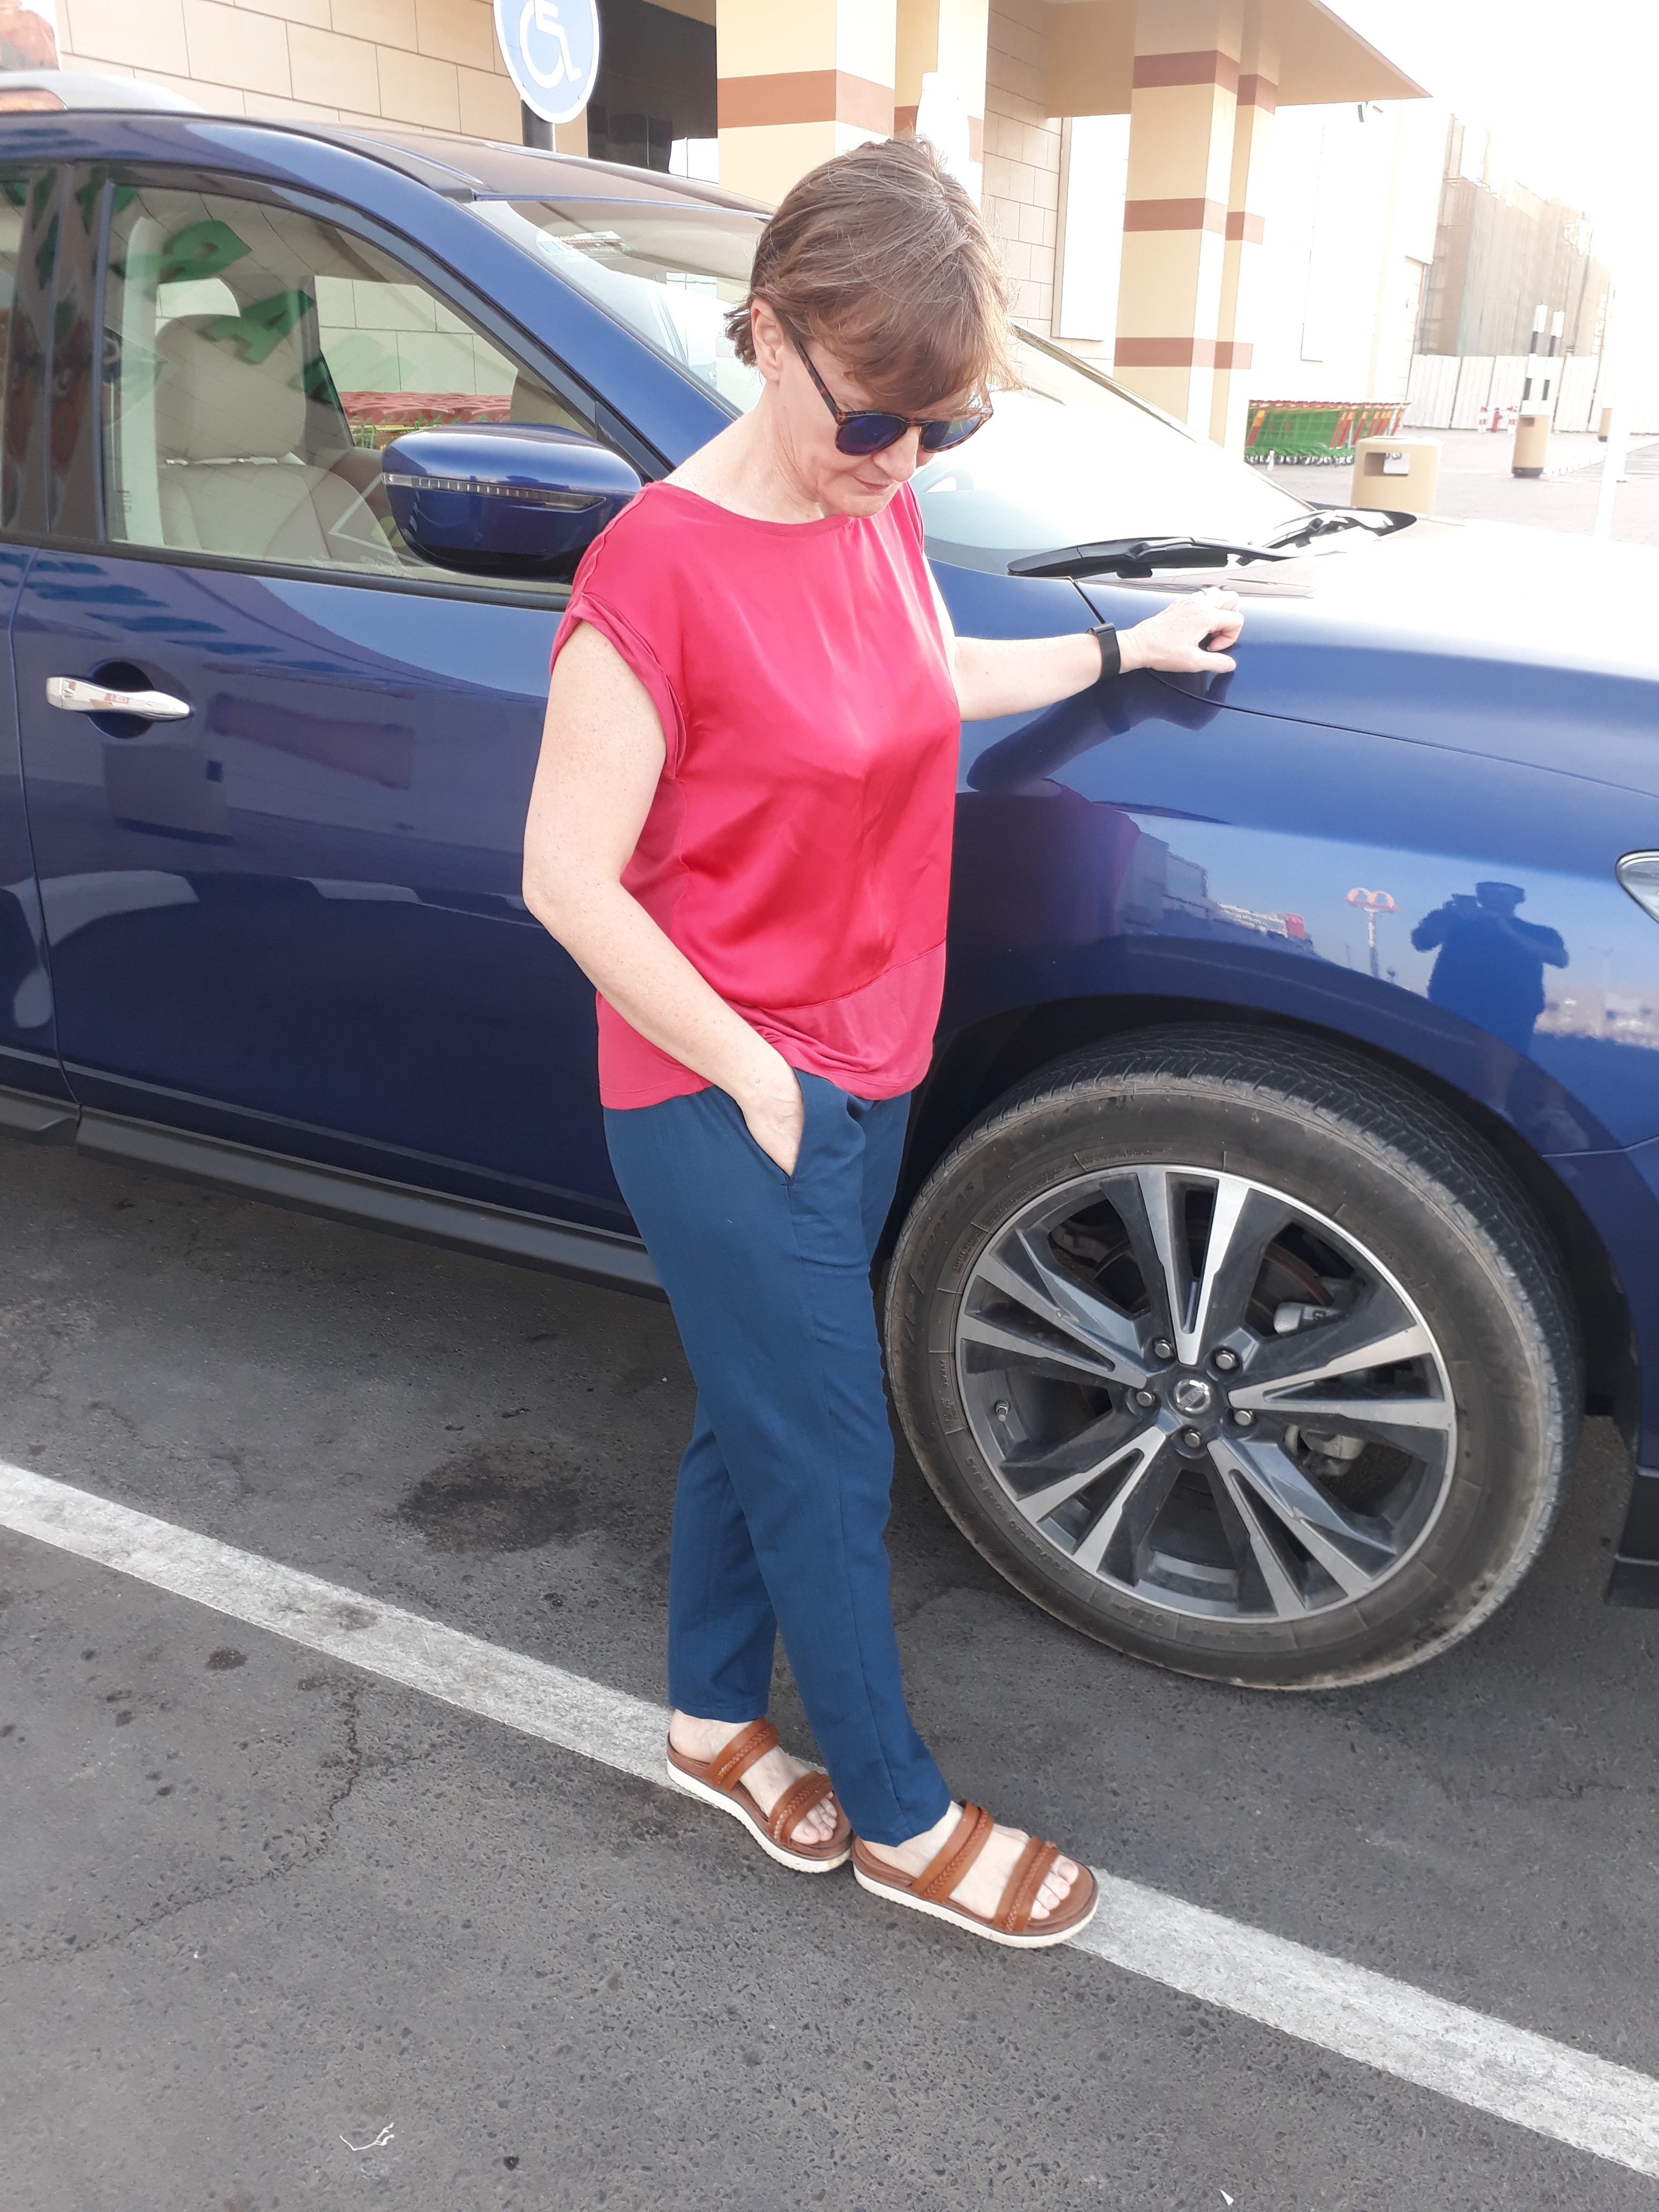
A review of French Navy Calyer Pants
Reviewed by Denbeesewswhat on 4th February, 2019
These trousers are very similar to a RTW pair that I bought a few years back from Matalan in the UK and is a style I prefer as it sits below the natural waistline.
Firstly this is a PDF pattern that comes in sizes XXS – XXL (UK size 6 – 18) with the option to print at home or as an AO file for copy shop printing. There is a flat front version and a pleat front version – I made the flat front version.
The instructions are very detailed and easy to follow and overall I really enjoyed the construction of these trousers especially how the waistband came together. The side seams sit towards the front of the pant legs, with a part elasticated waist that sits a couple of centimetres below the natural waistline. These are fairly easy to construct and I feel would be suitable for an intermediate beginner with the basic sewing skills under their belt.
I used a lightweight fabric with some drape (although not as much as my RTW ones) from my stash – I think it may be a cotton or rayon blend.
I am 5’1” and 35” / 29” / 37” and cut a size small. The trousers are drafted for 5’6” however I only reduced the length by 2” which was perfect.
A couple of things that I did but really shouldn’t have were:
I was worried that the crotch depth / length would be too long and that the trousers would end up sitting on my natural waist so when cutting along the top of each trouser piece I used the XXS lines – this wasn’t necessary and I will not do this on the next pair I make.
I was also worried that the front waistband wouldn’t be long enough (had waistband issues on other trousers I’ve made) and so added a couple of inches to either end to give me a bit of leeway. Don’t do this, trust in the pattern. Doing this only made it really hard for me to get my head around how the front waistband came together with the back waistband and I ended up cutting it back down to the correct size before joining the front and back pieces together.
The last change that I made which was really due to lack of supplies was to change the 2” elastic to 2 x 1” elastic on the back waistband. To accommodate these I sewed along the back waistband creating two separate casings and then inserted a length of 1” elastic into each. I’m happy with how that turned out and will do it on any future pairs.
Finally the pattern advises you to handstitch the trouser hems however I used my sewing machine for speed – they look okay but I may well consider hand stitching on the next pair.
Overall I am really pleased with these; they fit me well and look casual yet smart. I enjoyed making them – the instructions and pictures were good and easy to follow – now I just need to make up a stellan tee to go with!