


Prix régulier
£20.50 GBP
Prix de vente
£20.50 GBP
Prix régulier
£20.50
Check out our latest patterns and get free UK delivery on orders over £50.

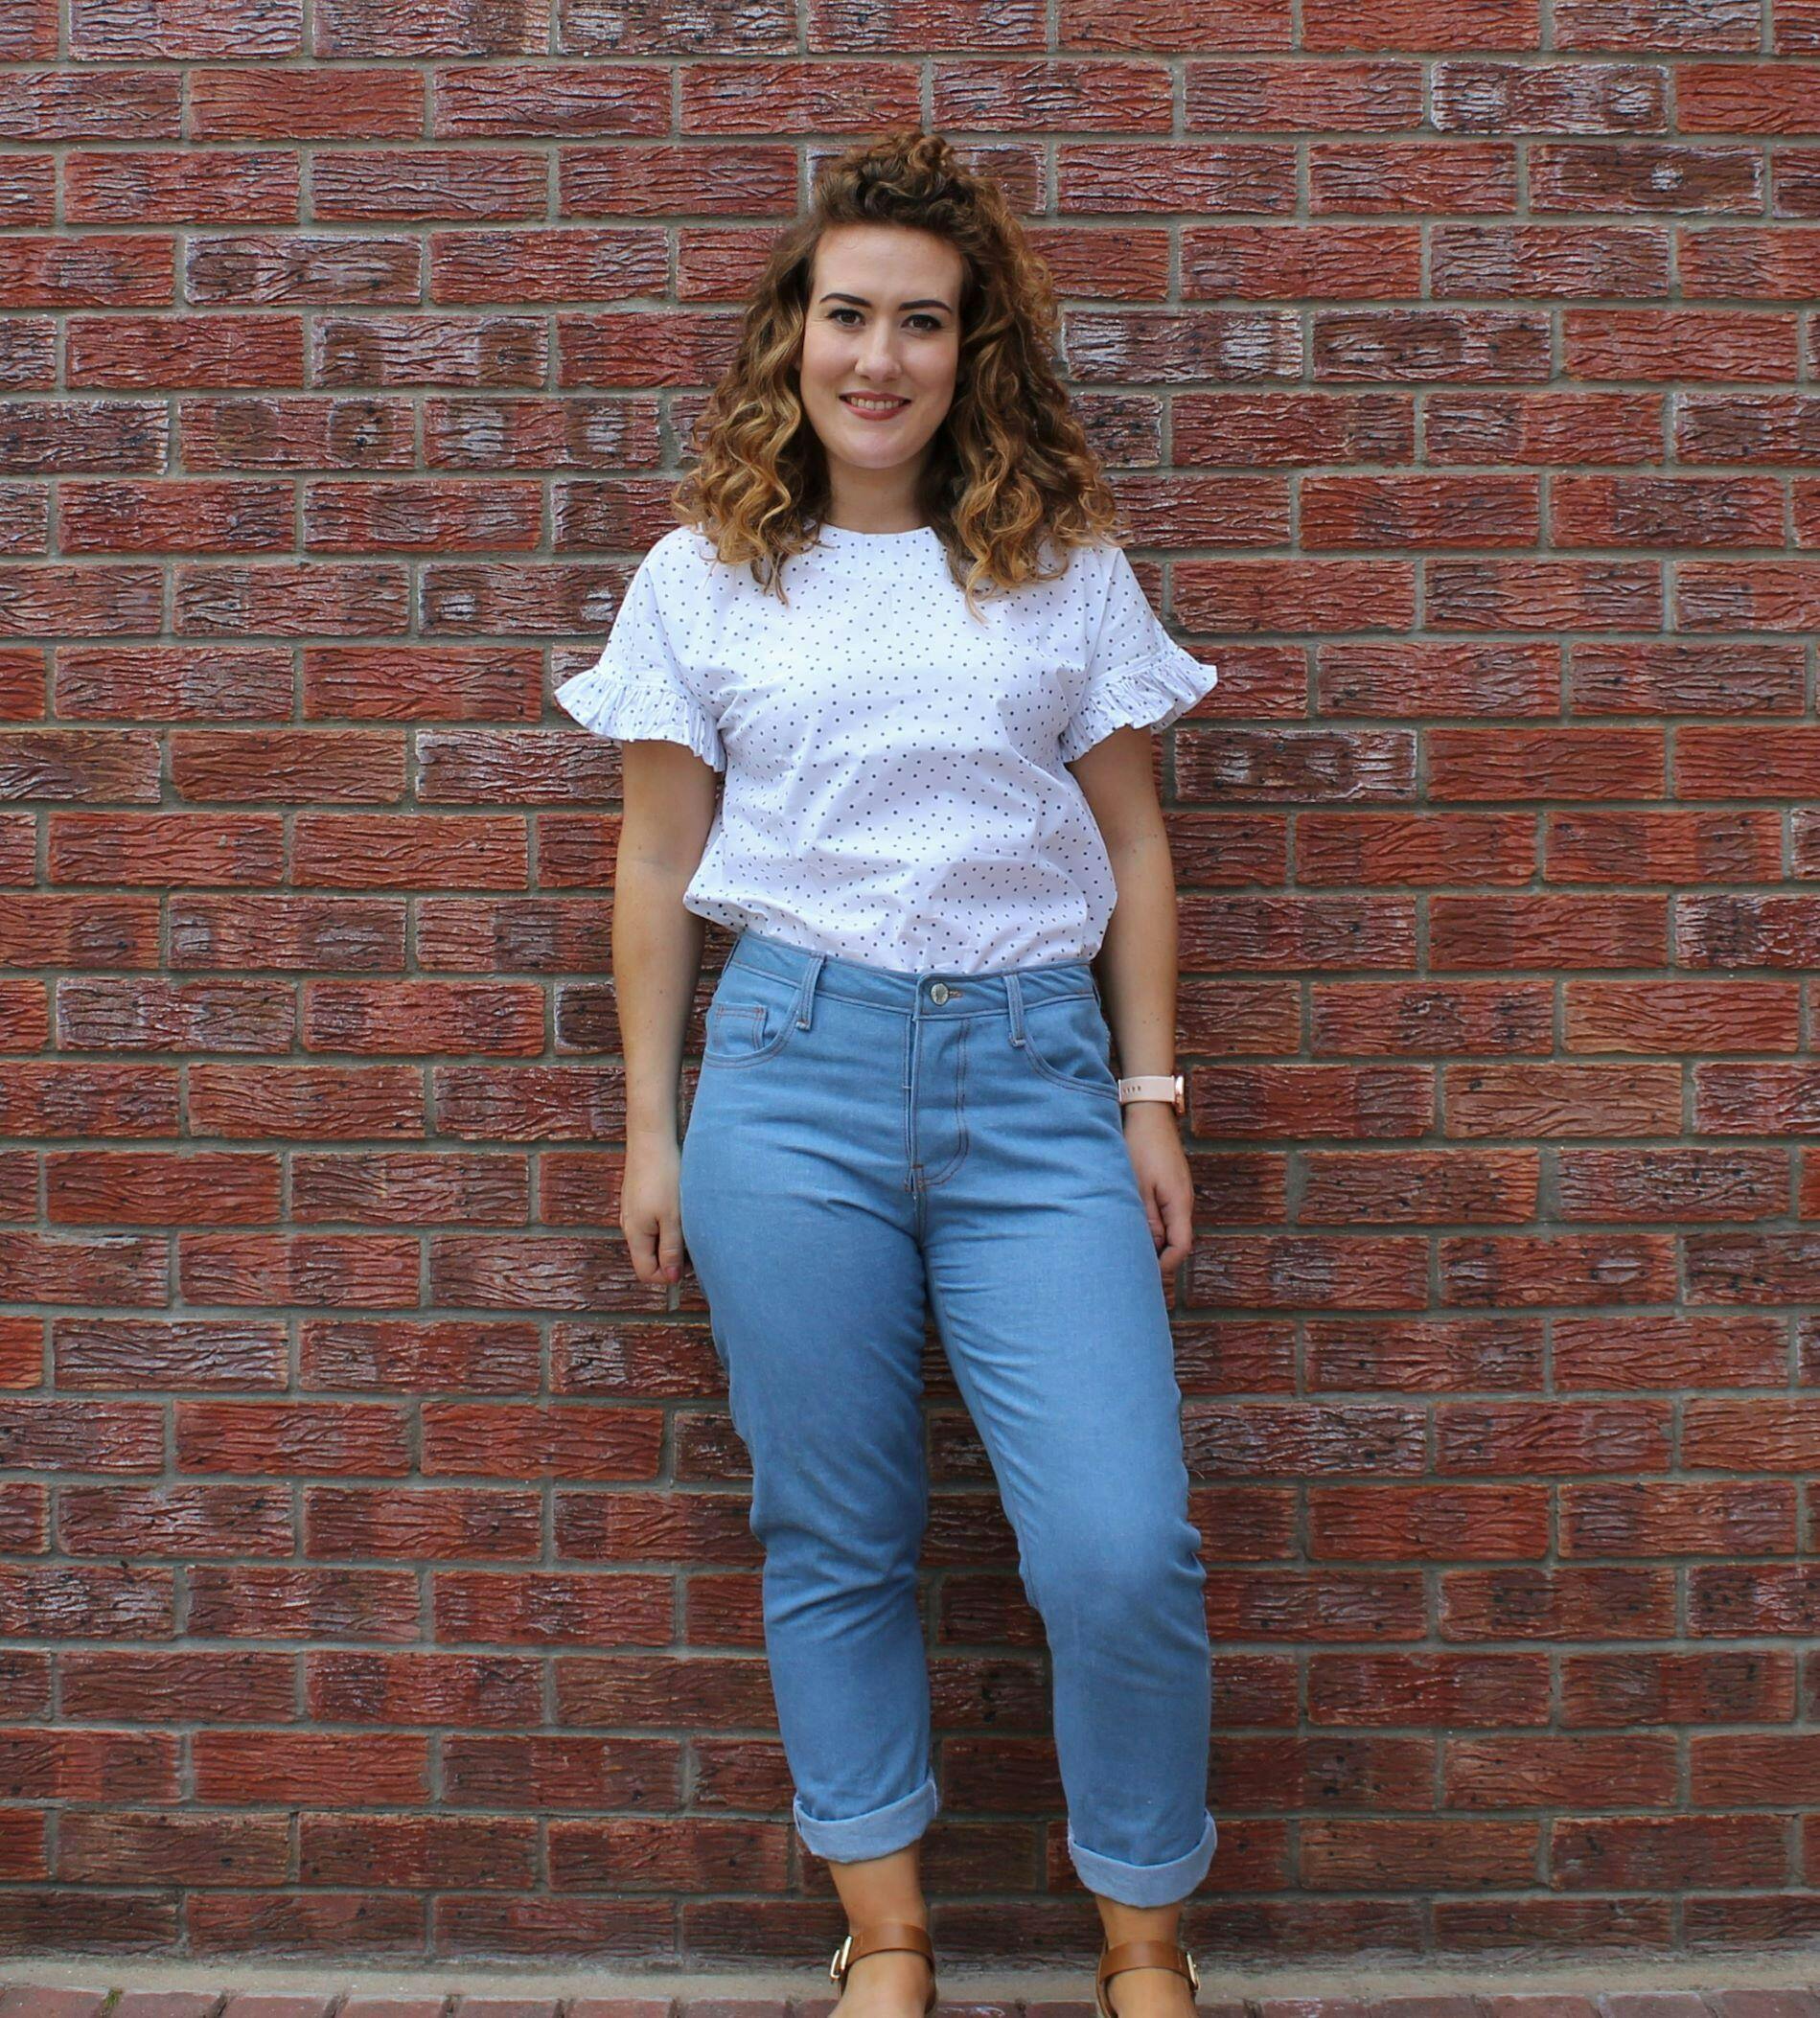
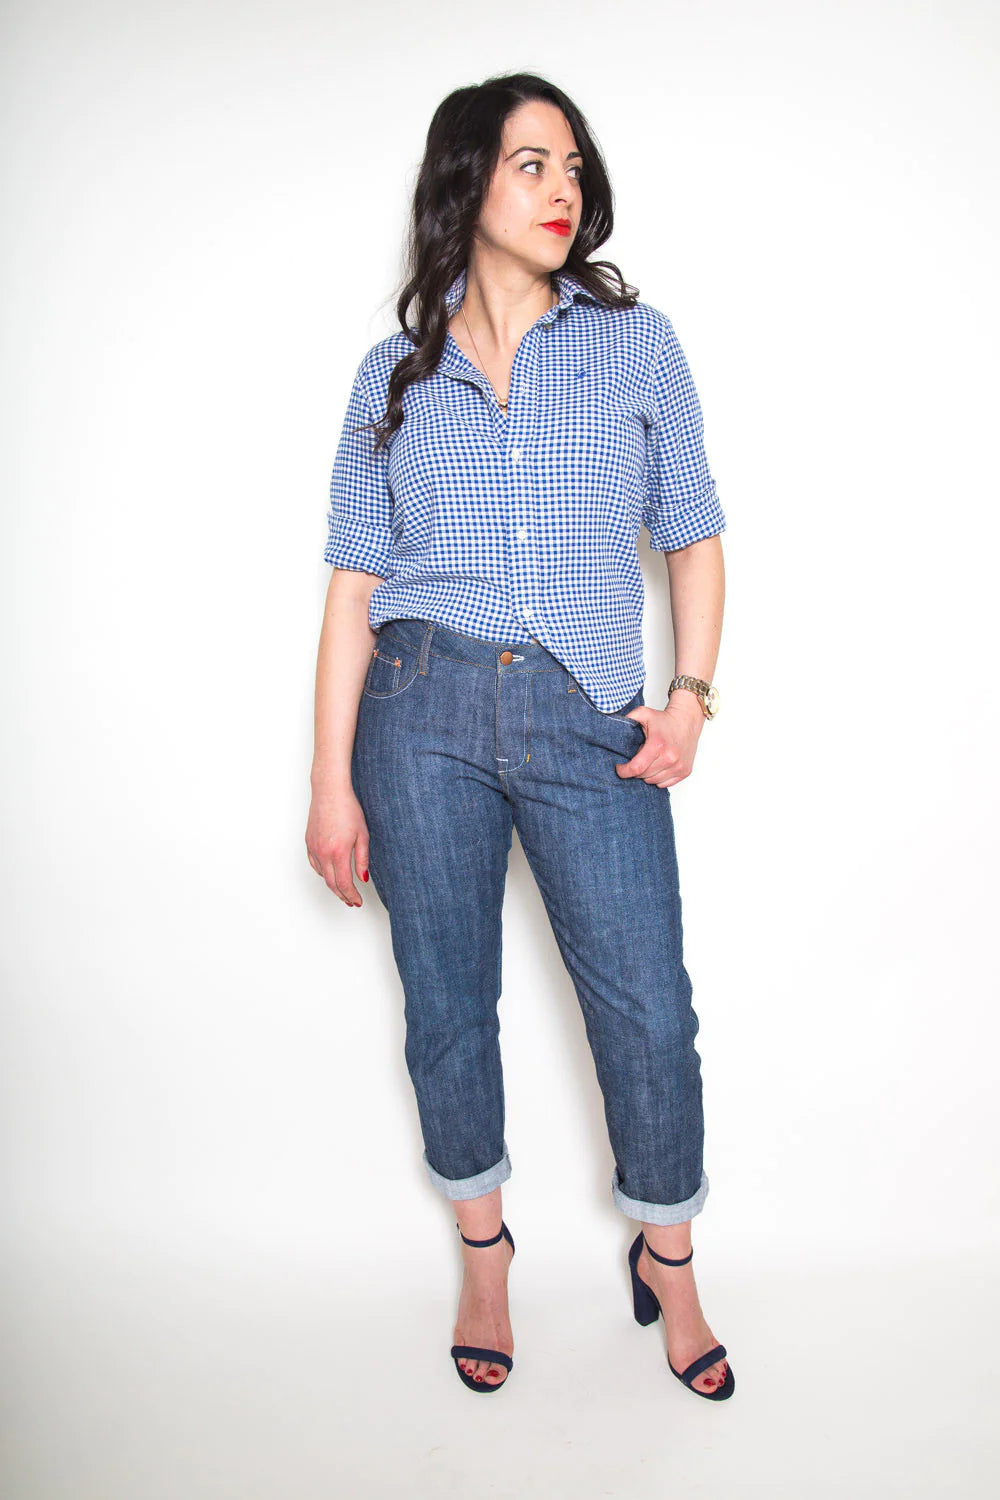
Buy the Morgan Jeans sewing pattern from Closet Core Patterns. Inspired by old-school denim but with a fresh, modern cut, Morgan is a classic five-pocket jean designed for non-stretch denim.
Featuring a mid-rise, contoured waistband, tapered leg and button fly, Morgan fits snugly through the hip but relaxes and conforms to your curves with a little wear (size up for a slouchier, more casual fit). Choose between a regular or cropped inseam, and add an optional leather waistband patch.
This sewing pattern is available to buy in the following format:
- PAPER (next working day dispatch on orders and FREE UK delivery over £50)
Suggested fabrics:
Main: Non-stretch denim, twill, canvas or heavier weight linen (please note that heavier weight denims do not have as much give and may require going up a size).
Pockets: Medium weight wovens, such as quilting cotton (0.5 yd/0.45 m).
Fabric requirements: 30" (0.8 m) wide fabric: 3.25 - 3.75 yd (3 - 3.5 m) // 45" (1.15 m) wide fabric: 1.75 - 2.75 yd (1.6 - 2.5 m) // 58" (1.5 m) wide fabric: 1.5 - 2.25 yd (1.4 - 2 m).
Sizing: 0 – 20 (approx. UK 6 – 20, based on our standardised size chart). Please also check the designer’s size chart and finished garment measurements.
Notions: 1/4 yd (0.2 m) of fusible interfacing; jeans buttons: sizes 0-14 = 4, sizes 16-18 = 5, size 20 = 6; topstitching and regular thread; denim needle // Optional: denim rivets; small piece of leather for waistband patch.
If you're looking for more maker inspiration, check out the latest sewing pattern reviews from the sewing community. We also have a sewing blog to keep you up to date with all the news from the world of sewing.
If you’re looking for maker inspiration check out our blog. With weekly updates on new patterns, styling ideas and maker inspiration, it's not to be missed.
I have been scared of making jeans in particular for quite a while now, however I always struggle to find jeans that actually fit me! This is exactly the reason why I began sewing in the first place, so I put my fears to one side and took the plunge into making my first pair of jeans, specifically Morgan jeans. I was drawn to the relaxed fit and liked the button fly detail, which surprisingly wasn't too difficult to construct at all! Close Core's instructions are clear and easy to follow, making it a good pattern for ambitious sewists looking to broaden their skills. I cut a size 8 waist and 10 hips, however I did do further fitting along the way. This pattern is specifically for a none stretch denim, I chose a lovely 8oz light blue denim that feels very summery. Closet Core also have a fitting guide for jeans to provide further advice and help which I would highly recommend! It's definitely a more involved project but I'm super proud of these jeans and how they have turned out!
Check out my full blog here
I'm so happy I tried this pattern, it worked so well for me! I'm a pear shape and often struggle with trousers but Close Core patterns just work for me with minimal adjustments.
The Morgans are mid-rise, slim leg cut, slightly slouchier fit, designed for non-stretch denim.
The instructions are brilliant and so is their sewalong which will give you tips for the common fitting issues.
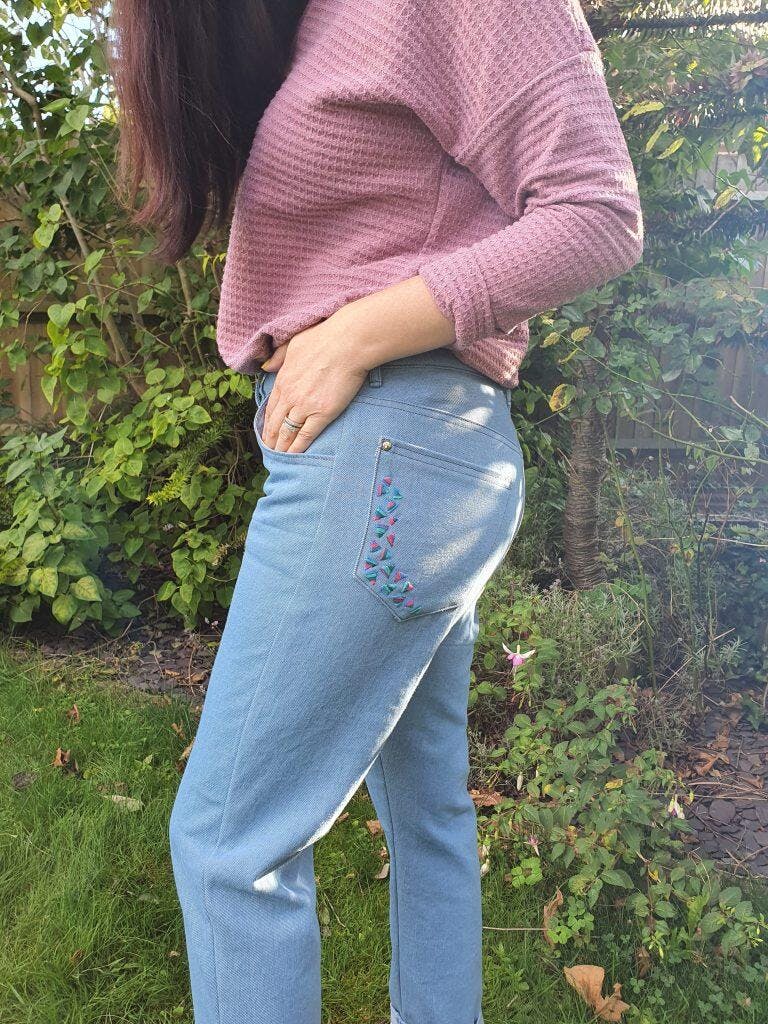
I added some hand embroidery to the back pockets, probably the easiest way to make the pockets look more interesting.
I highly recommend this pattern to anyone, including adventurous beginners!
Find me at rocco-sienna.com
I've sewn two pairs of the Morgan jeans in different colourways of the same weight denim - 9.5 oz. In retrospect, I feel this is a tad lightweight and would recommend you use something between 10 - 12 oz as this is less likely to relax and grow excessively with wear. I have to say the instructions for this pattern are absolutely flawless - if you follow them 100% to the letter, I believe you can't go far wrong. Some tools I found particularly useful - a seam guide with a clear 1/4" mark being one, a fine-tipped chalk pen and a Buky Seam / Hump Jump to help navigate your sewing machine foot over those bullky seams is also really useful!
There's more musing over on the blog www.sewsarahsmith.com
Happy sewing! Sarah x
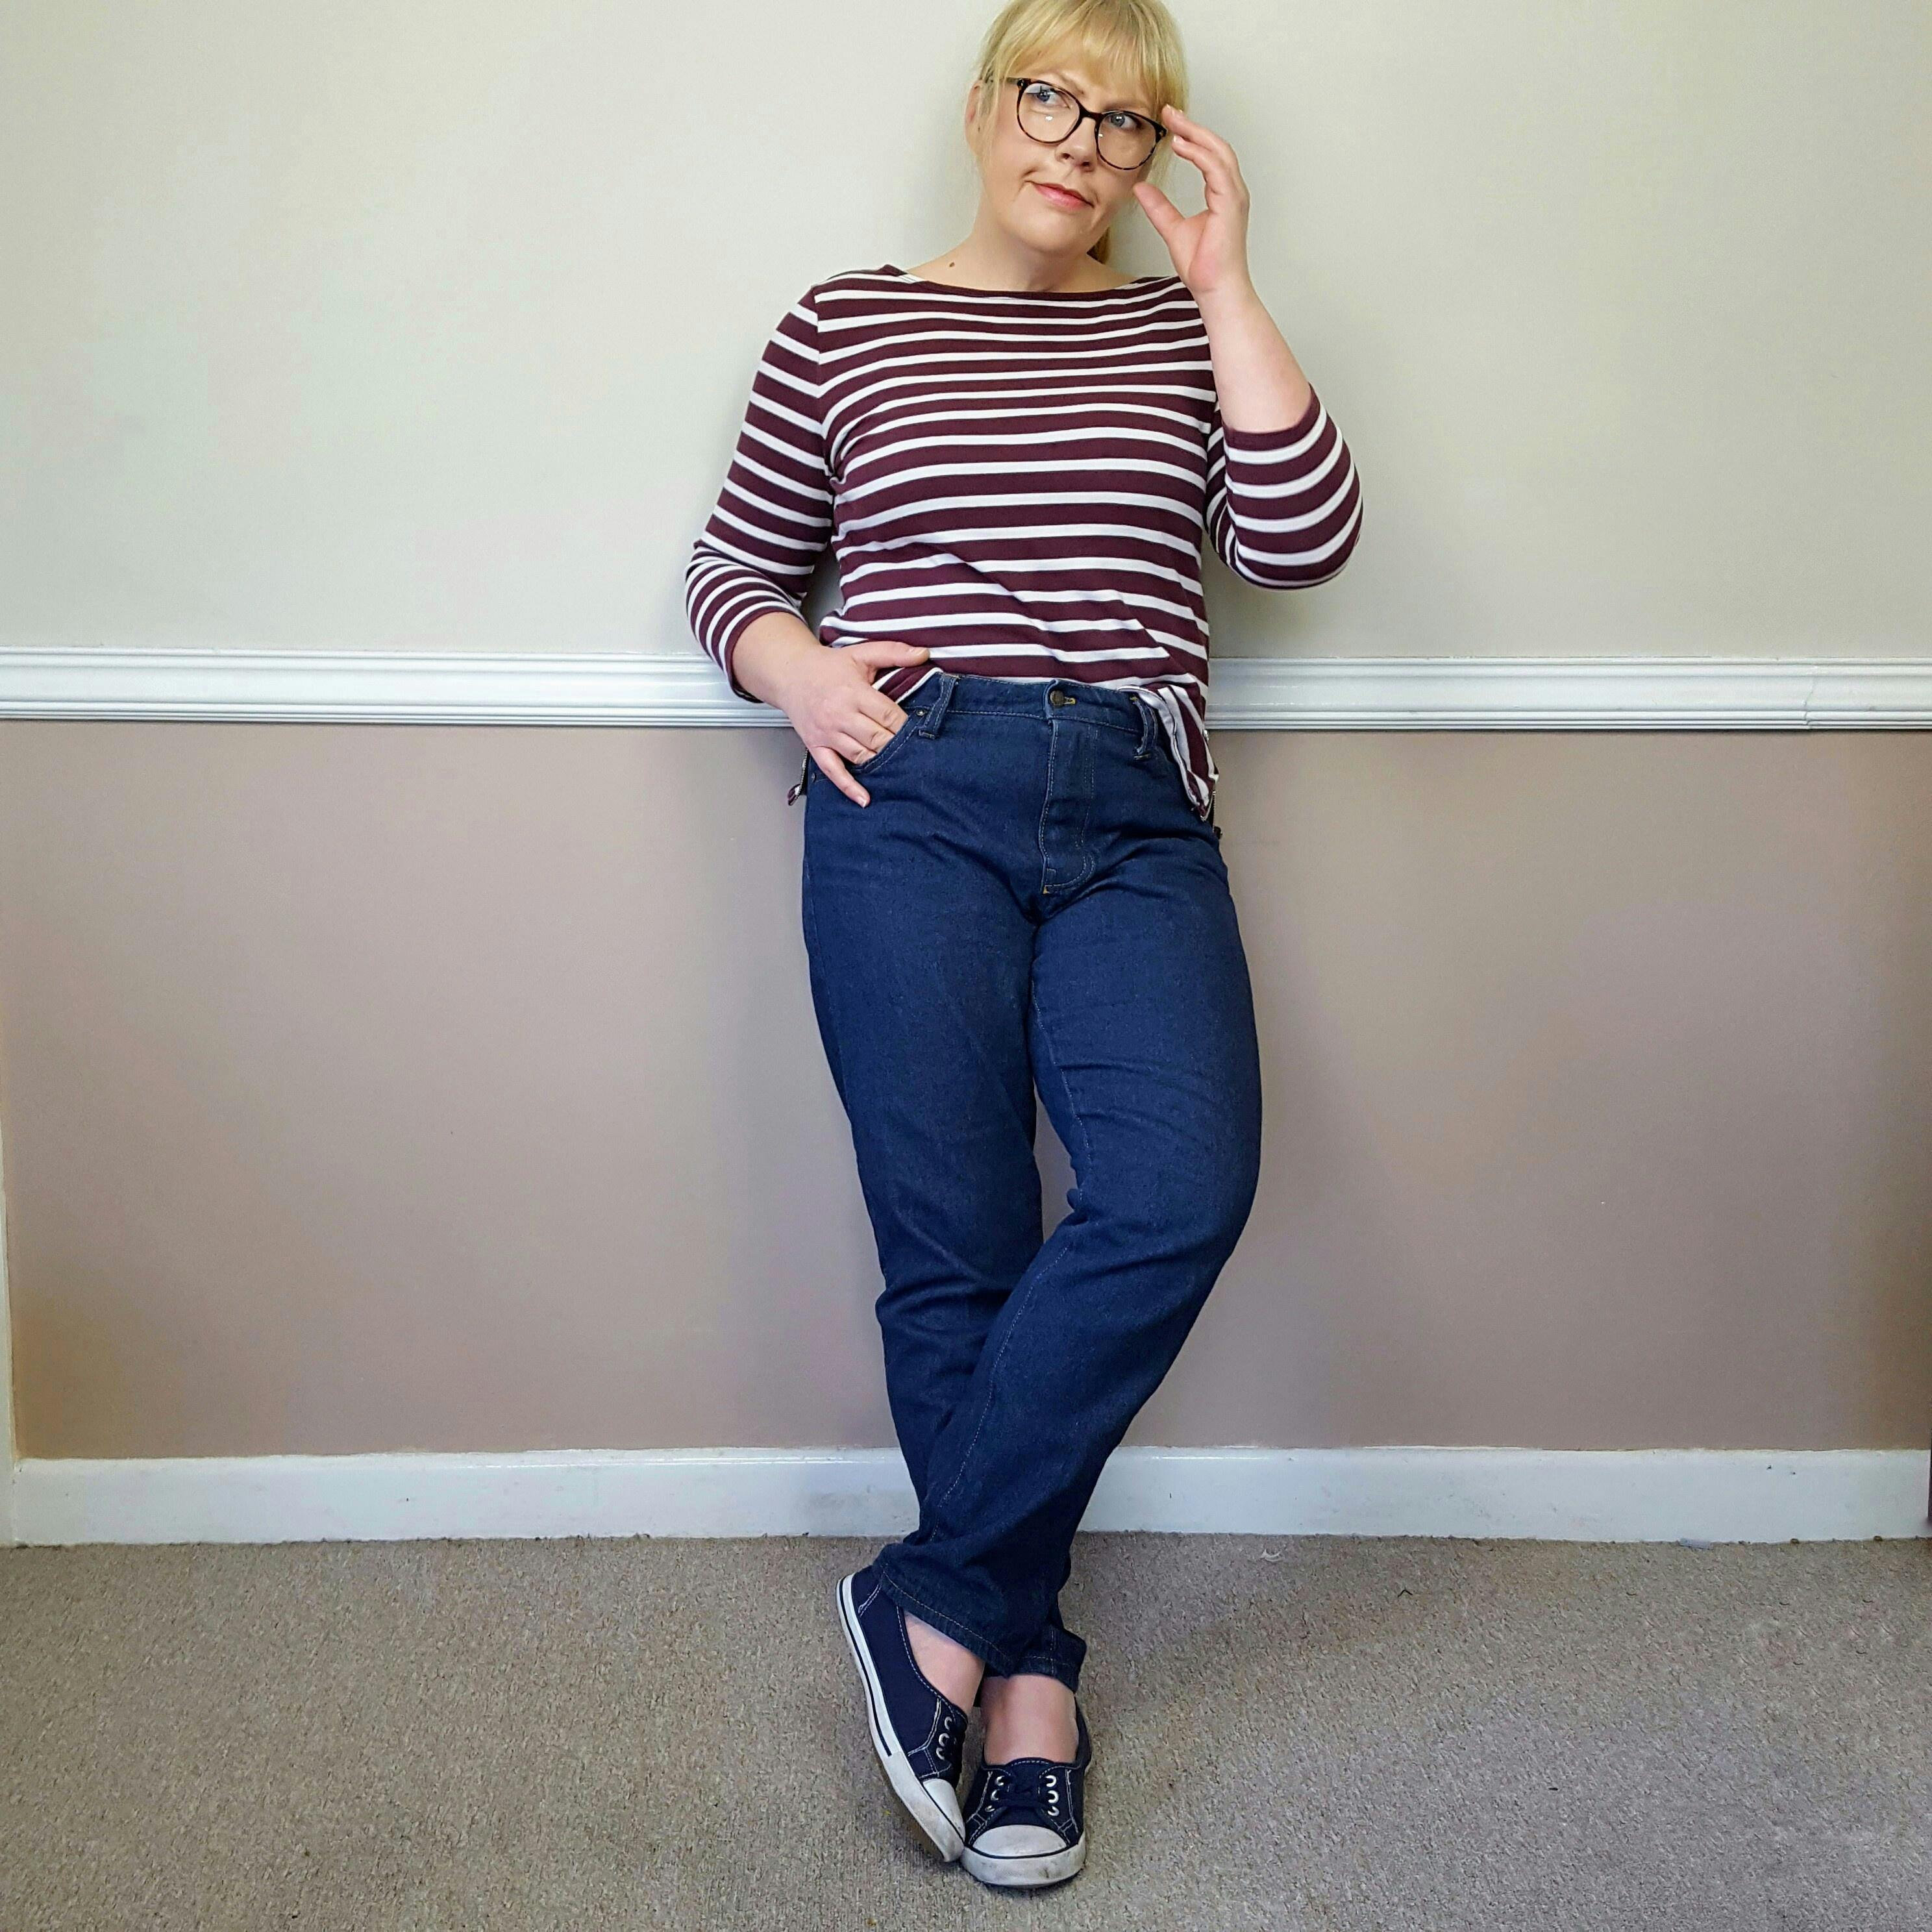
This was another pair of Morgan Jeans from a 10oz denim with contrast topstitching.
I increased the rise to make them super high waisted - which I love, and also slimmed the leg down for more of a straight leg.
All the seamster flat felled which is a lot of work but totally worth it. I love the button fly on this pattern and its really easy to construct when you have such good instructions available.
I wear this at least twice a week as they're so comfy and easy to wear! Have replaced all my RTW jeans.
I put these jeans on my make nine mostly out of fear, and I thought if I put them on my make nine it might push me out my comfort zone. What was I so scared about?!
I decided on the Morgan's jeans as I had heard so much about the Ginger jeans but didn't think my Booty would look particularly flattering in skinny jeans but the Morgan Jeans Boyfriend fit jeans appealed to me!
The denim I'm using is from Sew Crafty Online and it have an ever so slight stretch in it and the colour is just beautiful! The Morgan's pattern doesn't call for stretch denim but I thought I'd take a risk and since I was cutting the top end of the pattern I thought the stretch may help with the ease so I wasn't uncomfortable. And boy was I right!
The pockets on these really confused me for a little while but in the end I read the Ginger jeans sew along and it all clicked into place. I have attached the coin pocket to the wrong side of the pocket fabric which was then causing it to the wrong way around. Making jeans pockets was quite possibly the most rewarding sewing I have done in a while! All of a sudden it works and looks just like that RTW pair you have in your wardrobe! I had an issue with attaching the fly but that was just me being lazy and not using enough pins which I soon rectified. Check out my Instagram stories archive and you will see what I mean.
Deciding where to put my back pockets was a bit of a trauma, I basted the jeans together to see where I should put them but because I was home alone it's near on impossible to look at your own arse and pin a pocket on straight! So I gave up and copied a pair of RTW jeans I have by laying them flat and drawing points of the top two corners and using that for my Morgan's pockets. This worked really well as you can see.. (excuse my giant bum in your face but POCKETS!)
I used this gorgeous daisy print for inside my jeans and continued with my Rainbow overlocking thread. I'm drawn to anything with Daisy prints on as my first name in Guiding was Daisy (like Brown owl in Brownies) so it always has a place in my heart. The waistband and pockets and the rainbow overlocking make me want to show everyone the inside of my jeans too! Like you don't get that in RTW jeans do you!
I still have a slight fit problems with the waist over my bum, but I think I have worked out how to fix that in my next pair by reading through Closet Case's fit instructions which are really comprehensive if you too are wondering how to make them better. I don't mind though as all my RTW jeans have this issue so I nearly always have a belt on with them.
I have rolled up my hem because a. I love my some rainbow overlocking on show, and b. I really love the 'wrong' side colours in this fabric so thought this would be a lovely contrast. Also I didn't use topstitching thread just plain cream and I think this works perfectly against the turquoise jeans it didn't need heavy topstitching taking away from the awesome colours!
I have even attached the rivets and buttons! I used a hammer for the button fly, which was not scary at all and actually quiet therapeutic I think I might make everything a button fly from now on. I used the vario pliers to attach the rivets. I put one either side of the pockets along the side seam by the bar tacks which really gives you that professional finish! I may add some onto the belt hoops but I want to wear them a while before I decide about that.
If you want to see how I got on progress wise I've saved all my pictures on my Instagram archive so go check it out!
Votre panier est vide
Dépensez £50.00 de plus et obtenez la livraison gratuite!