Vintage Shirt Dress
Reviewed by alexandrap529 on 21st April, 2016
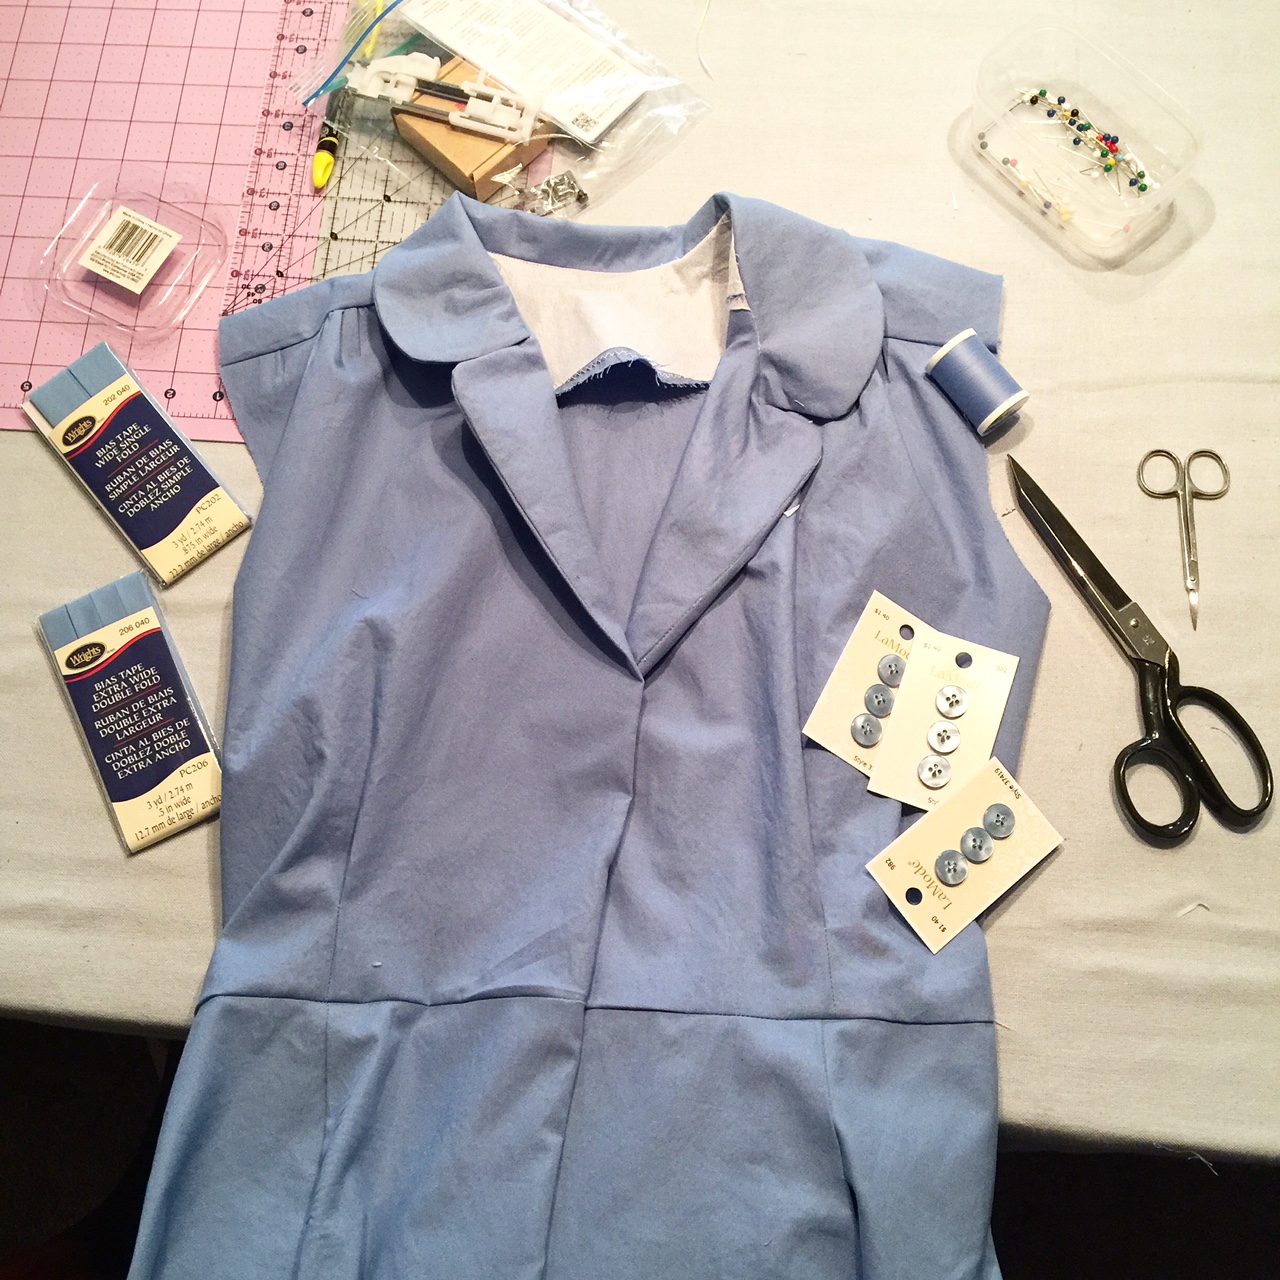
I was really pleased with how easily it came together. The sewing process was by far the longest I’ve undertaken so far — somewhere around 8 hours total – but definitely worth it in the end! I stupidly didn’t realize that the front facing would become the outer part of the collar AND misread the instructions about which side of the fabric to interface. This meant that when I completed the collar and front facing steps, I had some icky interfacing showing. Rather than unpick all those stitches, I improvised and carefully cut away the fusible interfacing. You can’t see it in the finished product, so I call that a win! The hem didn’t come together as easily as I had hoped. The skirt doesn’t seem to be level all the way around in any of the versions on the Sew Over It website, but mine looked even wonkier. I went with it and made it into a shirt hem feel, but it wasn’t really the vintage hem I was going for. A few things I will change for the next time: Pay closer attention to my interfacing right/wrong sides. Doh! Hand stitch the hem and bias binding on the shoulders. Though it looks fine on my first version, I think it will be a much cleaner finish with a blind hand stitch. Take 1-inch off of each shoulder. The shoulder on this dress is almost a cap sleeve on me, I’m hoping that taking an inch off either side will make it more flattering. Take 1/2 inch out of the back pattern piece at each shoulder. I’m learning that this is a standard adjustment for me. I seem to have shoulders that slope differently than most blocs. Add 1/2 or 1 inch to the bodice length. The waist on this hits me just above my natural waist. I don’t want to overdo it and lower the waist too much, but I’d like the bodice to sit closer to my natural waist. Make it in a drapier fabric. As much as I love my trusty cotton, I think it’s time to try working with something new. I’d love to try this one in rayon.