Granville Shirt
Reviewed by HilaryRose on 15th March, 2017
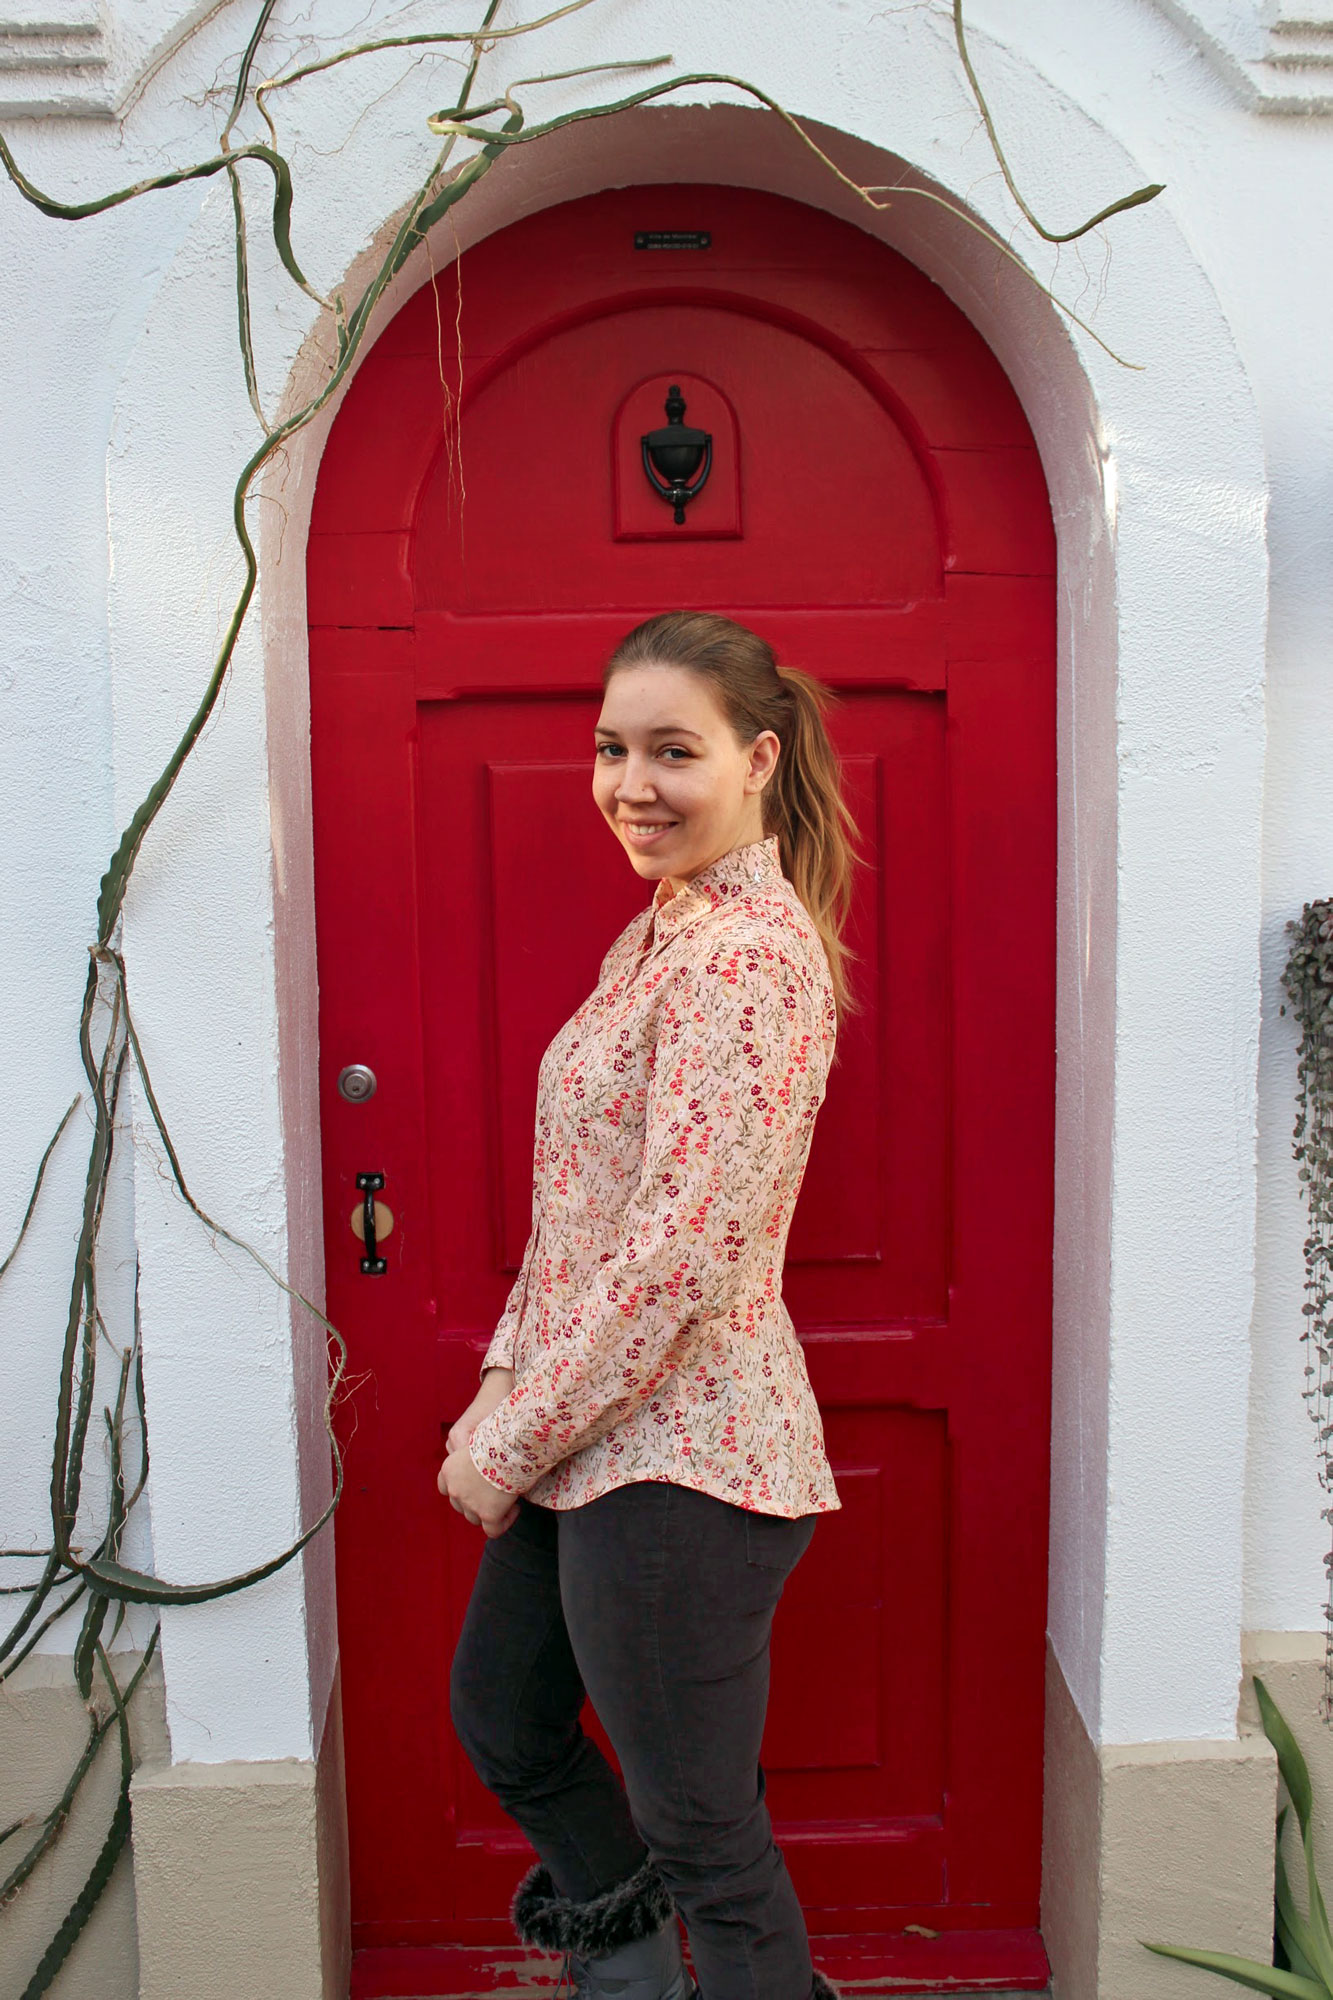
Here is my newest make–the Sewaholic Granville collared shirt!
I did change the pattern an awful lot from the original–I’ve sort of resigned myself to the fact that nothing is ever really going to fit me right out of the box. Here are the changes I made:
-Took in the side seams at the hip. Like a LOT. Sewaholic’s block is for pear-shaped women, but it seems like the flare is especially prominent at the hips–my first muslin was all kinds of awful, with not enough room in the back for my booty and way too much fabric at the side, like I had hip wings. Not a good look.
-Did a minimal full bust adjustment for some extra shaping in that area.
-Played around with the armscye to make it quite a bit higher and smaller to conform to my proportions better–this ended up increasing my bust dart quite a bit since I rotated some of the armscye length into the dart to get rid of it.
-Did a full bicep adjustment to the sleeve because I have quite a large upper arm circumference. Finally, sleeves that fit!
-For some reason, the size 12 collar was waaaaaay too big on me when I made my wearable muslin. I could fit a whole fist beside my neck when the shirt was done up. So for this version I used the size 6(!) collar and collar stand and hacked the front panels and yoke neckline to fit it, mostly by just bringing the yoke neckline up to make the total seamline smaller.
-I added a pleat to my sleeve near the cuff since the cuff piece was too small to match the sleeve hem. I like this little pleat, but I must be doing something wrong when sewing the placket, since the instructions don’t mention a pleat here at all.
-I took in the waist at the back princess seams a LOT and added quite a bit to the side back and centre back panels to flare out over my prominent derrière.
See my full review here: http://hilarysews.blogspot.ca/2017/03/completed-sewaholic-granville-shirt.html